FrameOS
An operating system for single function smart frames.
It's designed for both screens that update 60 frames per second, and for screens that update 60 seconds per frame. Think smart home calendars, meeting room displays, thermostats, interactive message boards, public advertisement screens, and more.
FrameOS is written in nim, and gets compiled into a single binary when deployed. Everything runs locally on device, there is no cloud to subscribe to.
FrameOS backend
You use the backend to deploy FrameOS onto frames.
It can be installed as a Home Assistant Addon or as a standalone docker app with a single command:
bash <(curl -fsSL https://frameos.net/install.sh)
Here's what it looks like:
What do you need to get started?
- Someplace to run the FrameOS backend. Run it locally or on a server. It'll connect to the frames with SSH.
- A display of some sort. E-ink or LCD. Take your pick from Waveshare or Pimoroni's e-ink HATs, or hook up a TV with an HDMI cable.
- A Raspberry Pi with a stock Raspberry Pi OS Lite installed.
- For maximum peformance, (e.g. 60FPS over HDMI) you'll need a Raspberry Pi 5.
- If size matters, use the Zero W 2. It's great for eink displays, and can even do 24 FPS on small LCDs.
Sample frames
Here are some frames I have around the house.
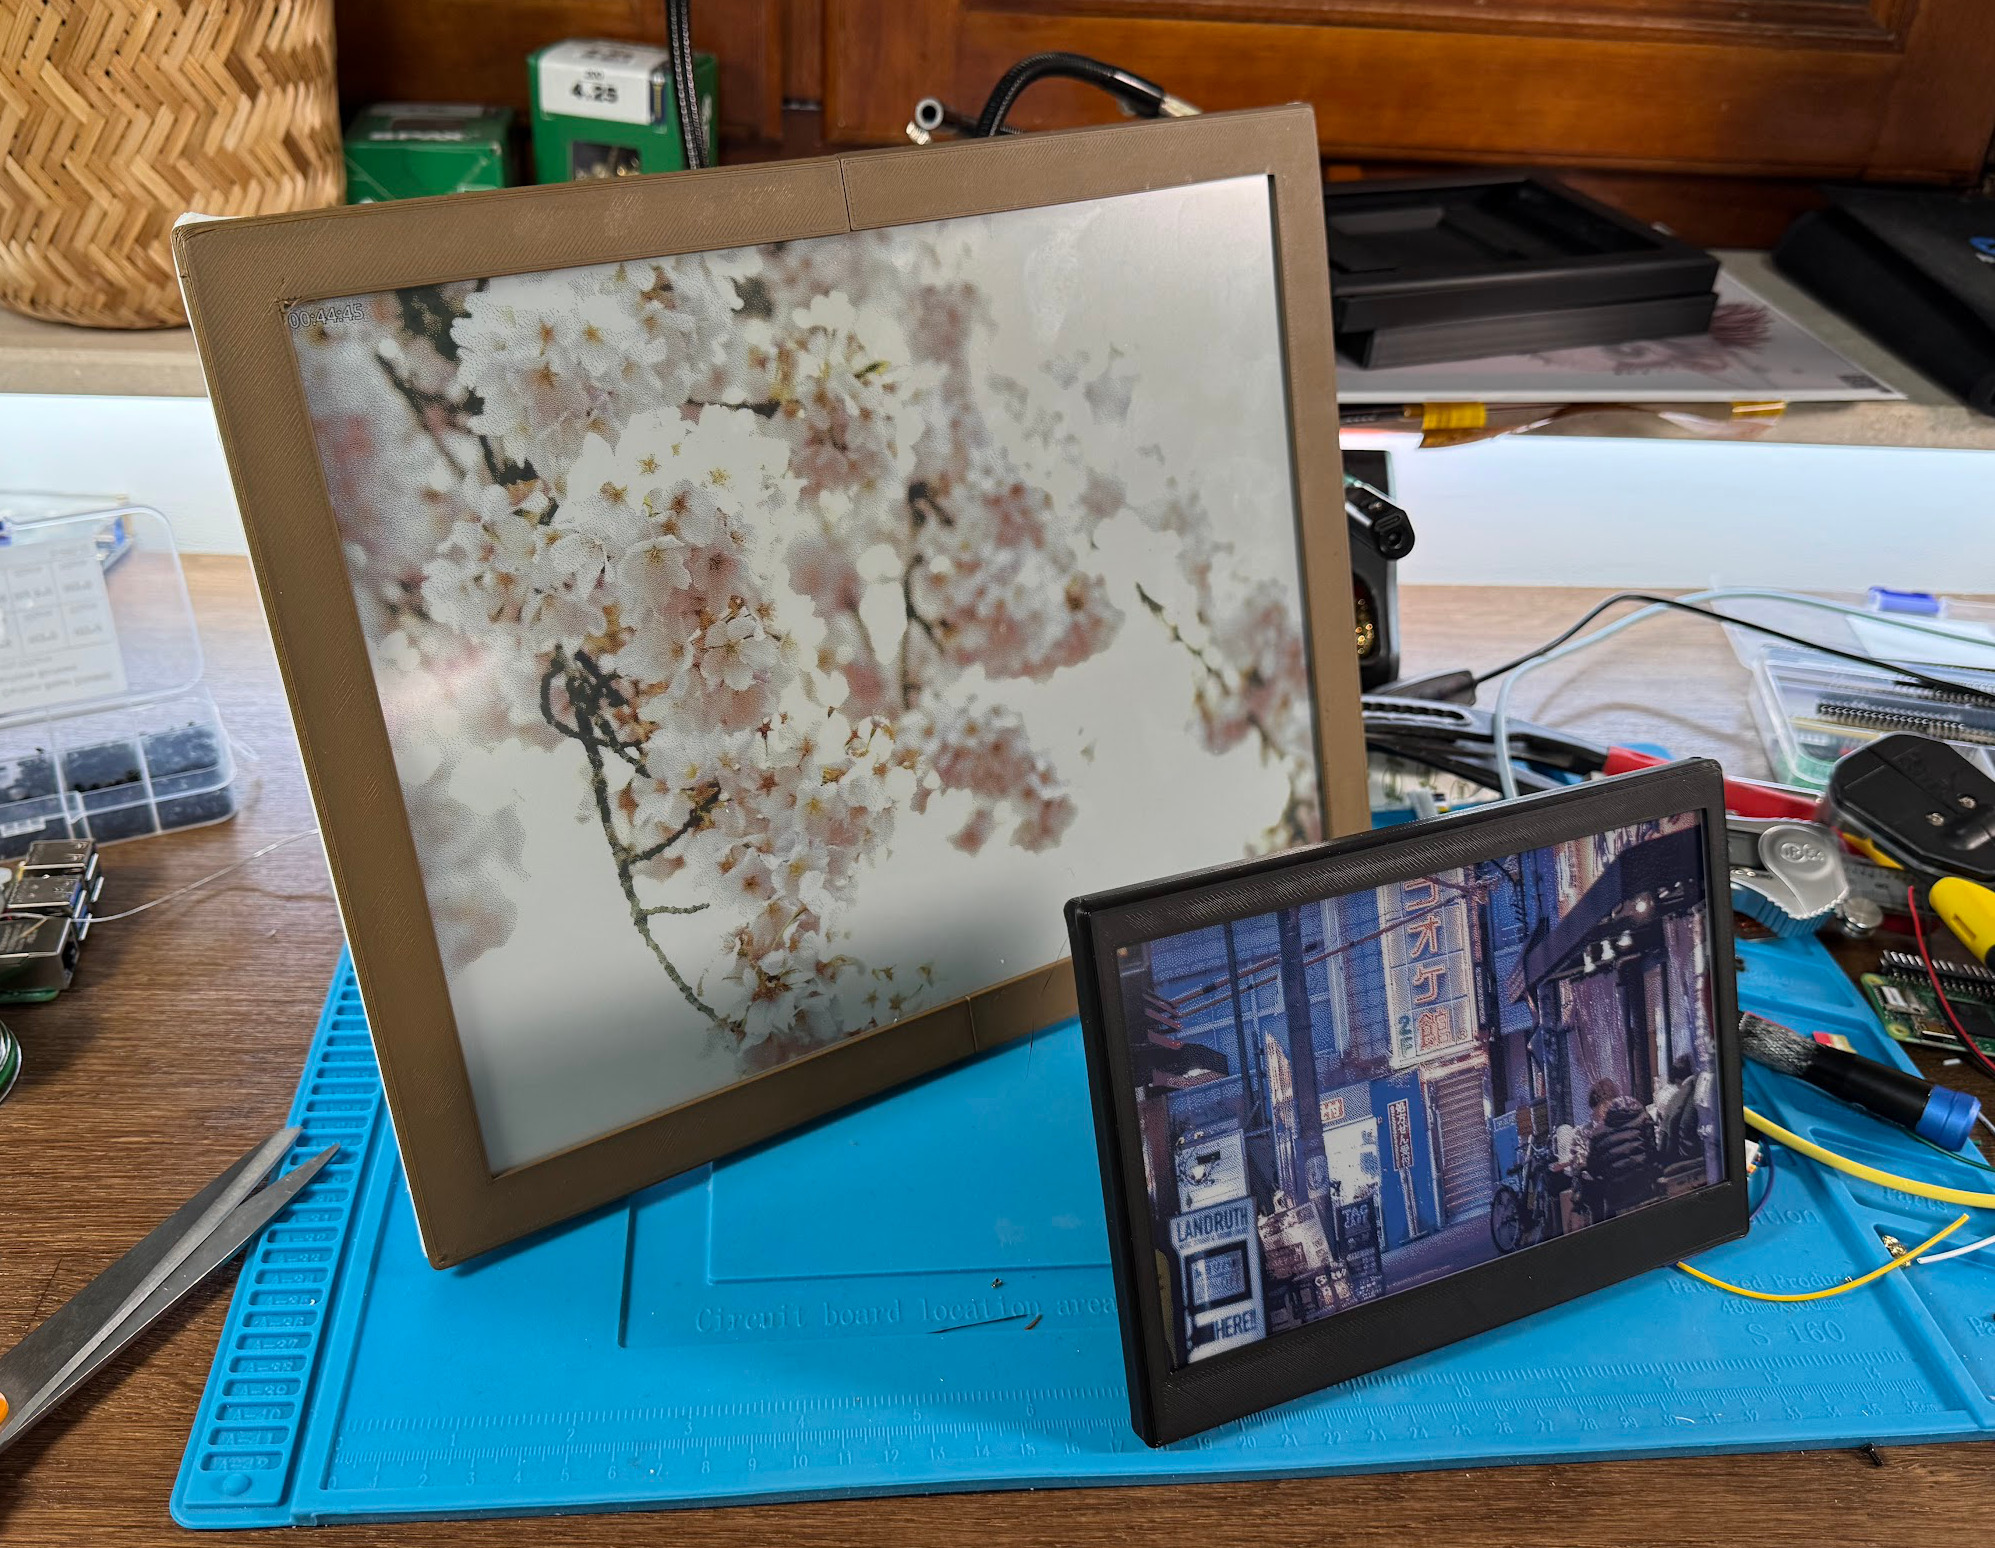 3D printed cases with kickstands for 7.3" and 13.3" panels 3D printed cases with kickstands for 7.3" and 13.3" panels | 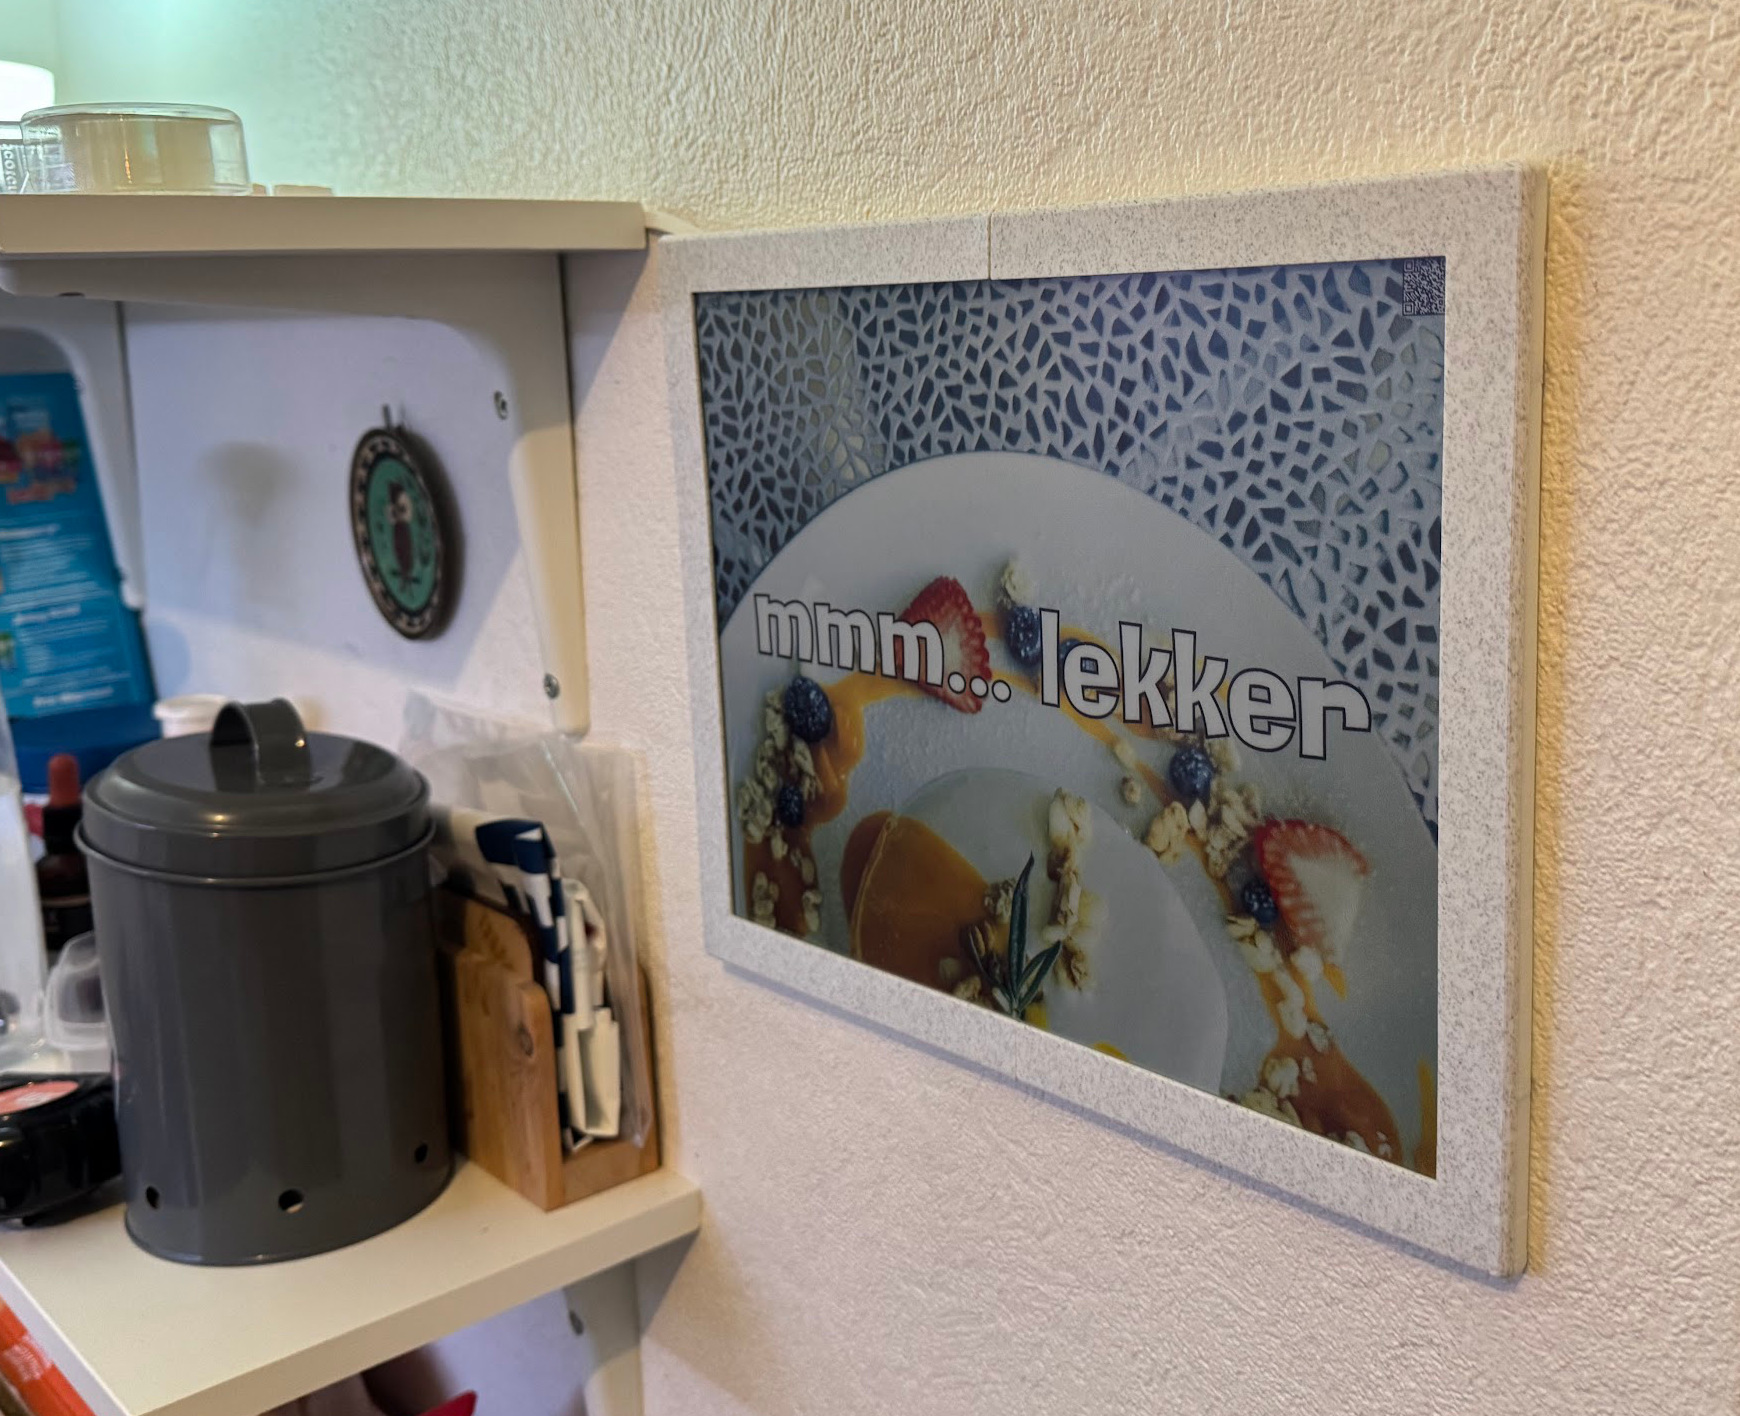 Same 13.3" full color e-ink display on the wall Same 13.3" full color e-ink display on the wall |
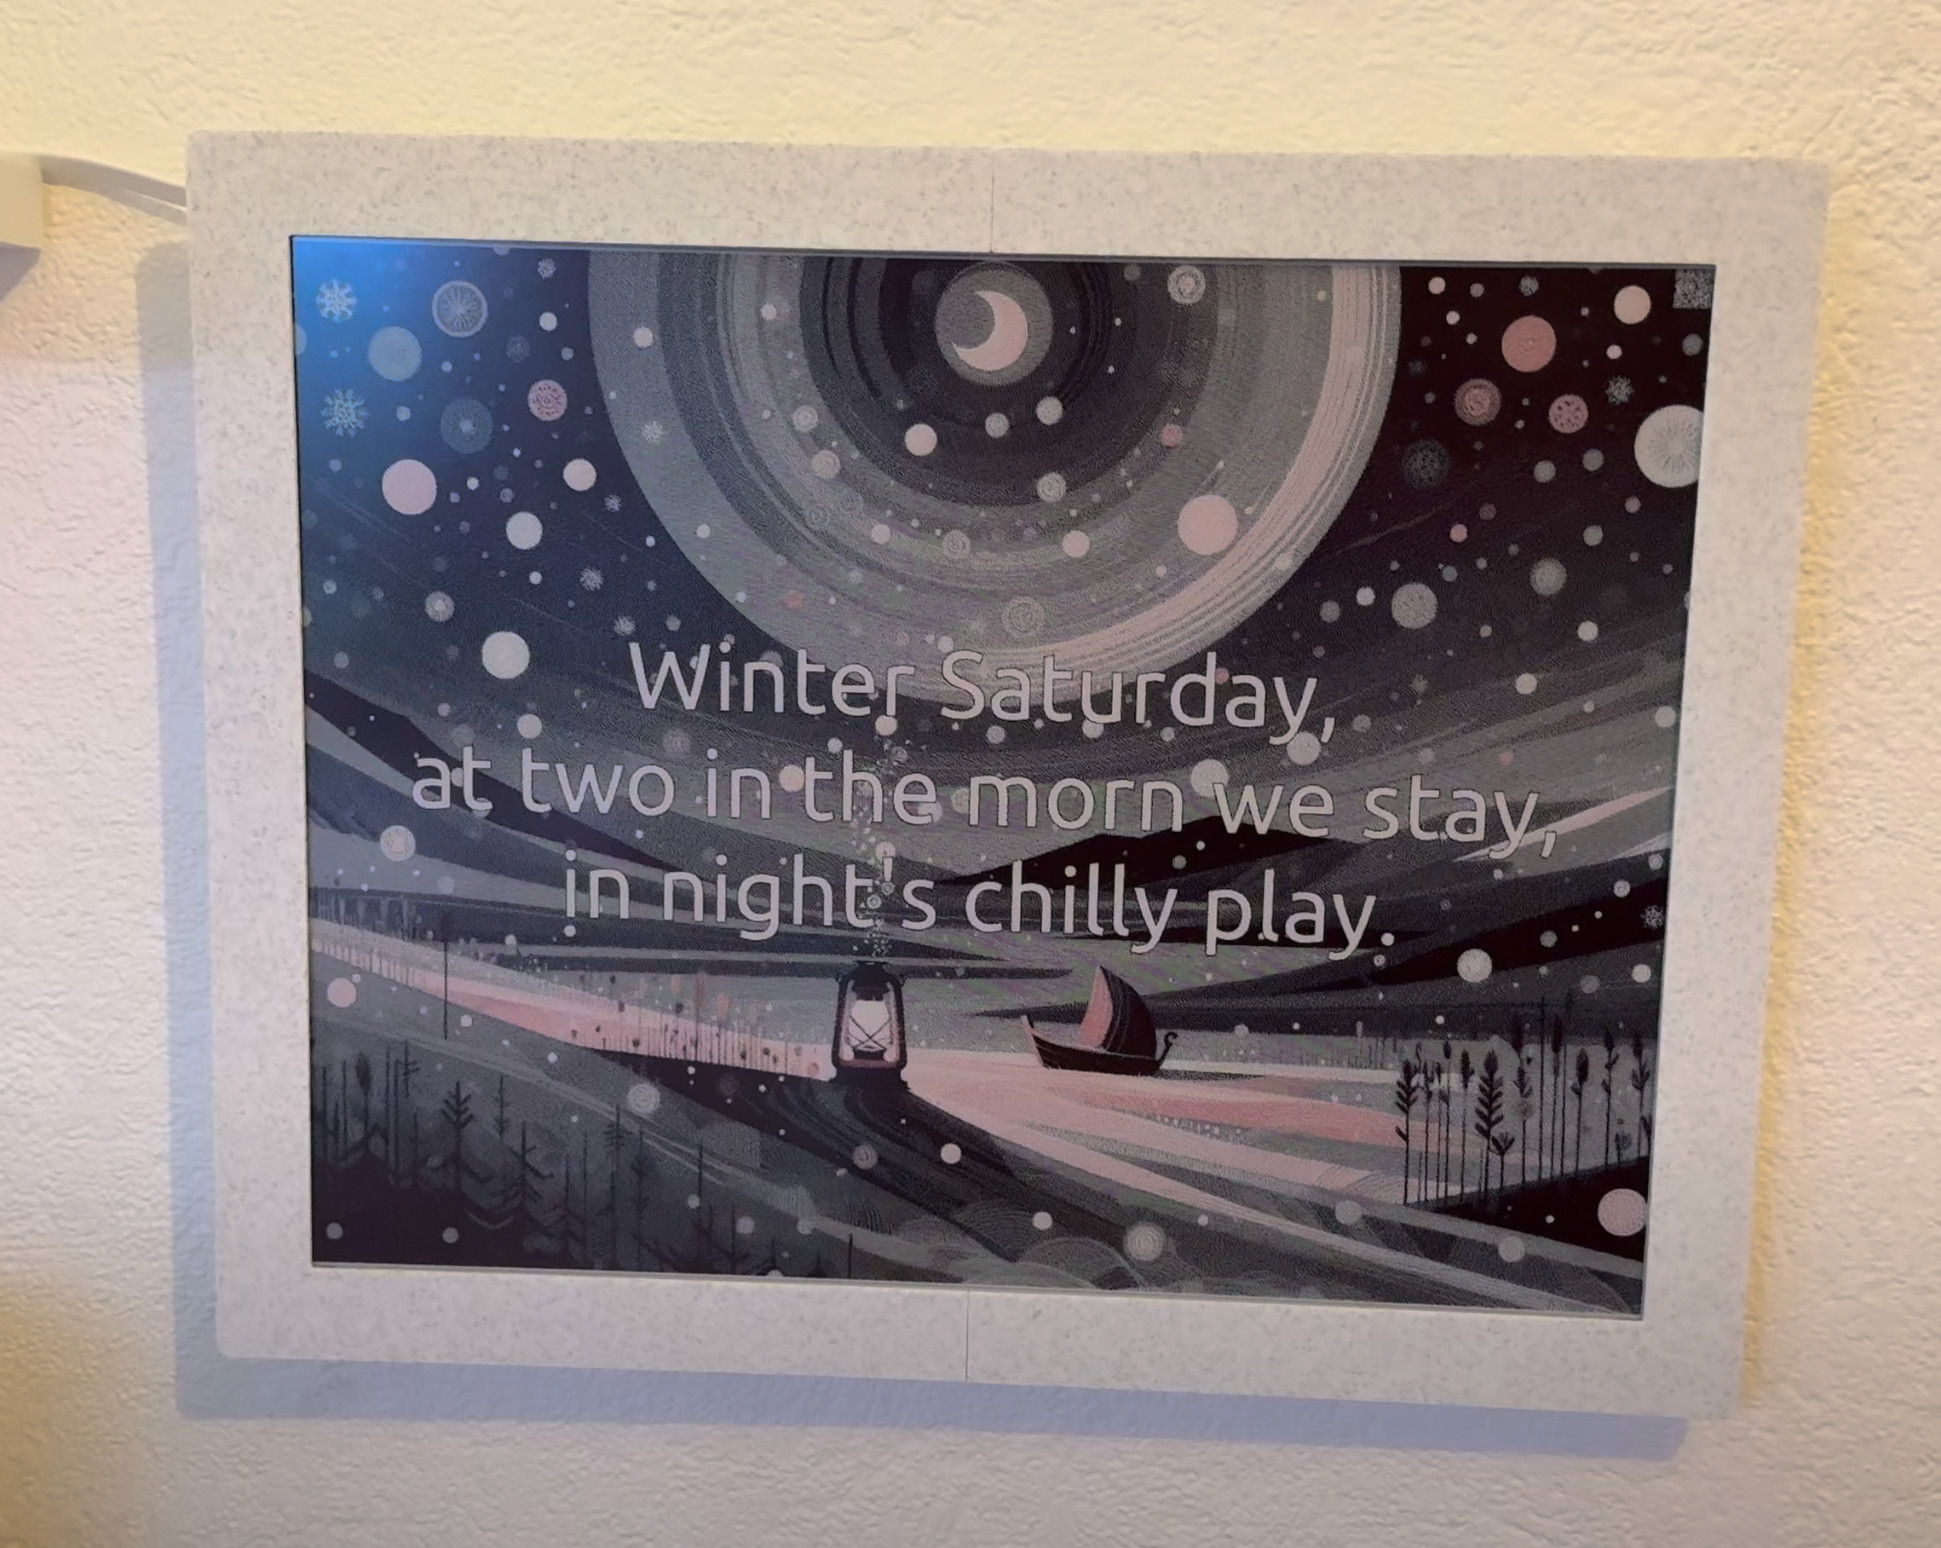 As much AI slop as you can handle. 12.48" 3-color As much AI slop as you can handle. 12.48" 3-color | 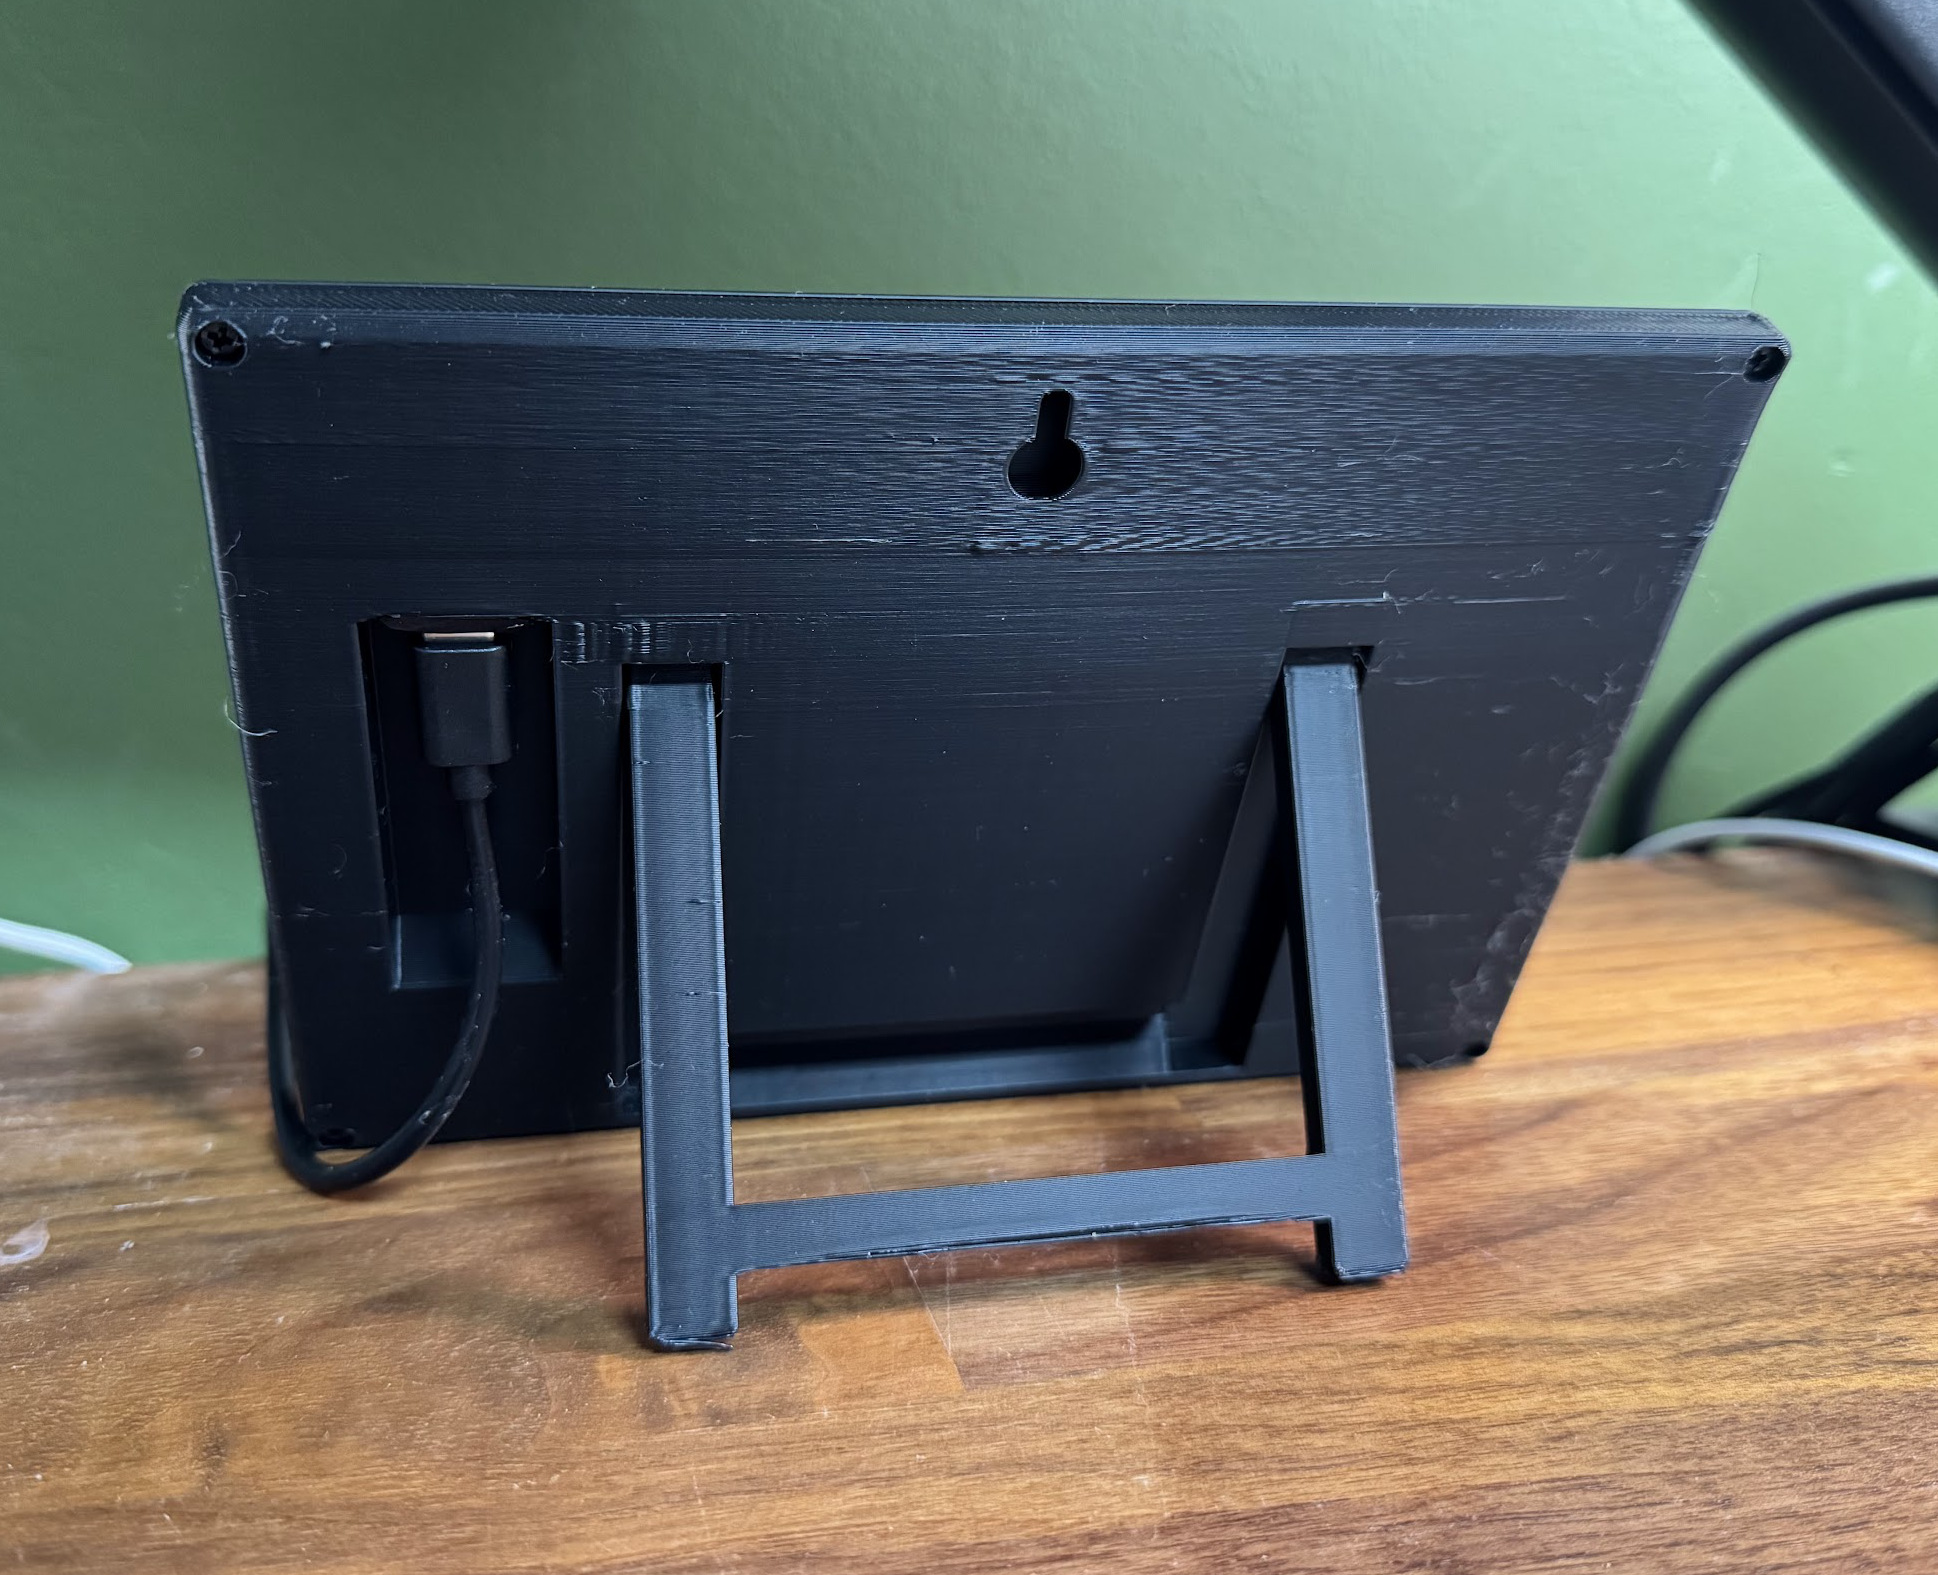 The included kickstand. Printed vertically The included kickstand. Printed vertically |
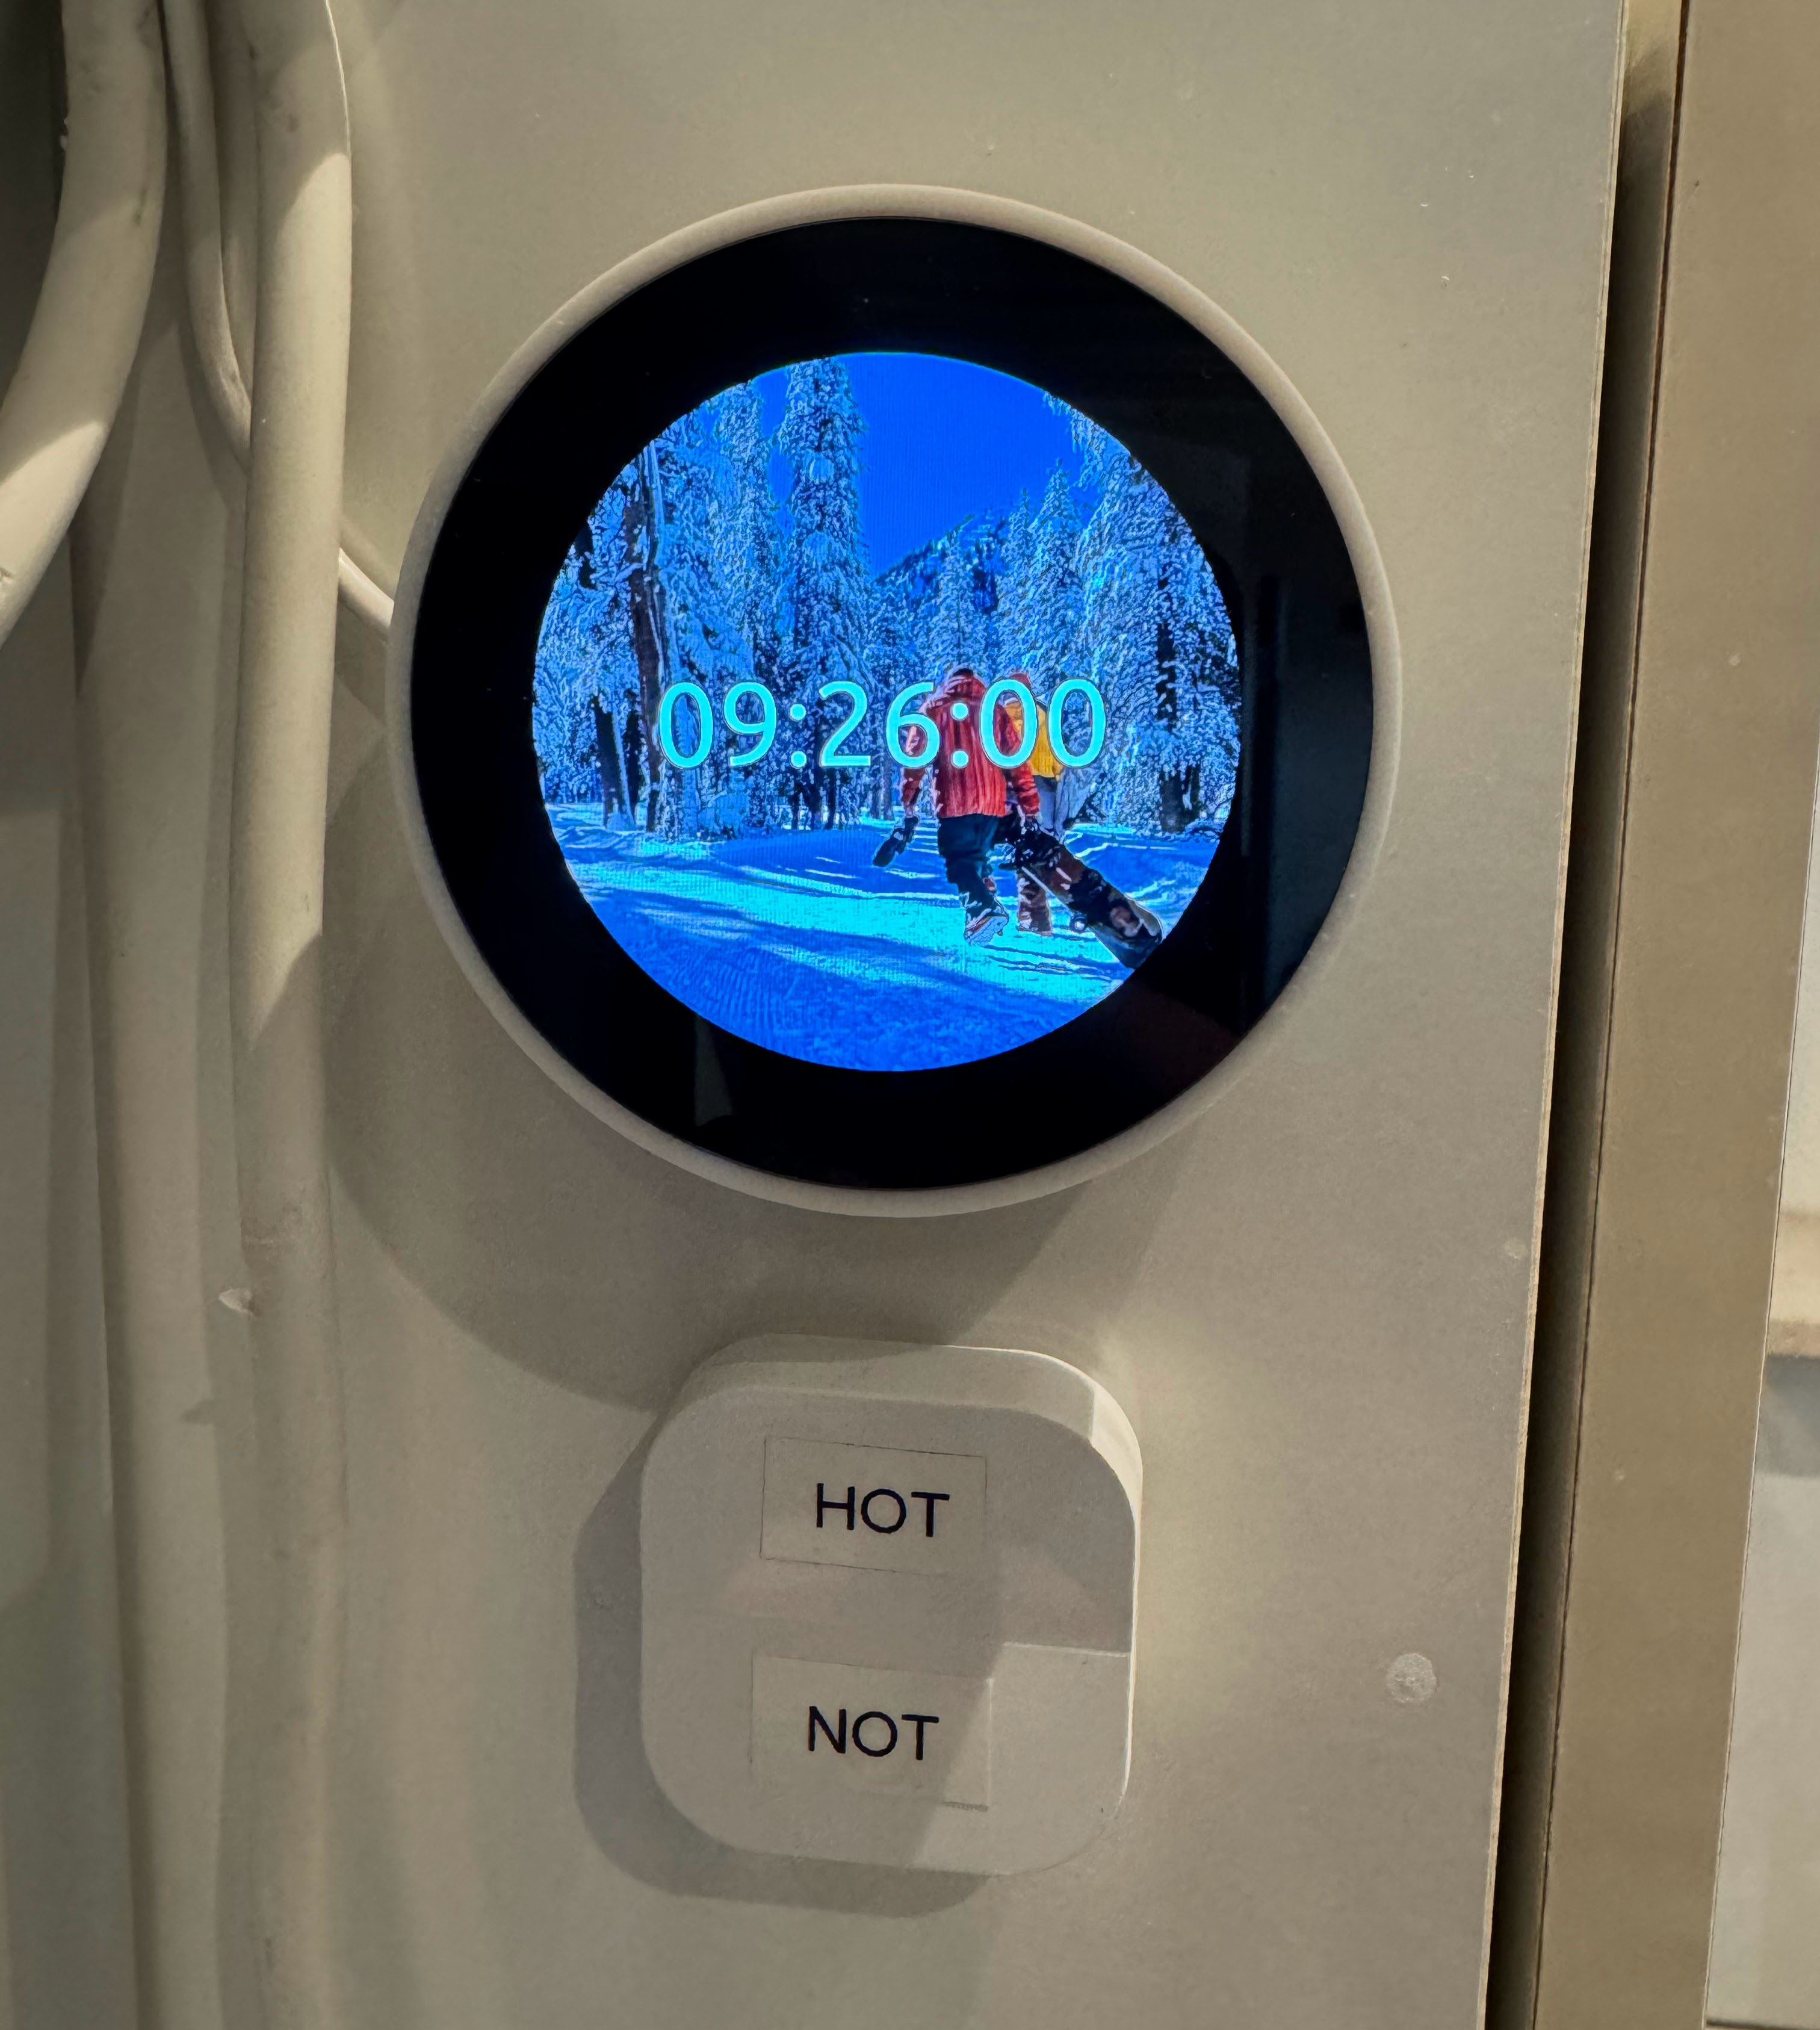 Also works with real time LCDs Also works with real time LCDs | 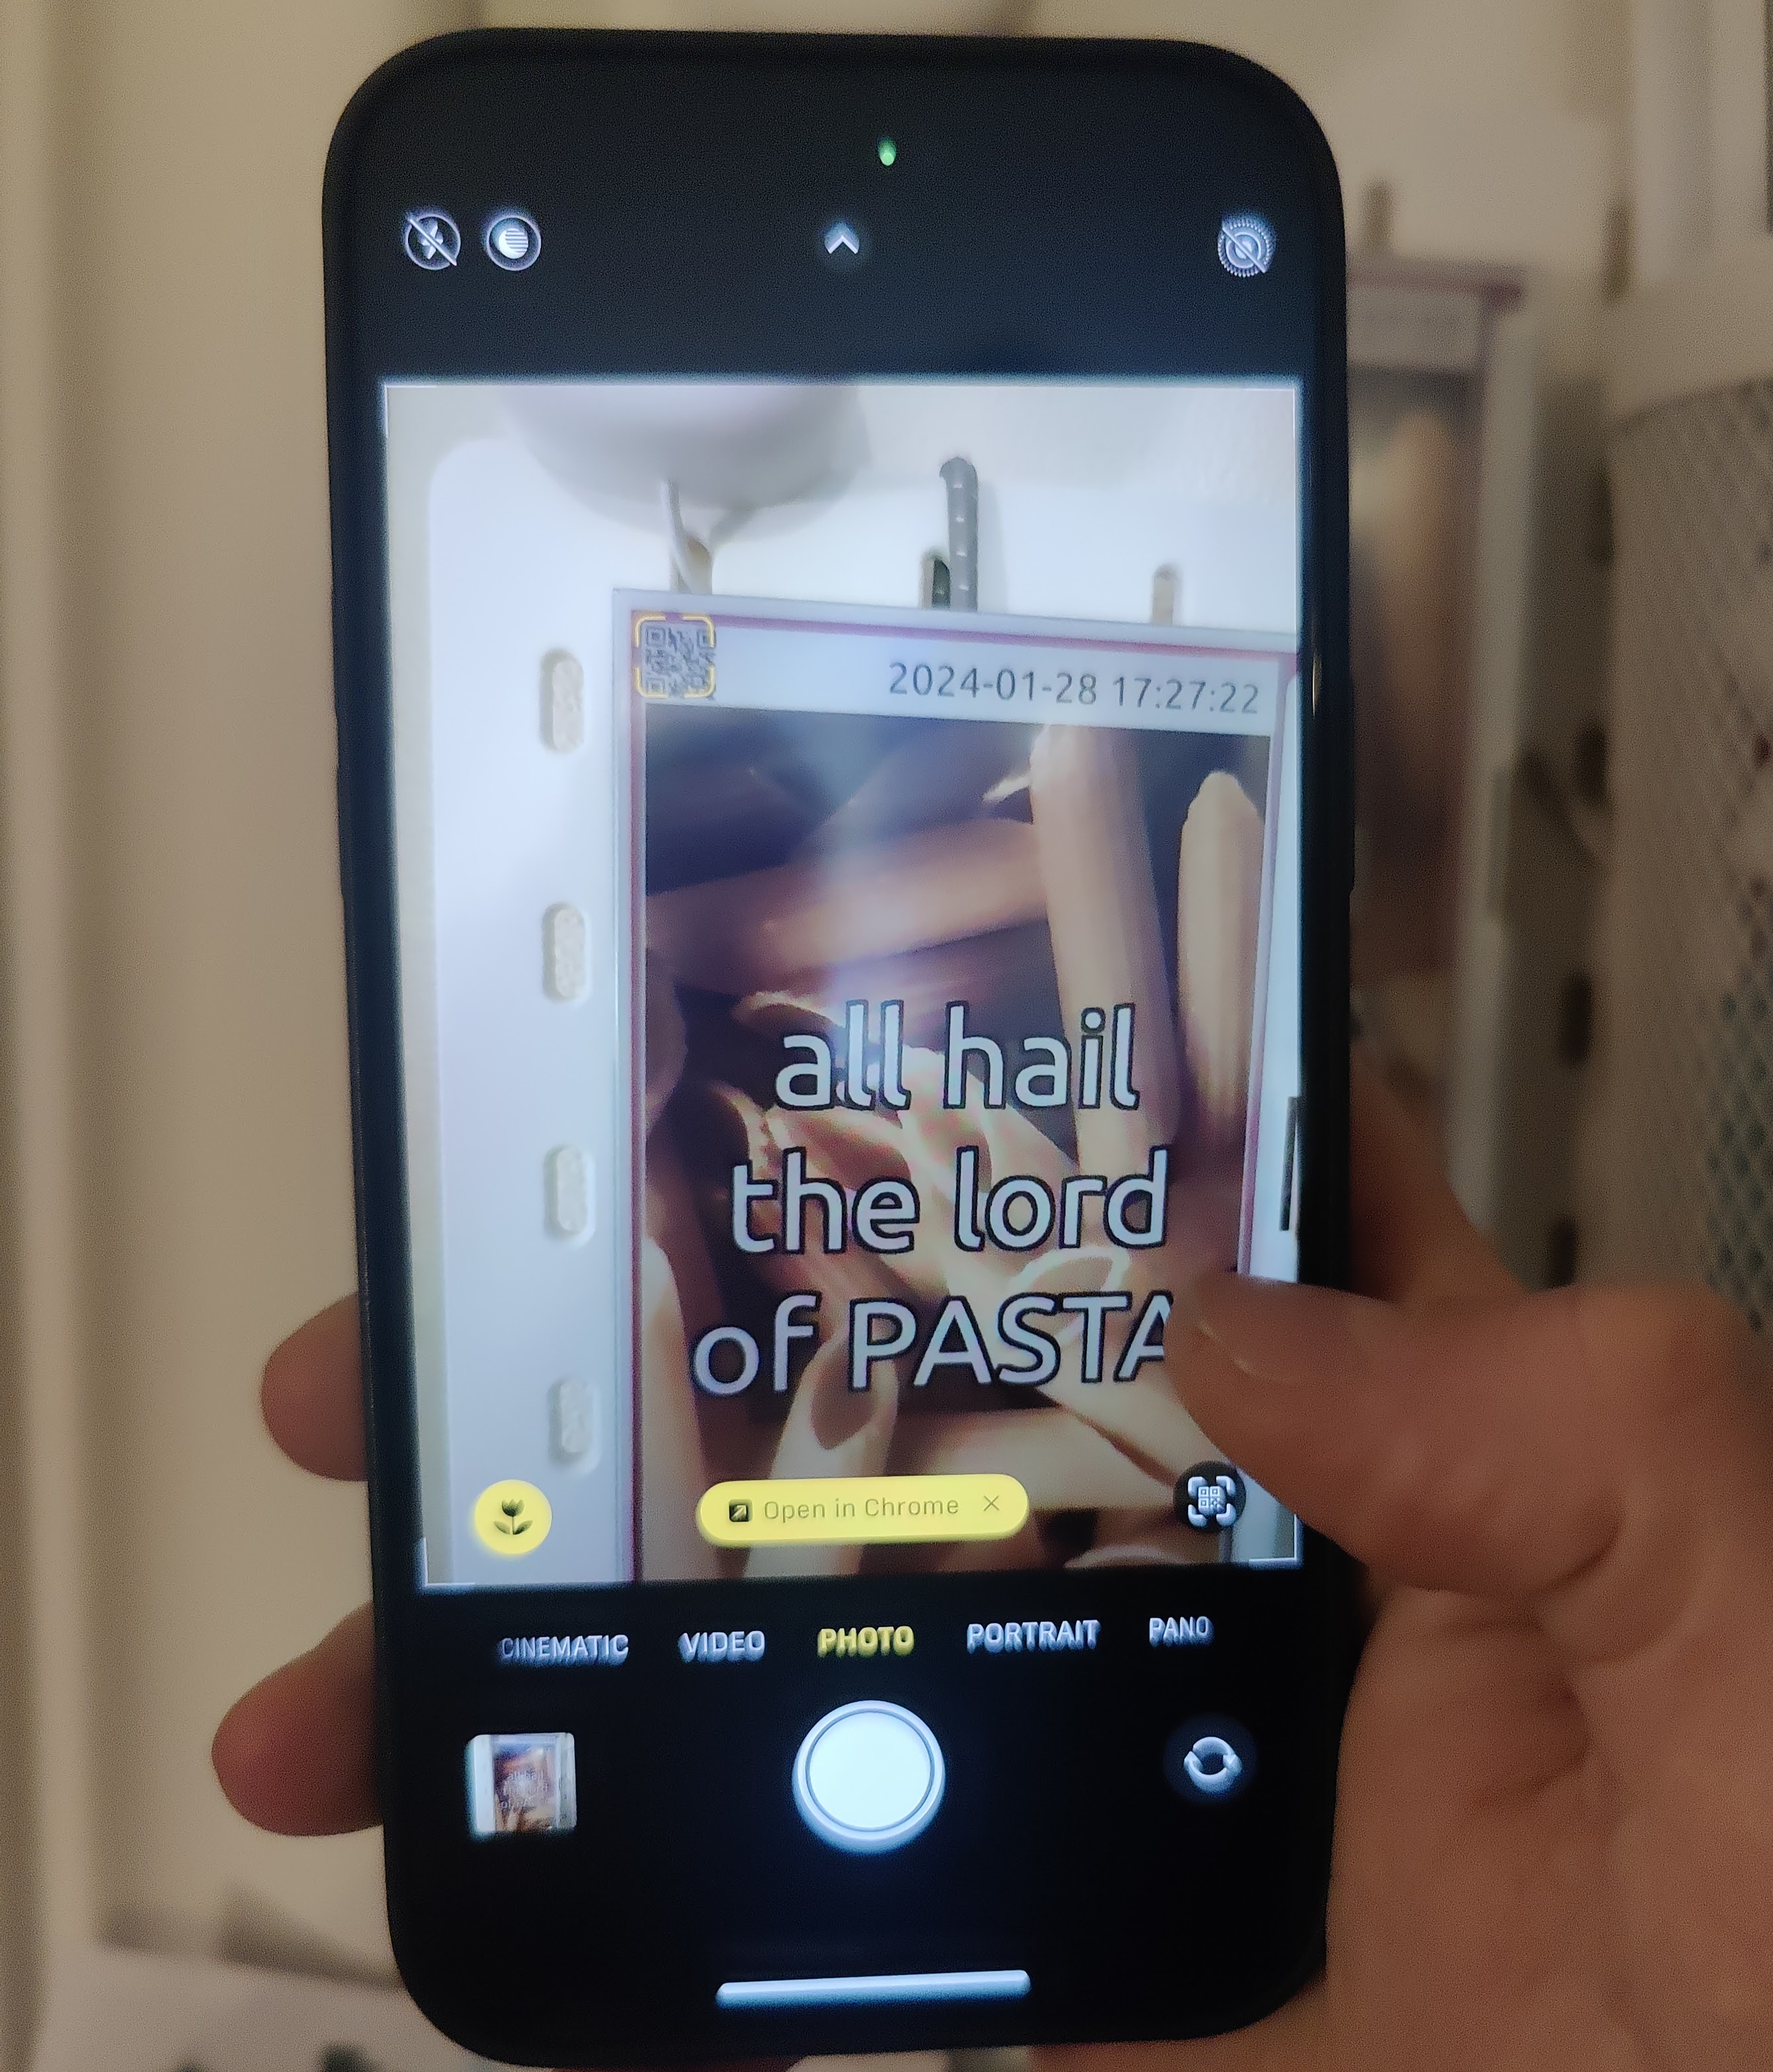 Scan the code to change the text over local HTTP Scan the code to change the text over local HTTP |
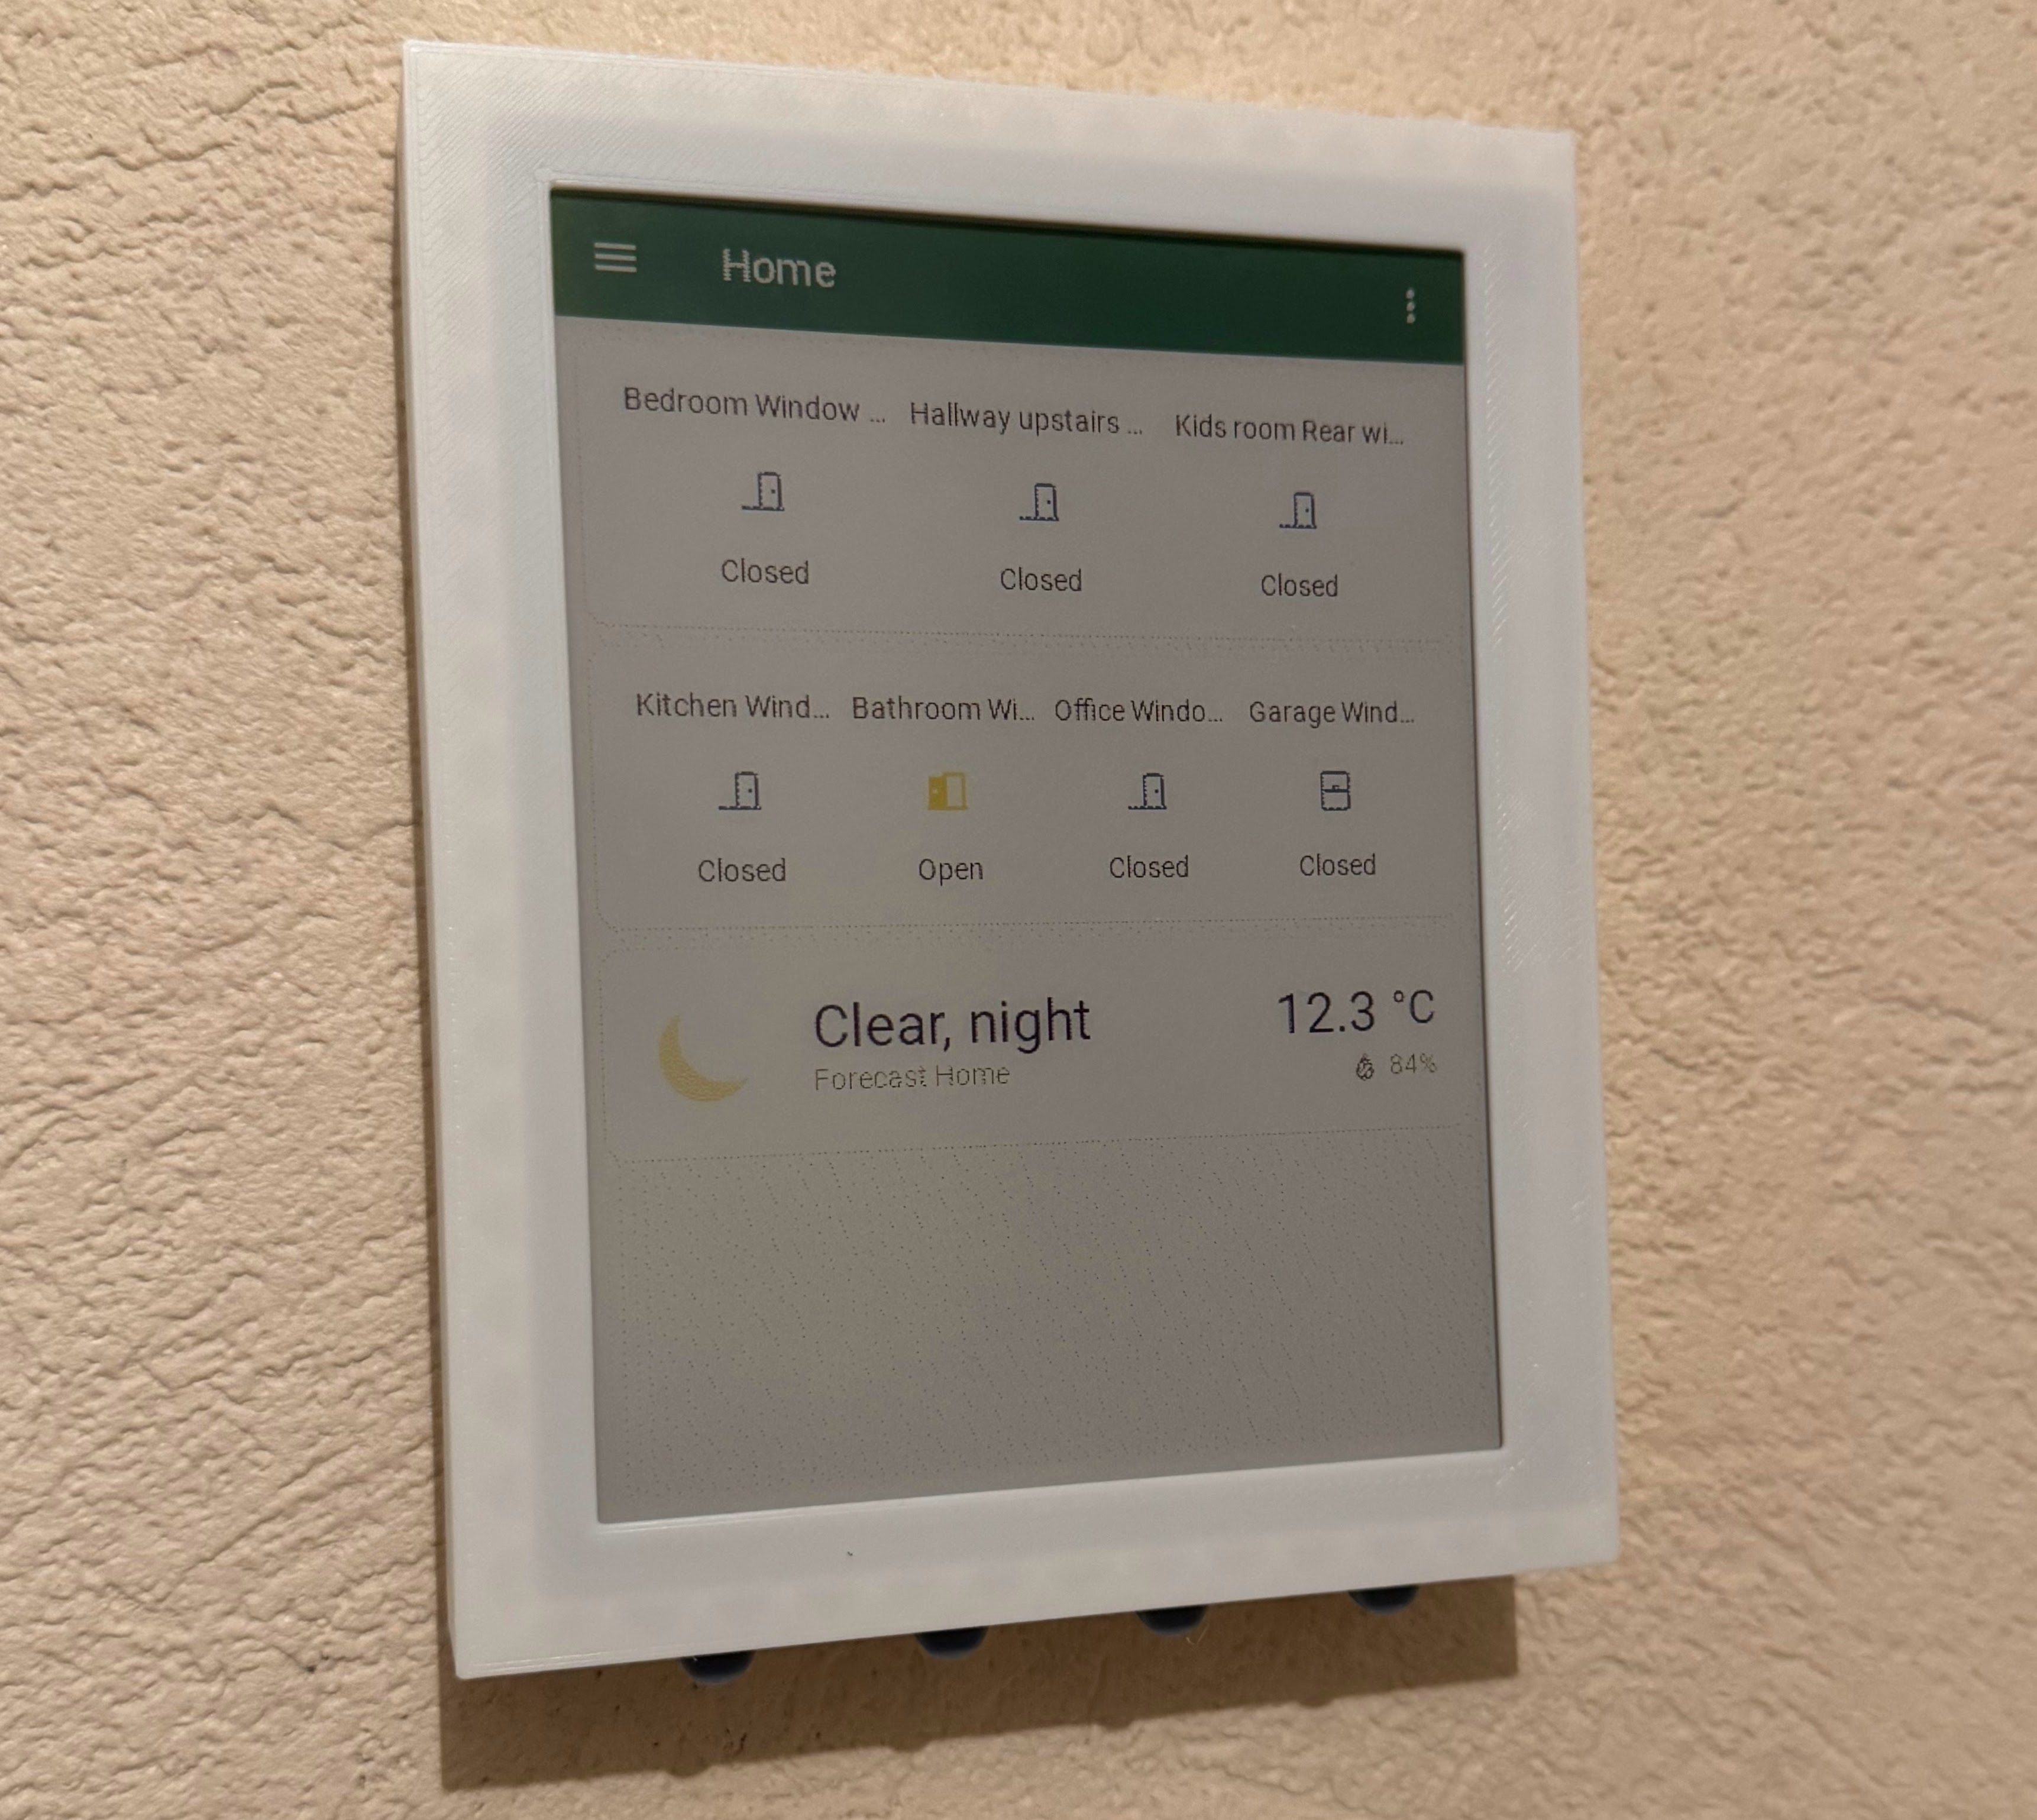 Hallway dashboard 5.7" 7-color Hallway dashboard 5.7" 7-color |  Kitchen calendar 12.48" 3-color Kitchen calendar 12.48" 3-color |
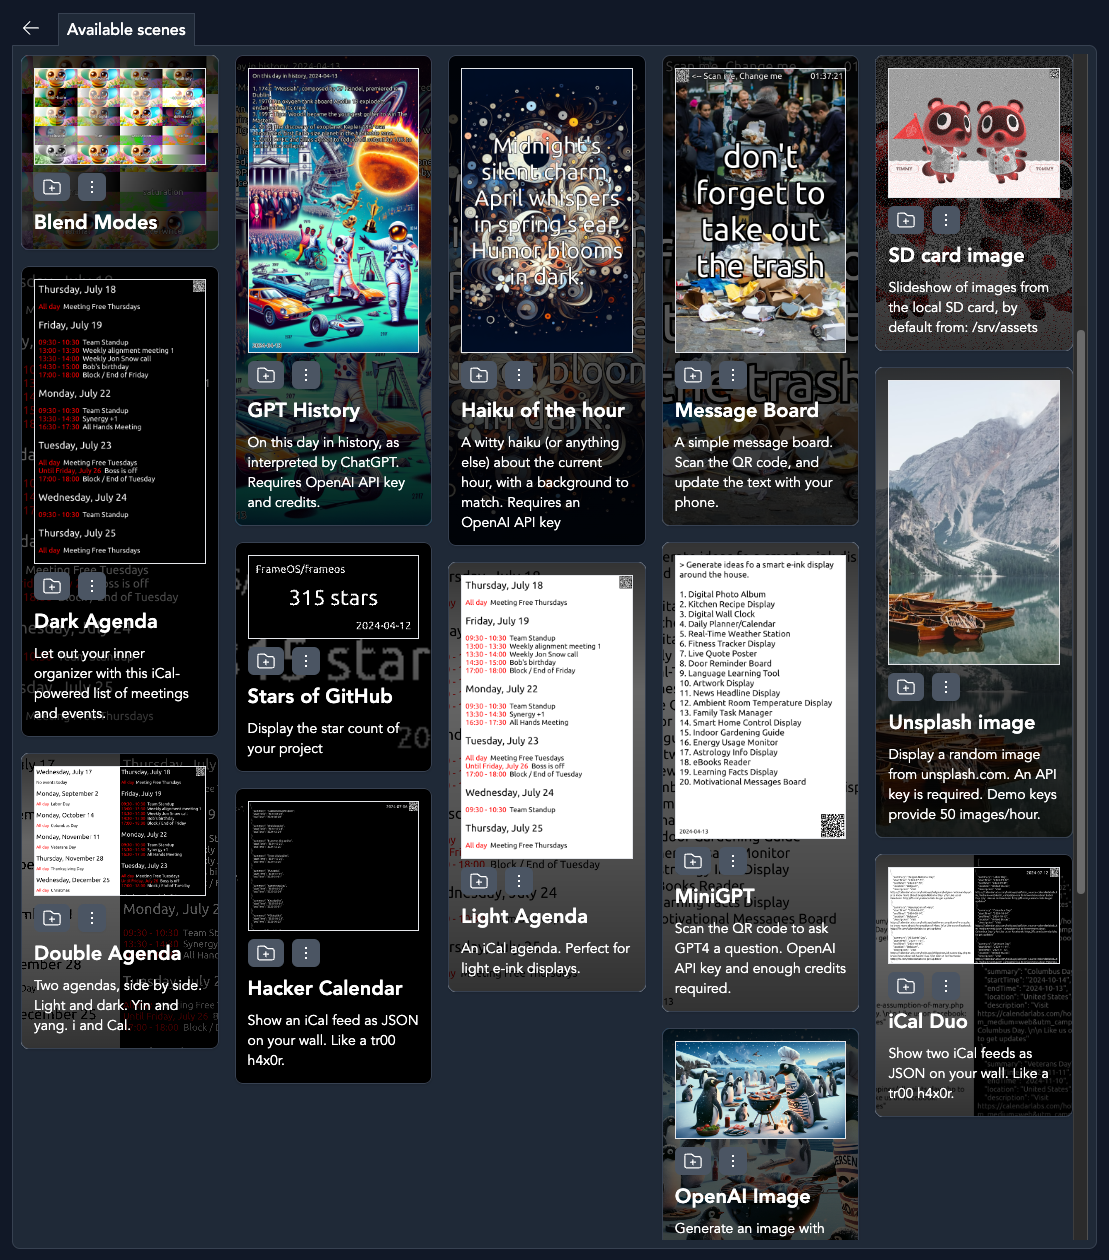
Sample scenes
Deploy your first scene from the repository.
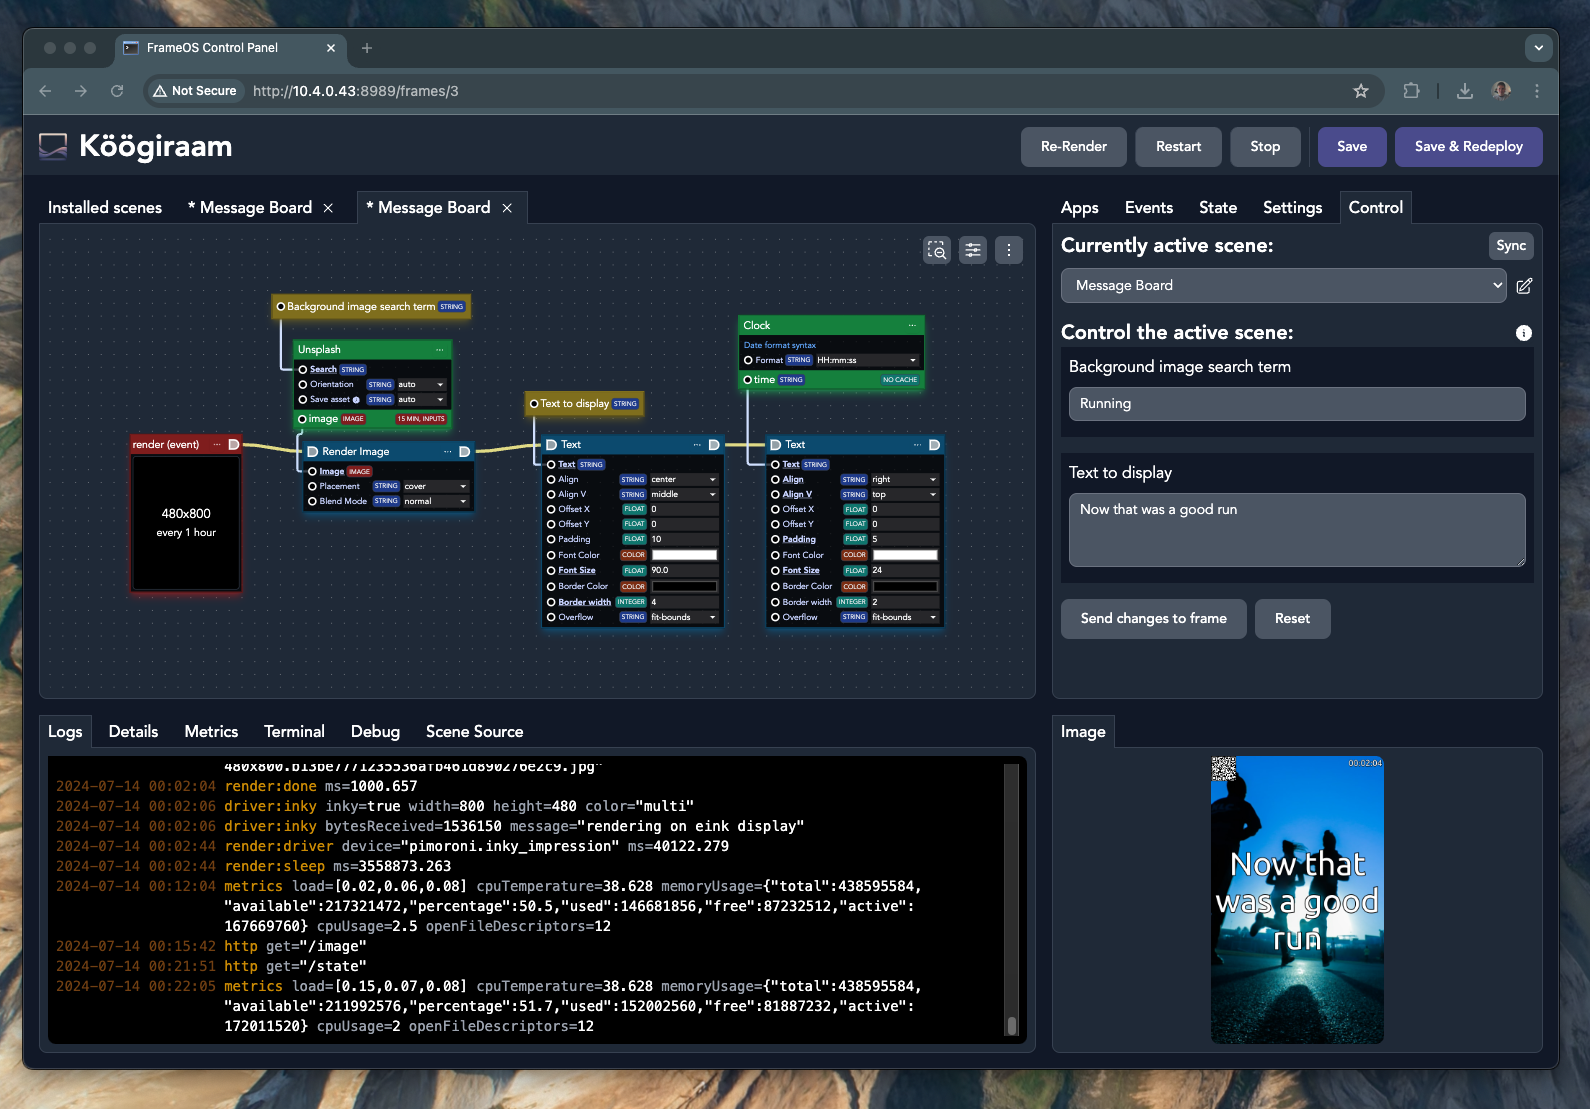
Scene editor
Create new scenes using the diagram editor.
App editor
Go even deeper and edit the source behind each app on the scene

Getting started
- Start by installing the FrameOS backend.
bash <(curl -fsSL https://frameos.net/install.sh) - Then set up the raspberry, while following the device guide for your specific screen.
- Finally, read the rest of the guide to learn how to build your own scenes.
Status
FrameOS is good enough for small-time usage. Most of the core concepts are in place.
There is no numbered release yet. A FrameOS/frameos:latest docker image is generated for every push to main. While we take great care not to break things, there are no guarantees at this point.
If you're the adventurous type, please try it out, and help out. Look at the tasklist for ideas. Don't ask for permission, just submit a PR. If you're not sure, open an issue and we'll discuss it.
Next steps
-
Install the FrameOS backend.
-
Join the FrameOS discord
-
Read more about the Nim rewrite.