First deploy
info
If you don't have the FrameOS backend running or can't connect to your raspberry over SSH, read those chapters first.
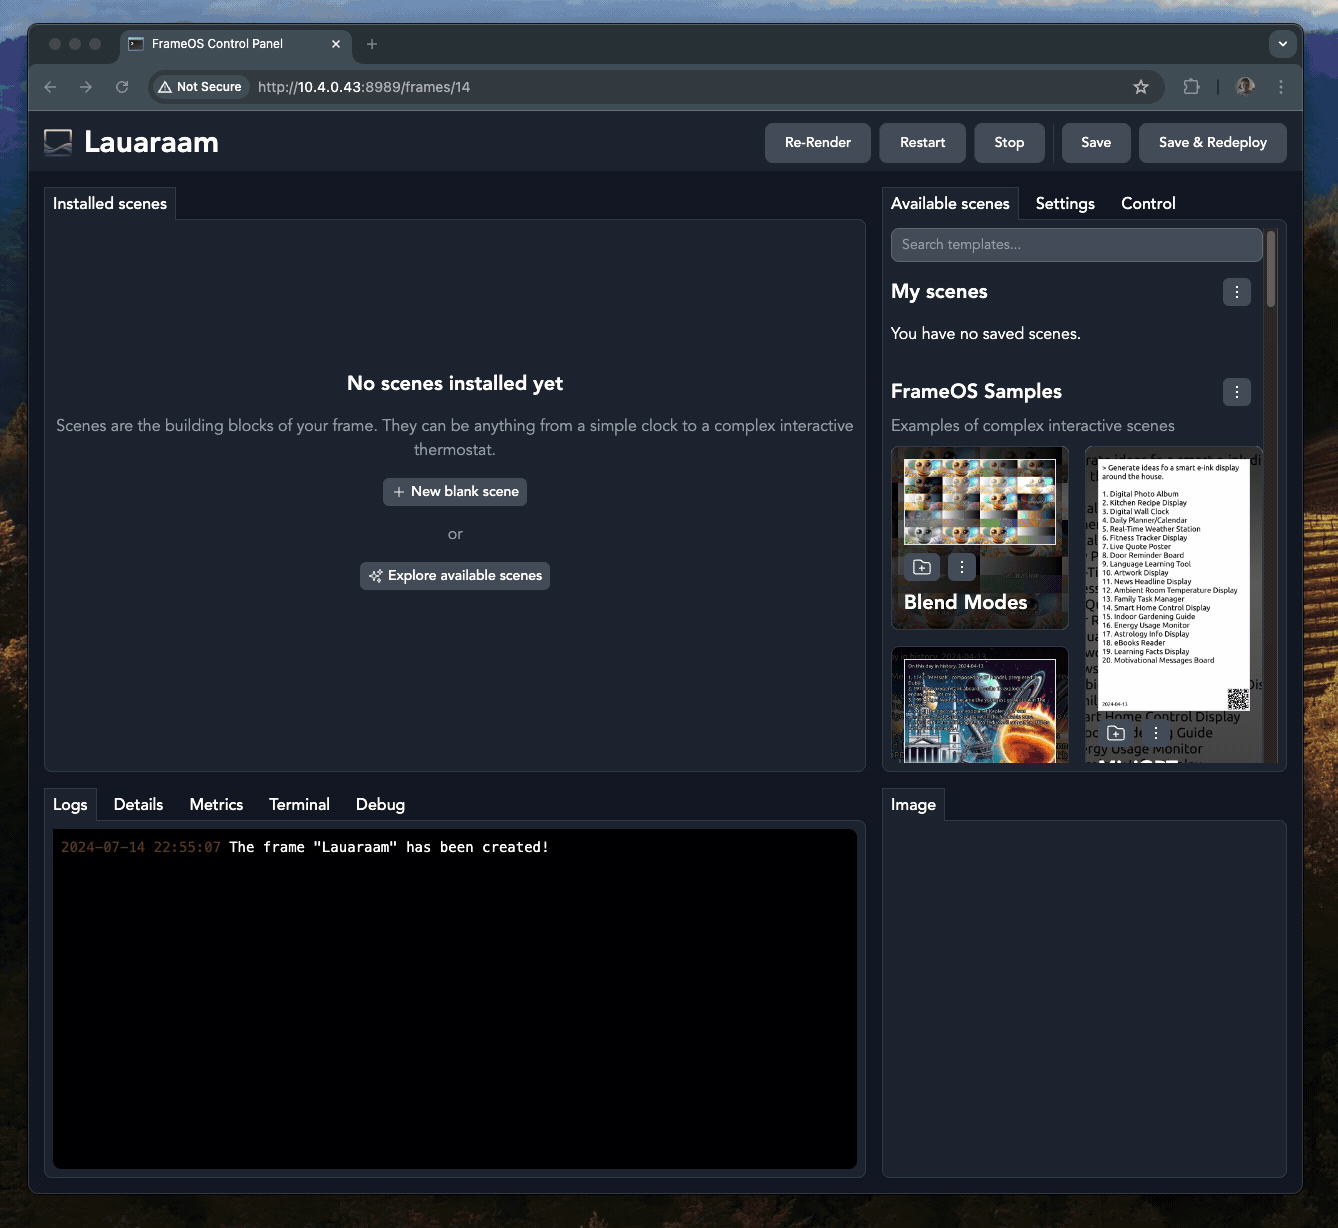
Add the frame
Start by adding your frame's name and IP address into the "Add a new smart frame" dialog. Select the right driver for your display.

Add the first scenes
Next, install some scenes from the list of available scenes, and press "Save & Redeploy".
Please note that some scenes require API keys, which can be added under the global "Settings" page.
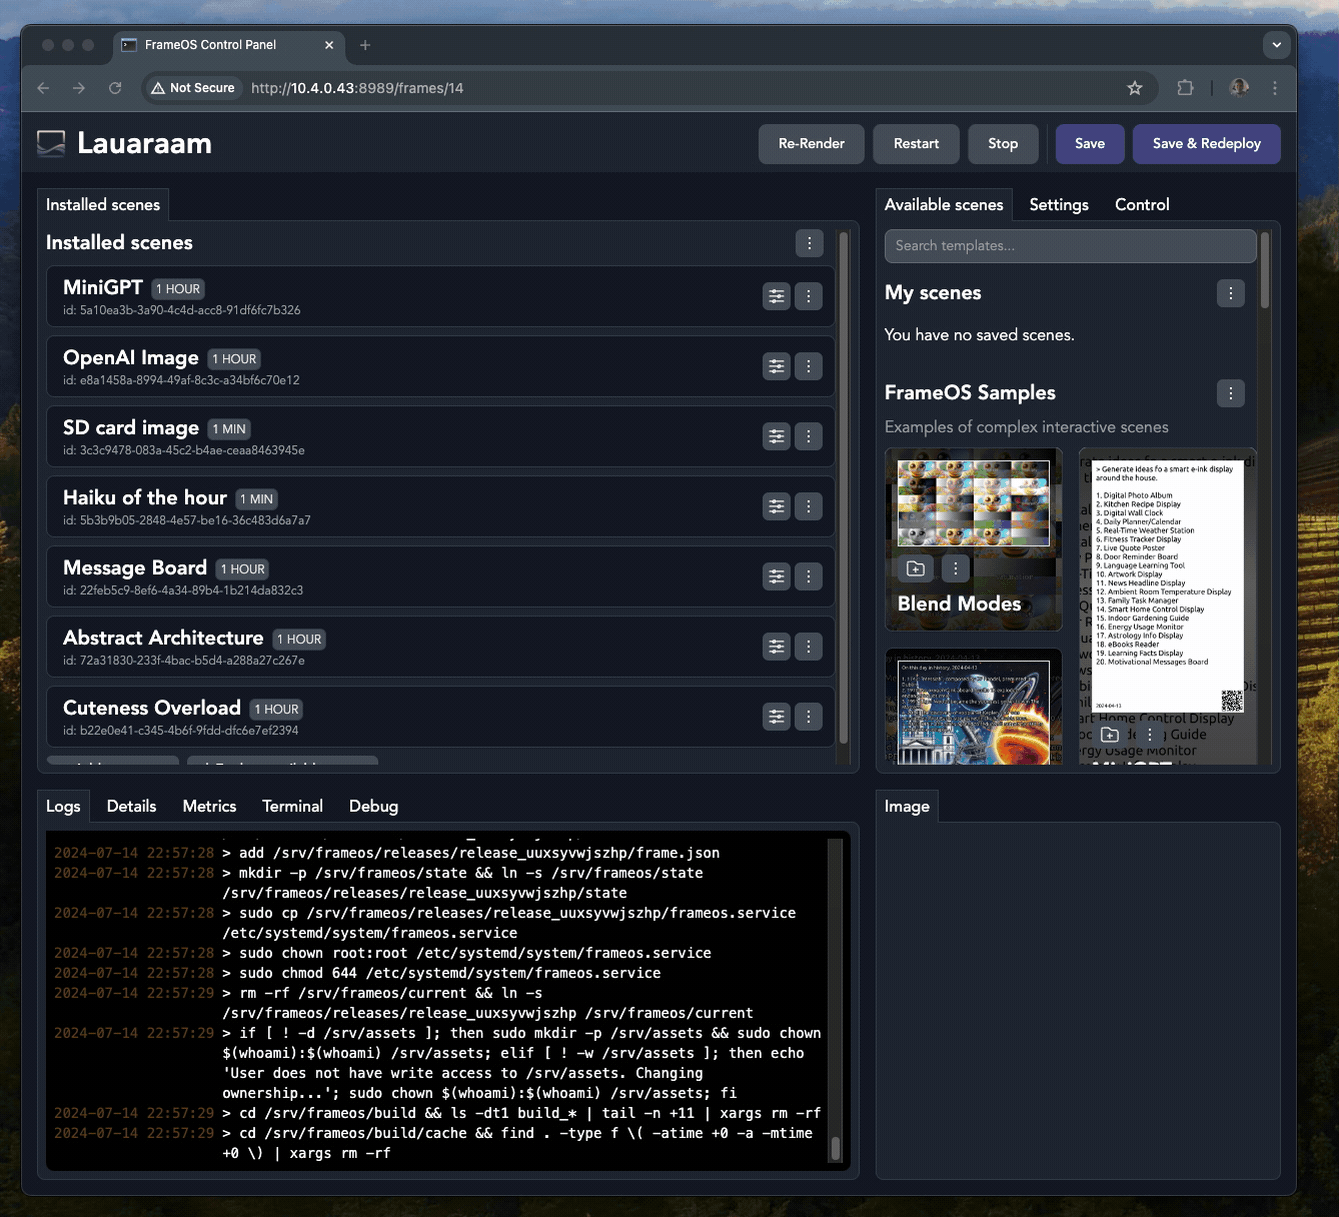
Deploy finishes
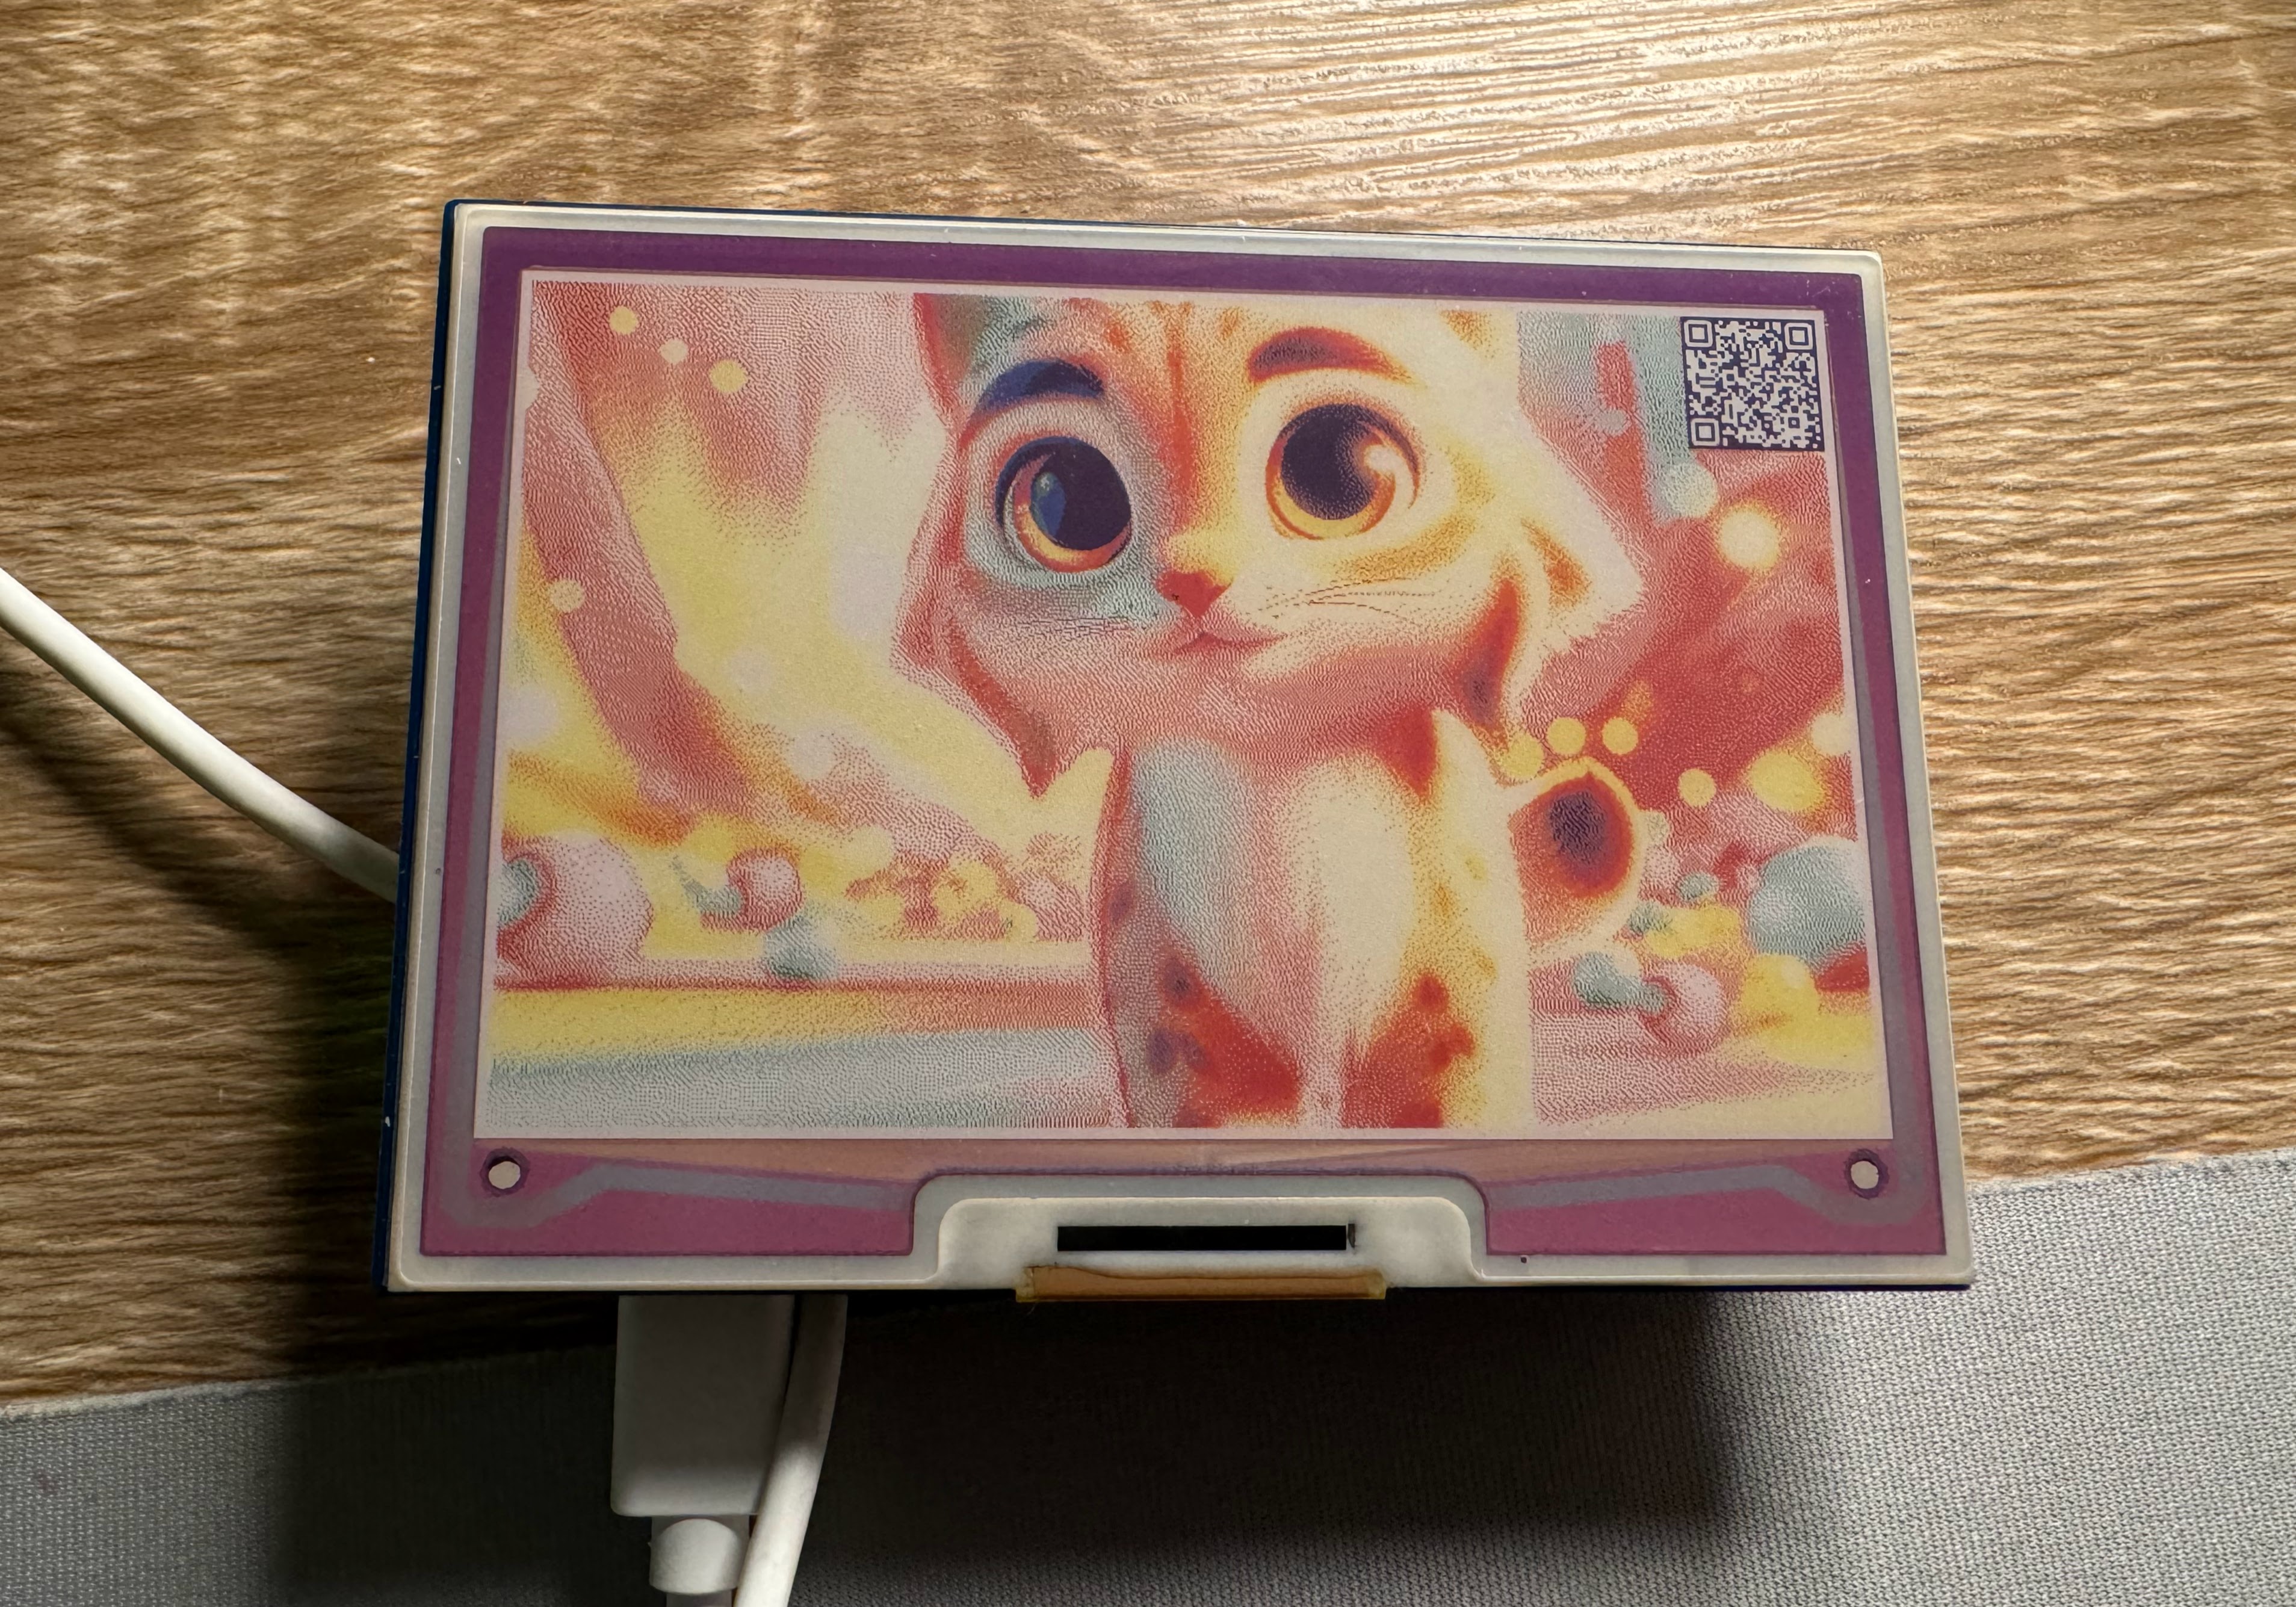
Once the deploy finishes, a preview image should appear, followed by the same image on the frame itself.
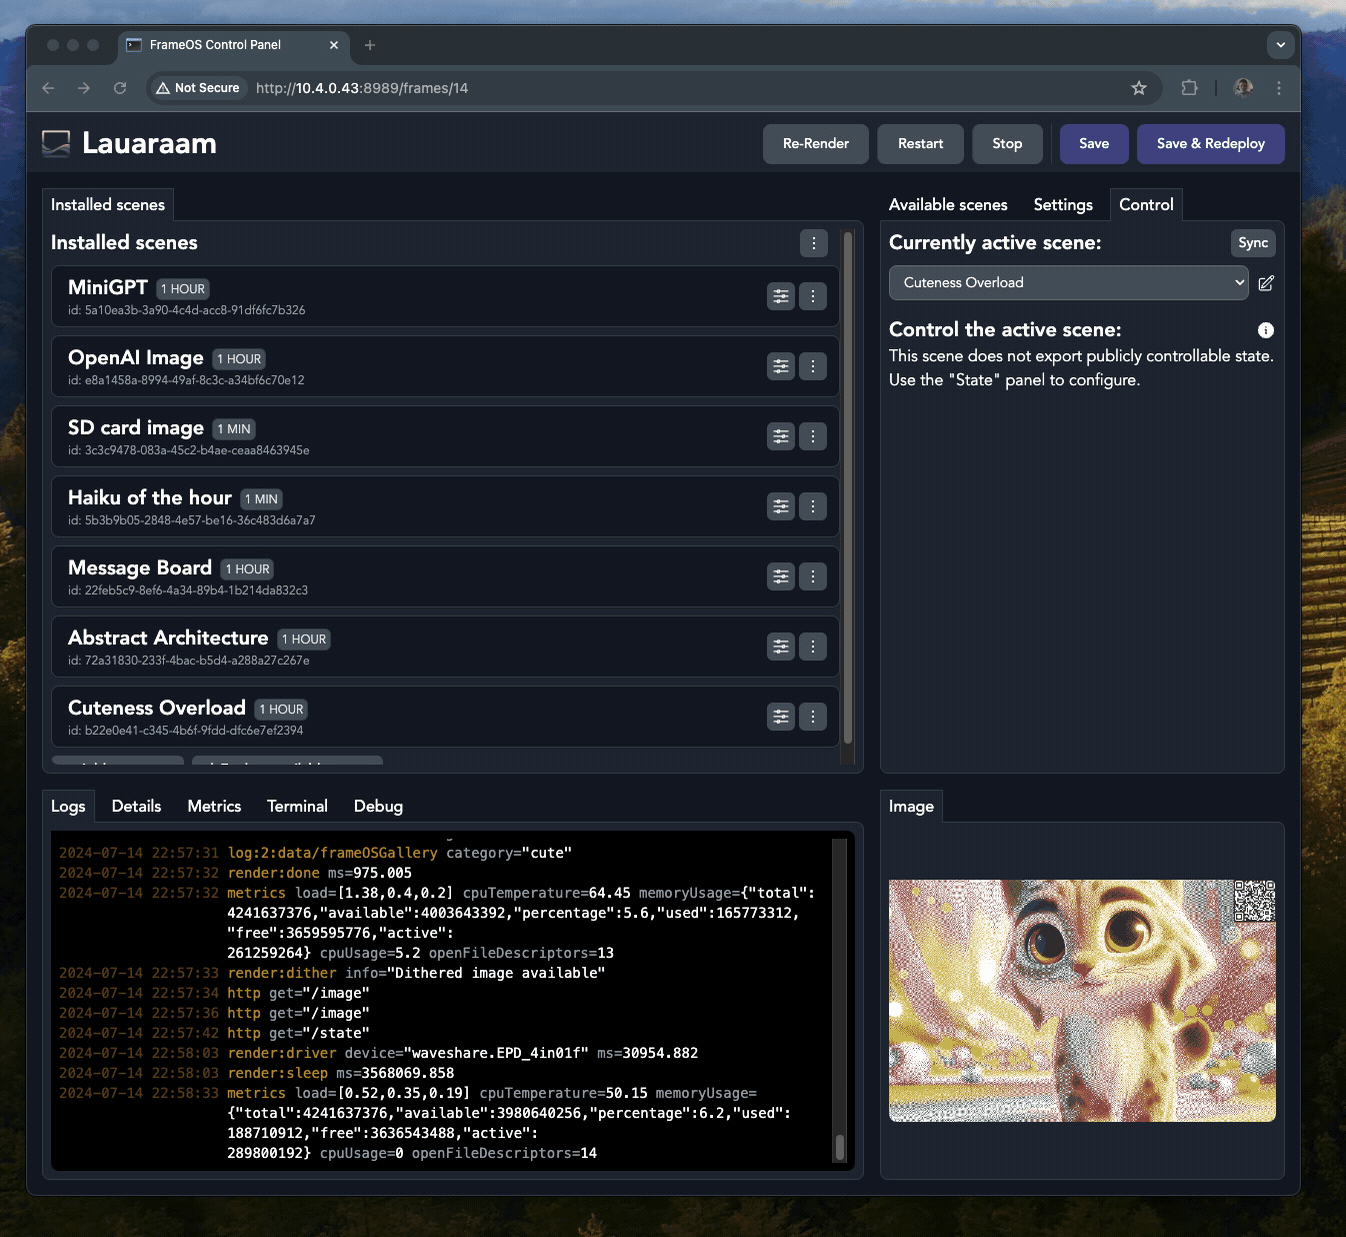
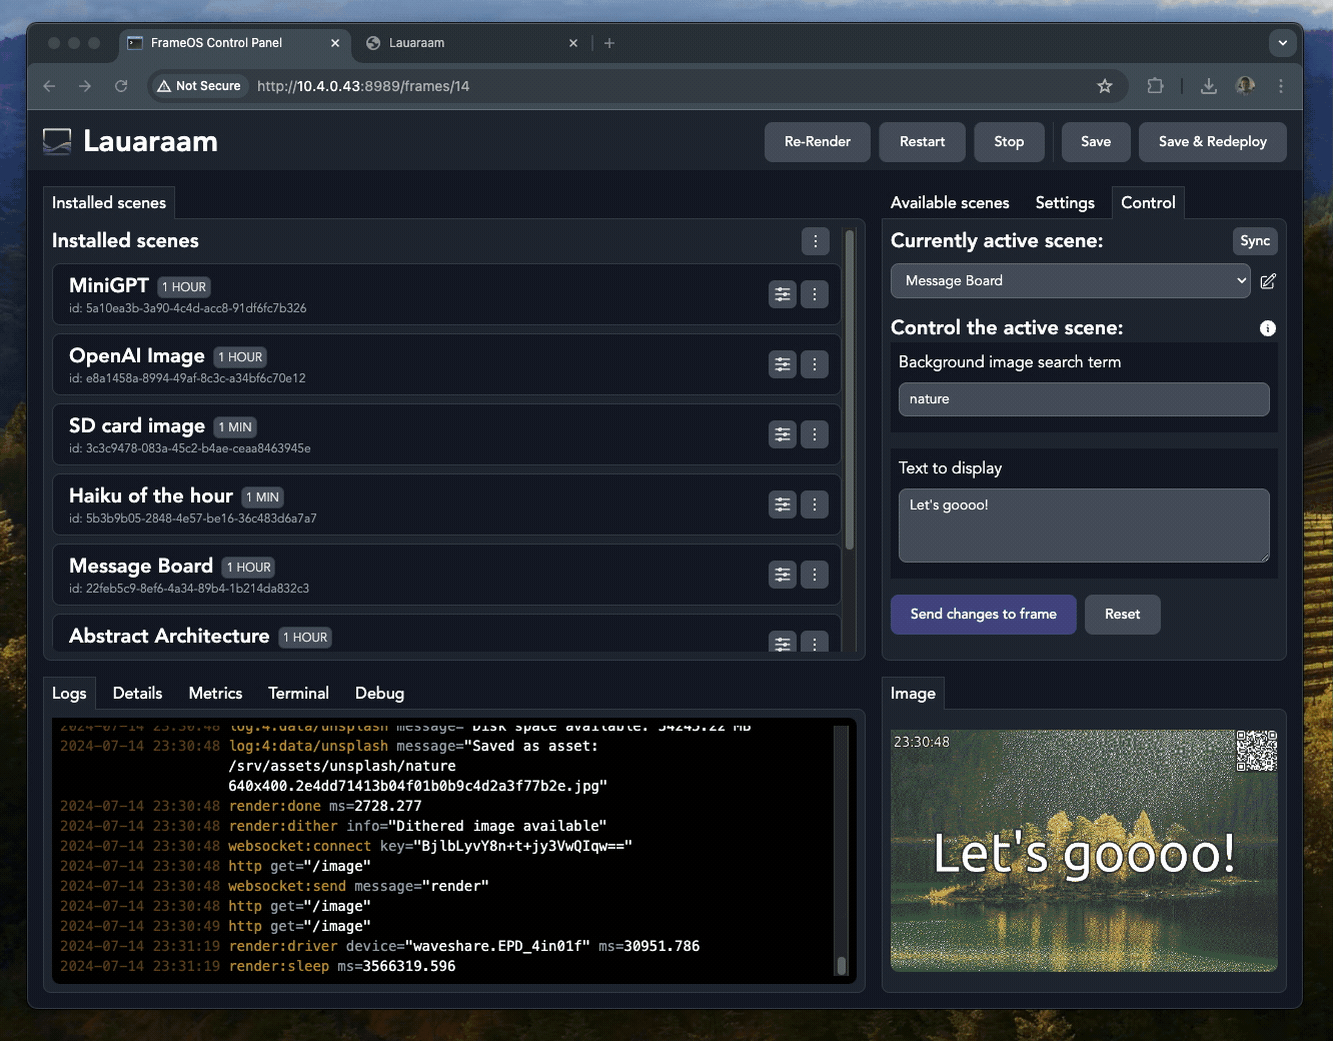
Control the frame
You can control a scene with the "Control" tab. Different scenes expose different options:
You can also use the "Control URL", found under the "Details" tab, or by scanning the QR code on the frame itself.