The operating system for smart frames
Turn a Raspberry Pi or ESP32, and any display - e-ink, HDMI or LCD - into a calendar, dashboard or art frame that runs itself. Everything renders on the device. No cloud, no subscriptions, no compromises.
Install FrameOS
Start with the backend or the frame?
Choose a path to see the next step.
Free & open source since 2023 (AGPL-3.0) · Works offline · Yours forever

How it works
Two setup paths, one standalone frame
Use the backend when you want a webapp for designing and managing frames, or flash the Pi Zero 2 W image when you want a frame that can set itself up.
- 1
Choose your install path
Run the Dockerized backend on your laptop, server or NAS, or flash the standalone Buildroot image directly to a Raspberry Pi Zero 2 W.
- 2
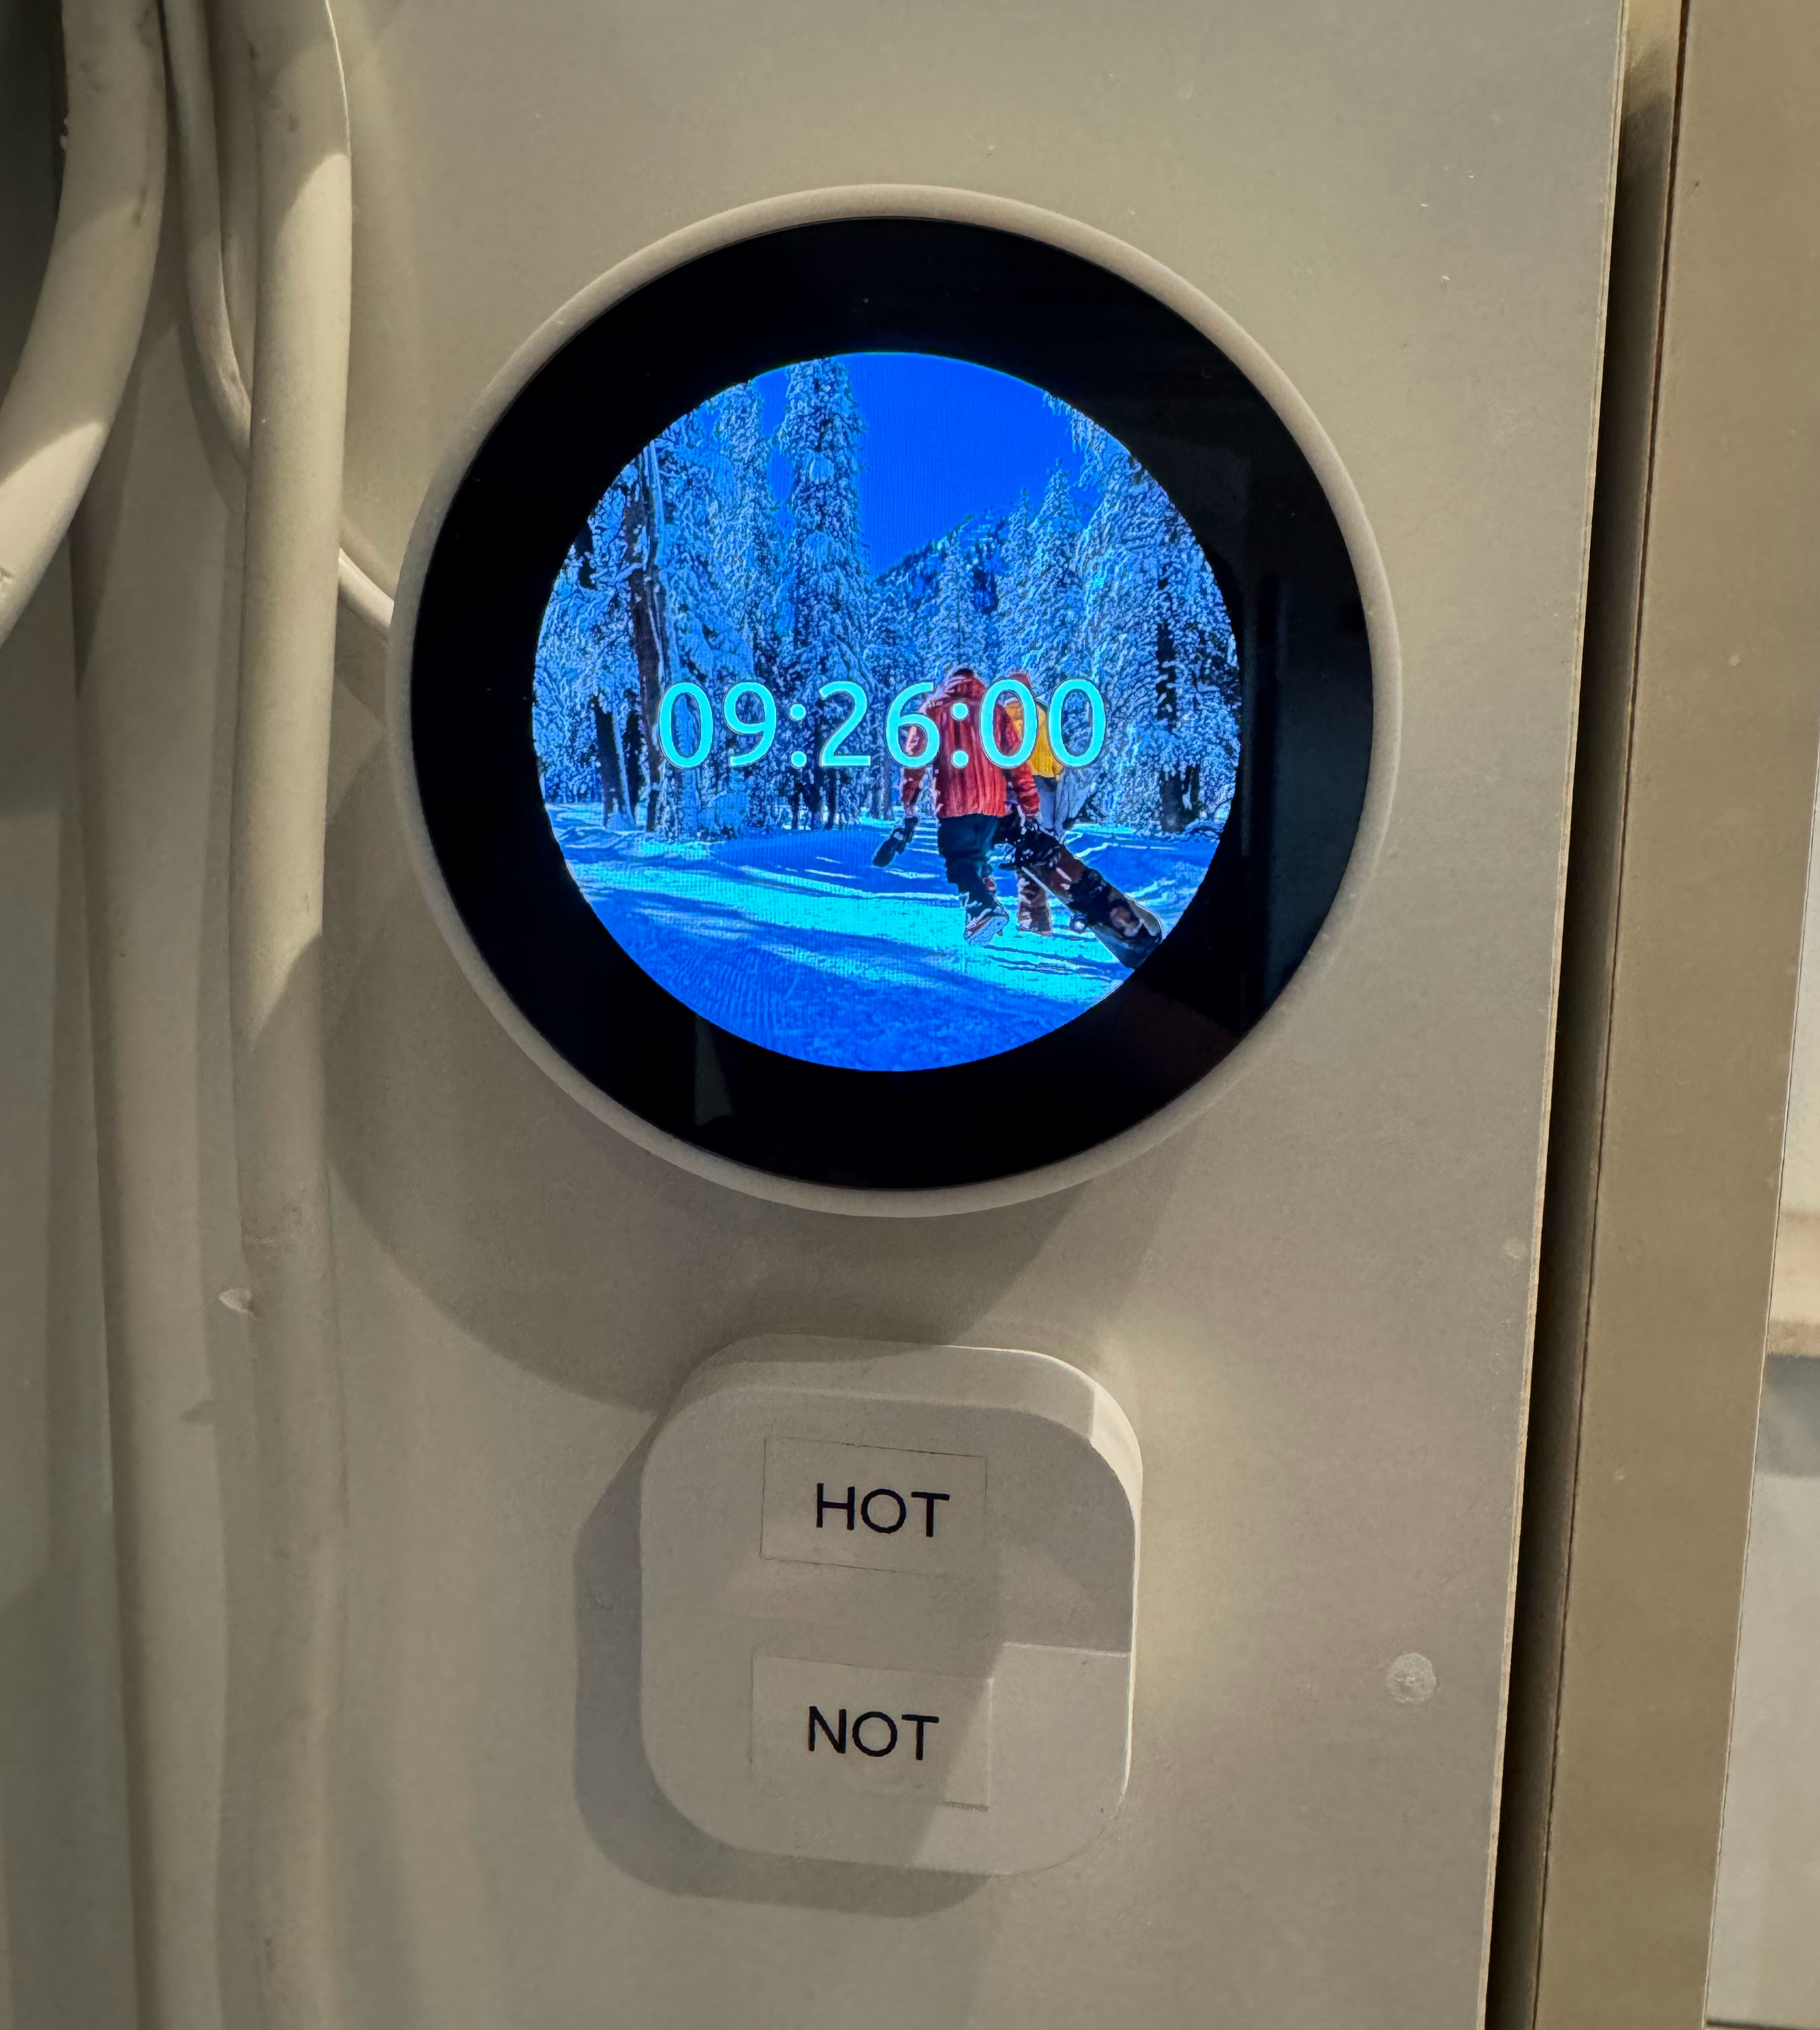
Connect a Pi or ESP32 to a display
Flash a prebuilt FrameOS SD image, stock Raspberry Pi OS Lite - or an ESP32-S3, straight from the browser. Plug in any of 120+ supported panels, or just an HDMI cable (Pi only).
- 3
Set up scenes, then walk away
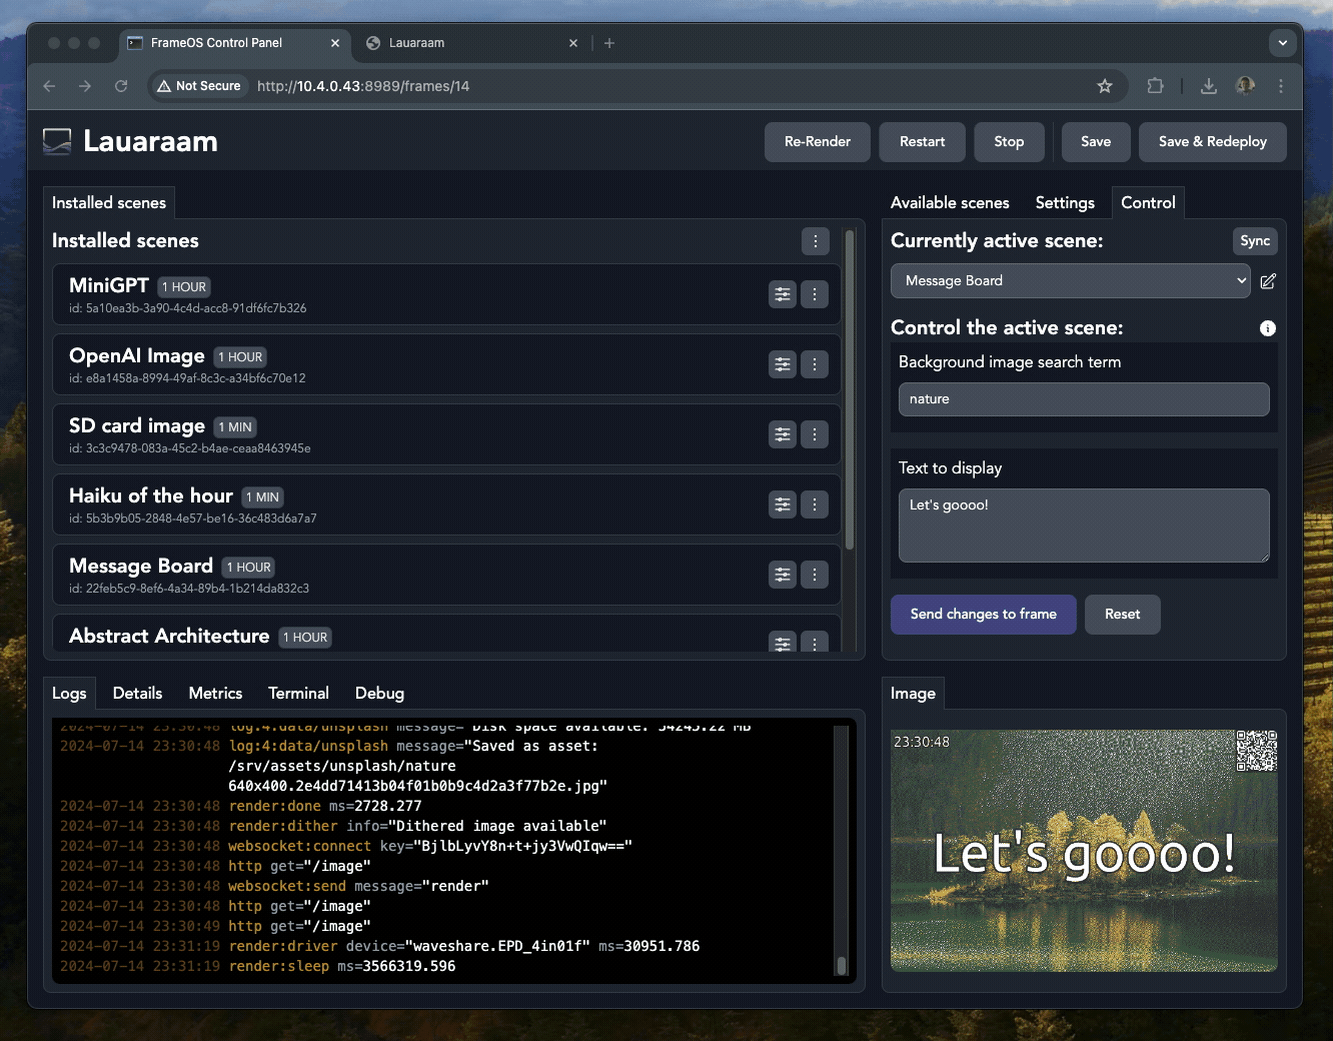
Pick prebuilt scenes or design your own in the backend or on the frame. The frame renders on-device and is controlled from its own QR code and HTTP API (still experimental for ESP32).
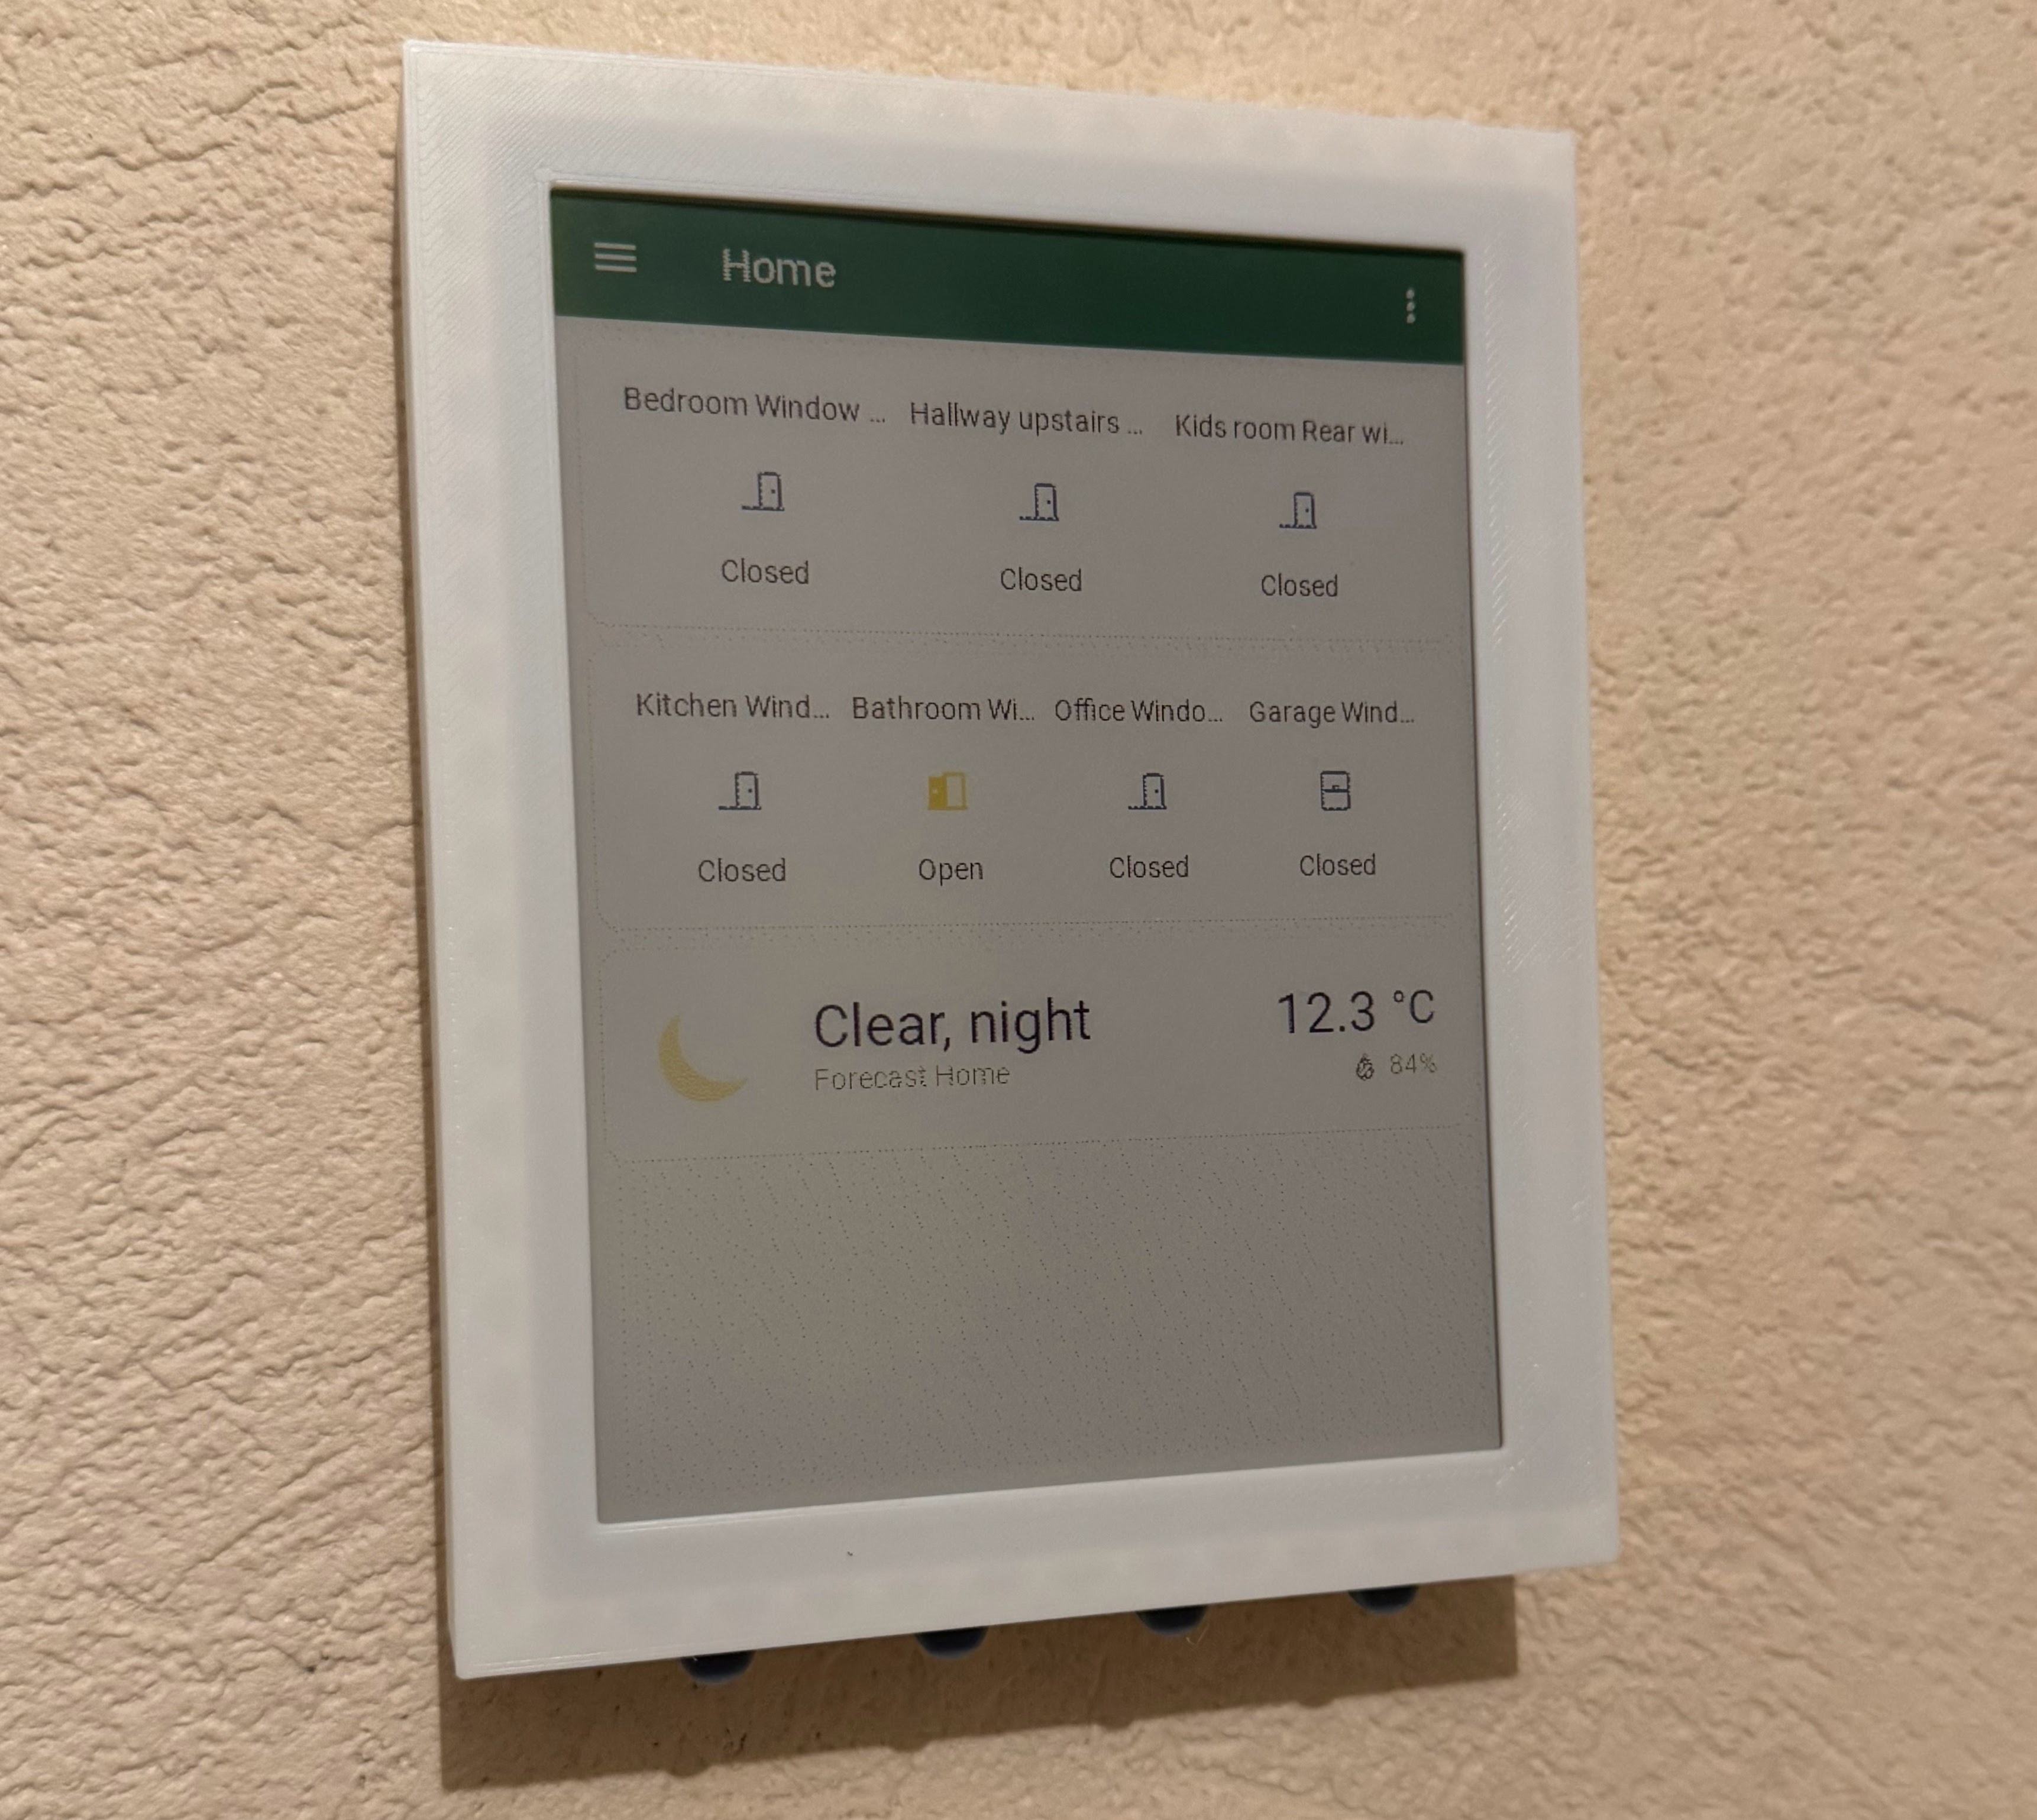
The backend
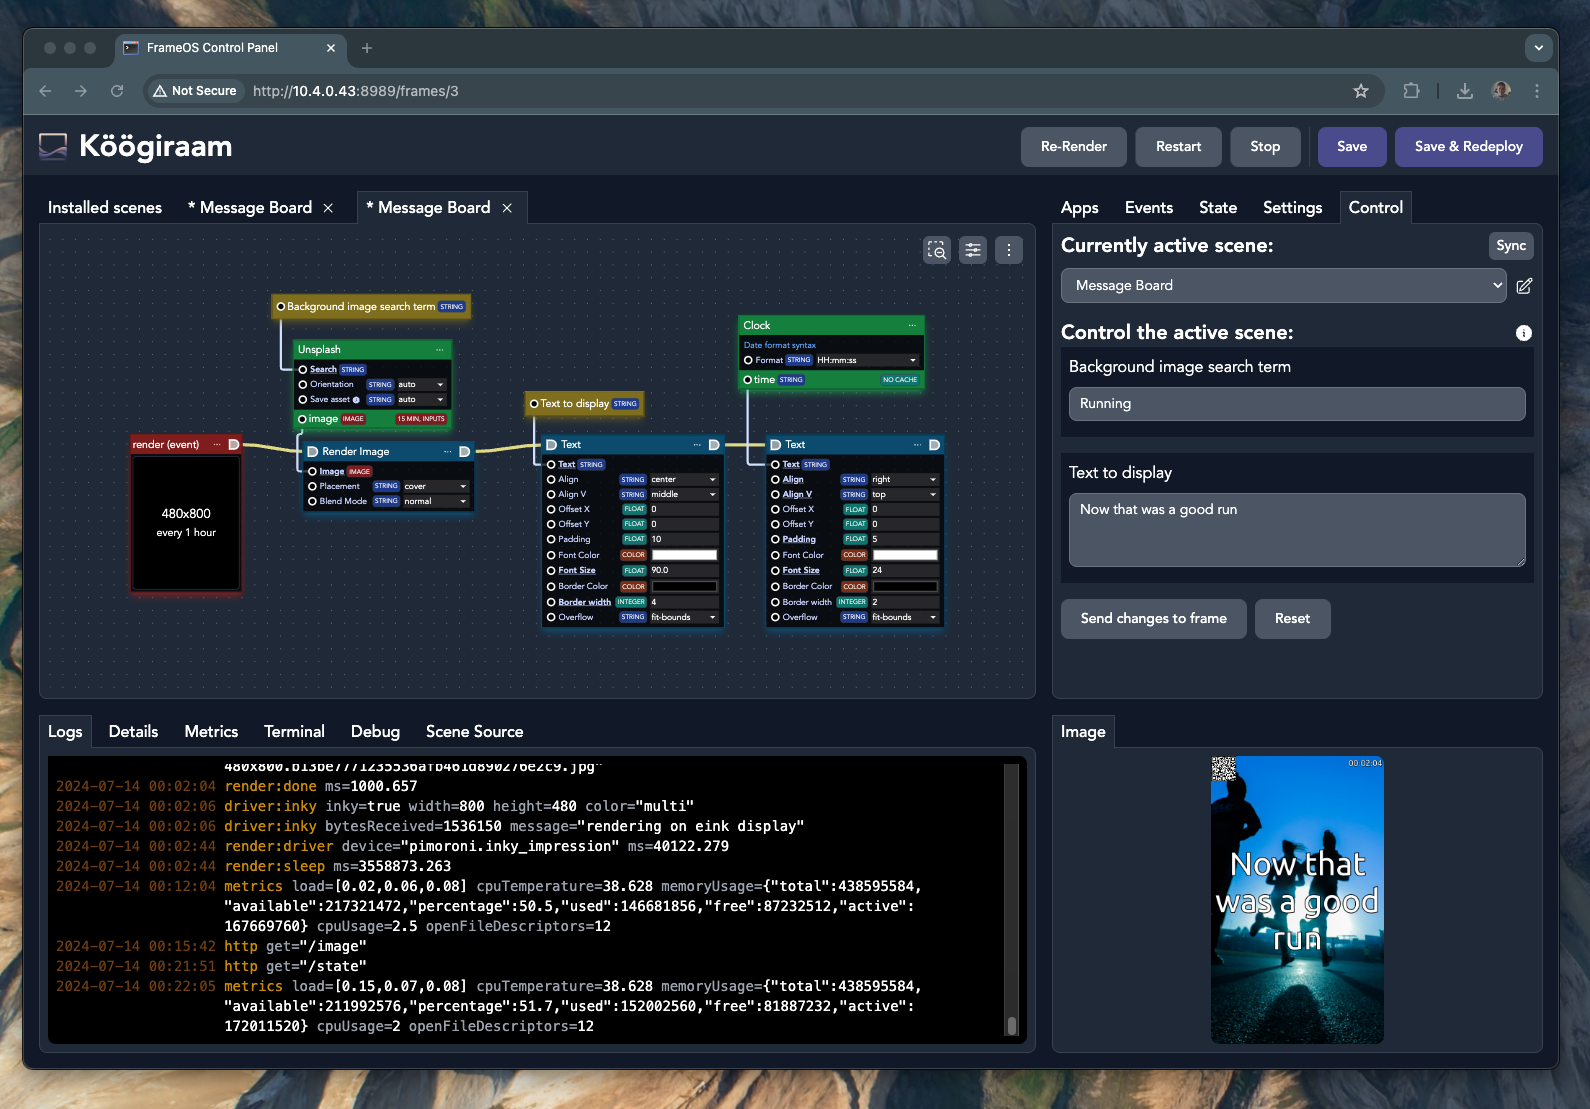
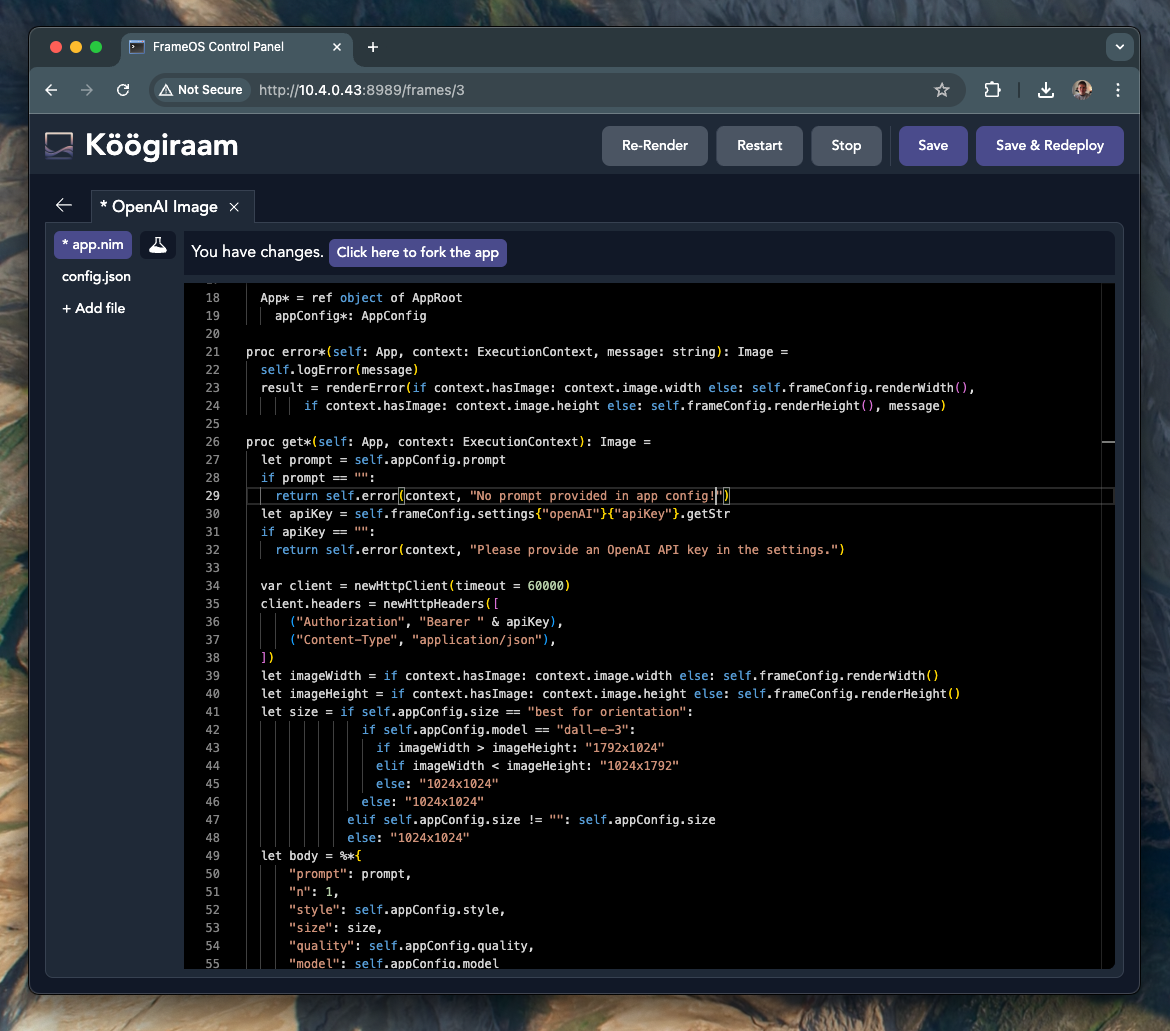
A visual editor backed by real code
Scenes are node graphs: red events, green data apps, blue render apps, yellow state. They compile to a single binary that runs on the frame.
Pick your hardware
Raspberry Pi or ESP32?
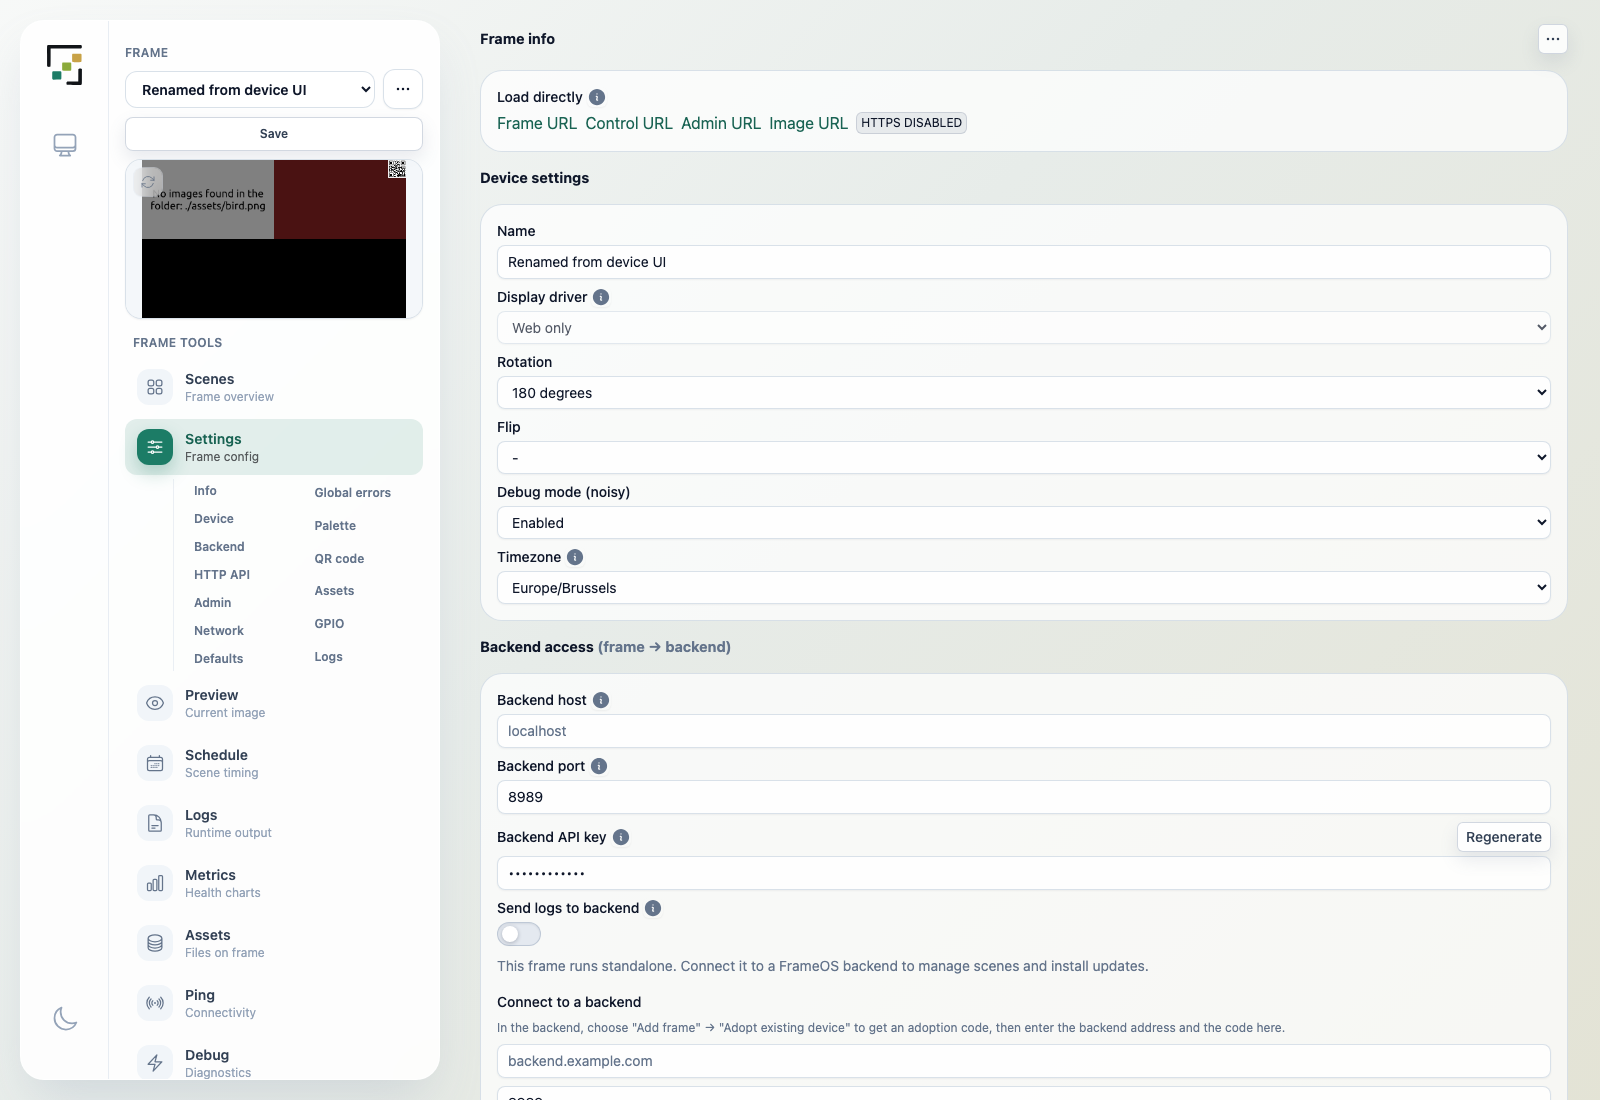
FrameOS runs best on real Linux - from the $15 Pi Zero 2 W up: deploys over WiFi instead of re-flashing firmware, TrueType fonts and SVGs at any resolution, dithering for six-color e-ink, TLS, iCal parsing, headless Chromium screenshots, and a web server on the frame itself.
Want a wire-free frame instead? FrameOS runs on the ESP32-S3 for Waveshare SPI e-paper panels: flash it from the browser, render scenes on-device, update over the air, and deep-sleep between refreshes for battery power. Each firmware image contains one selected panel driver.
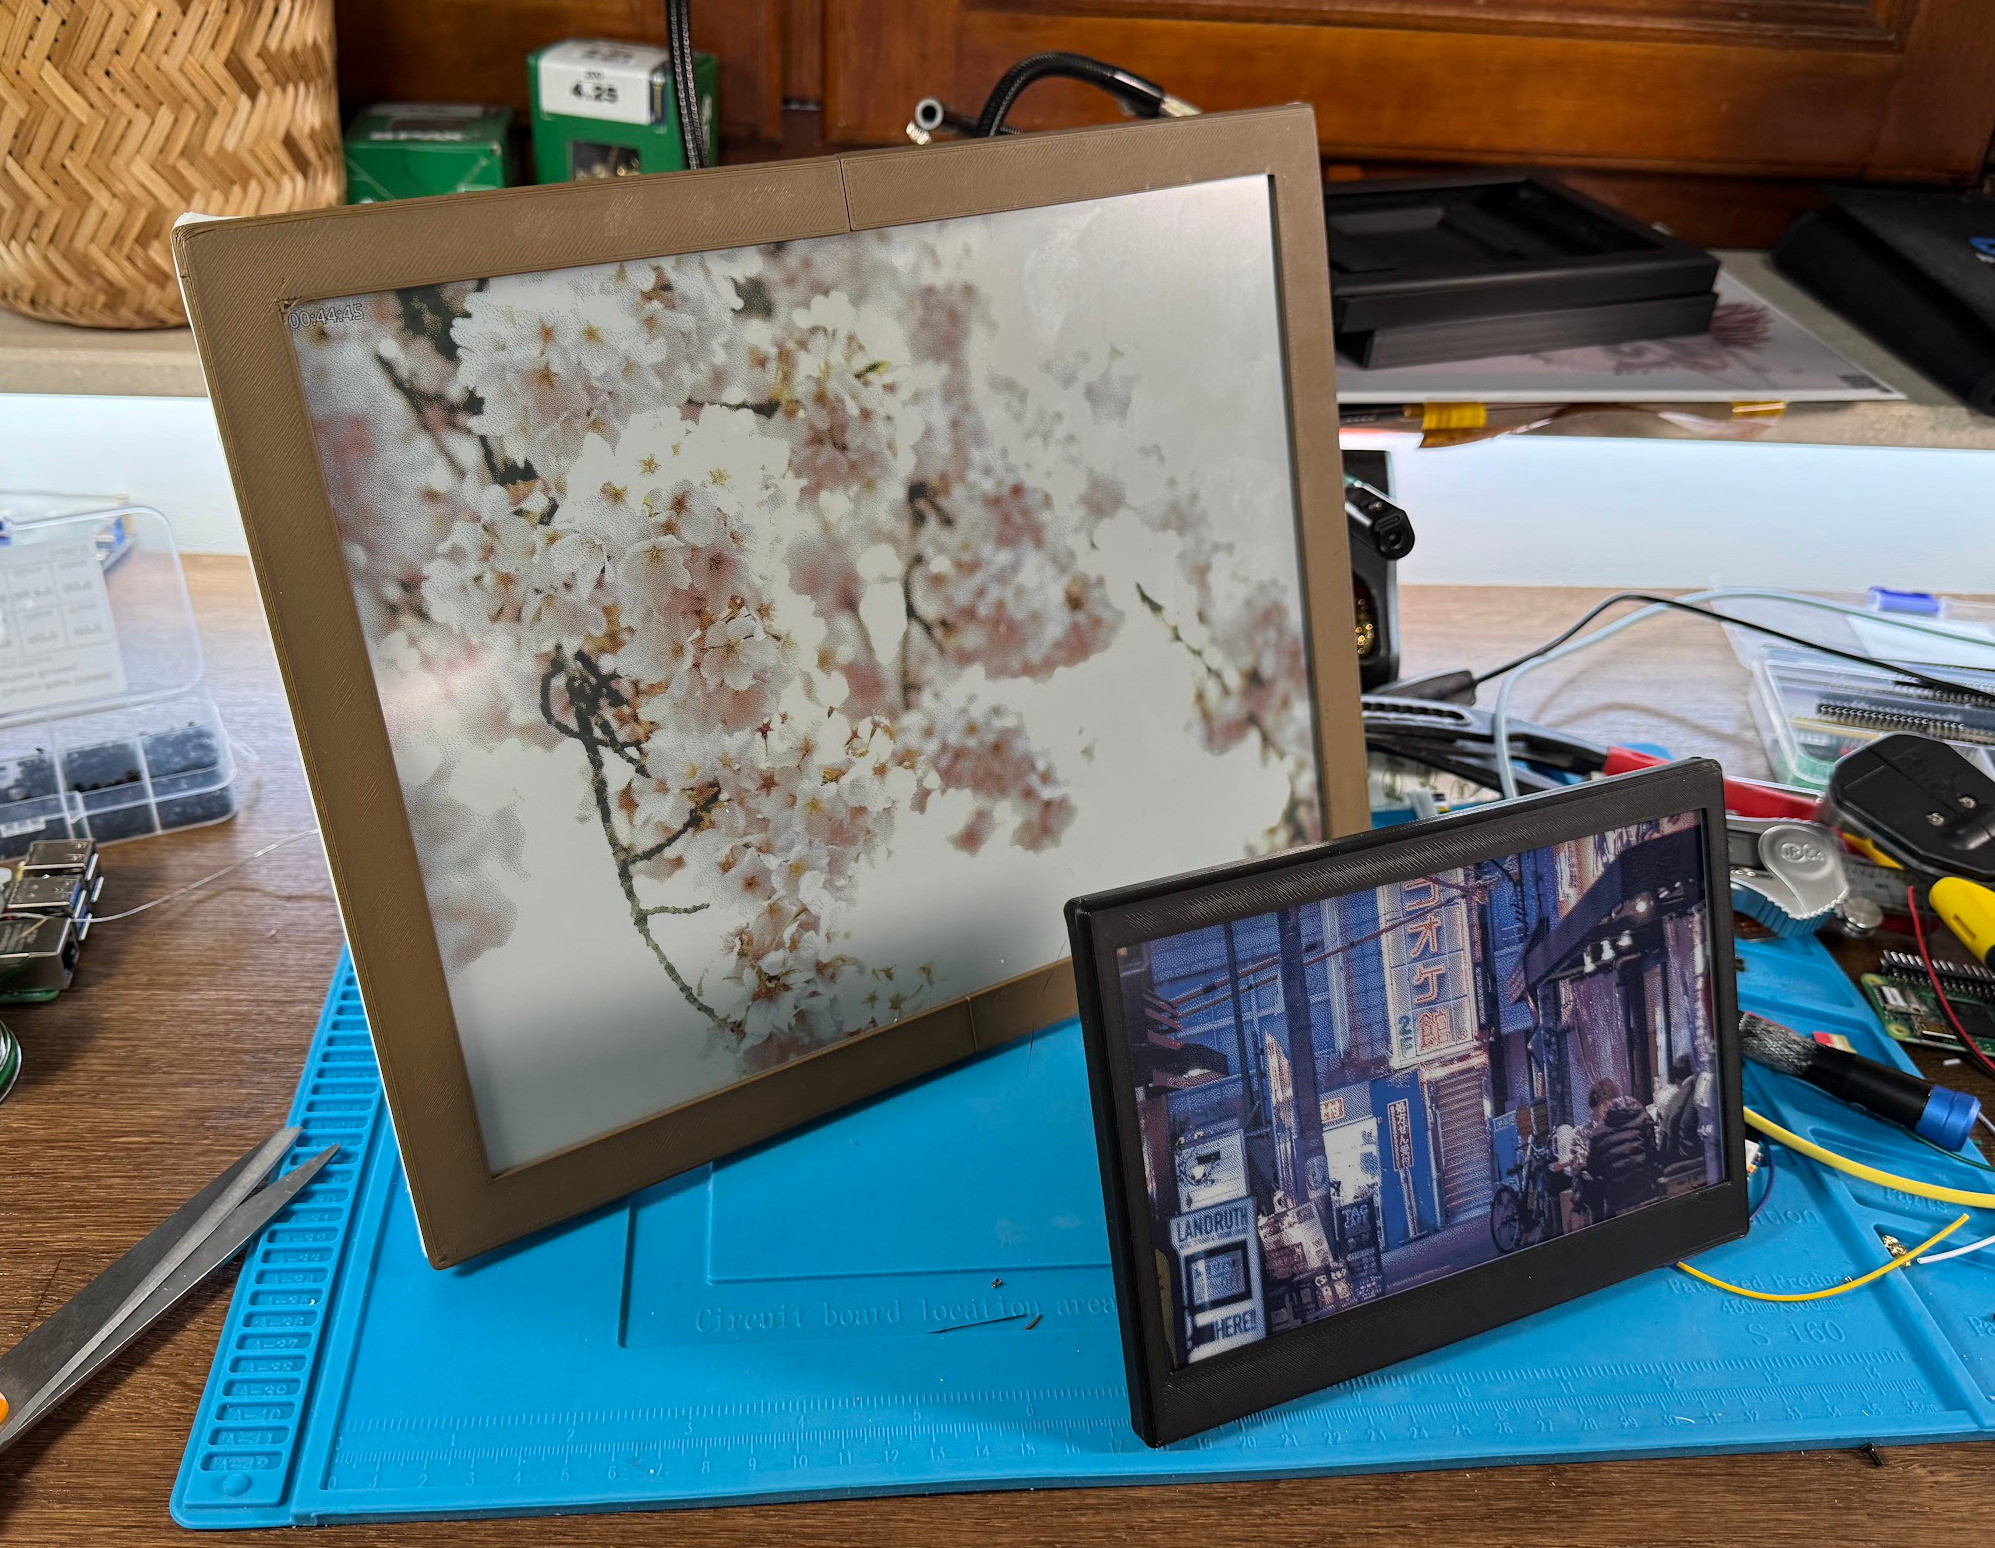
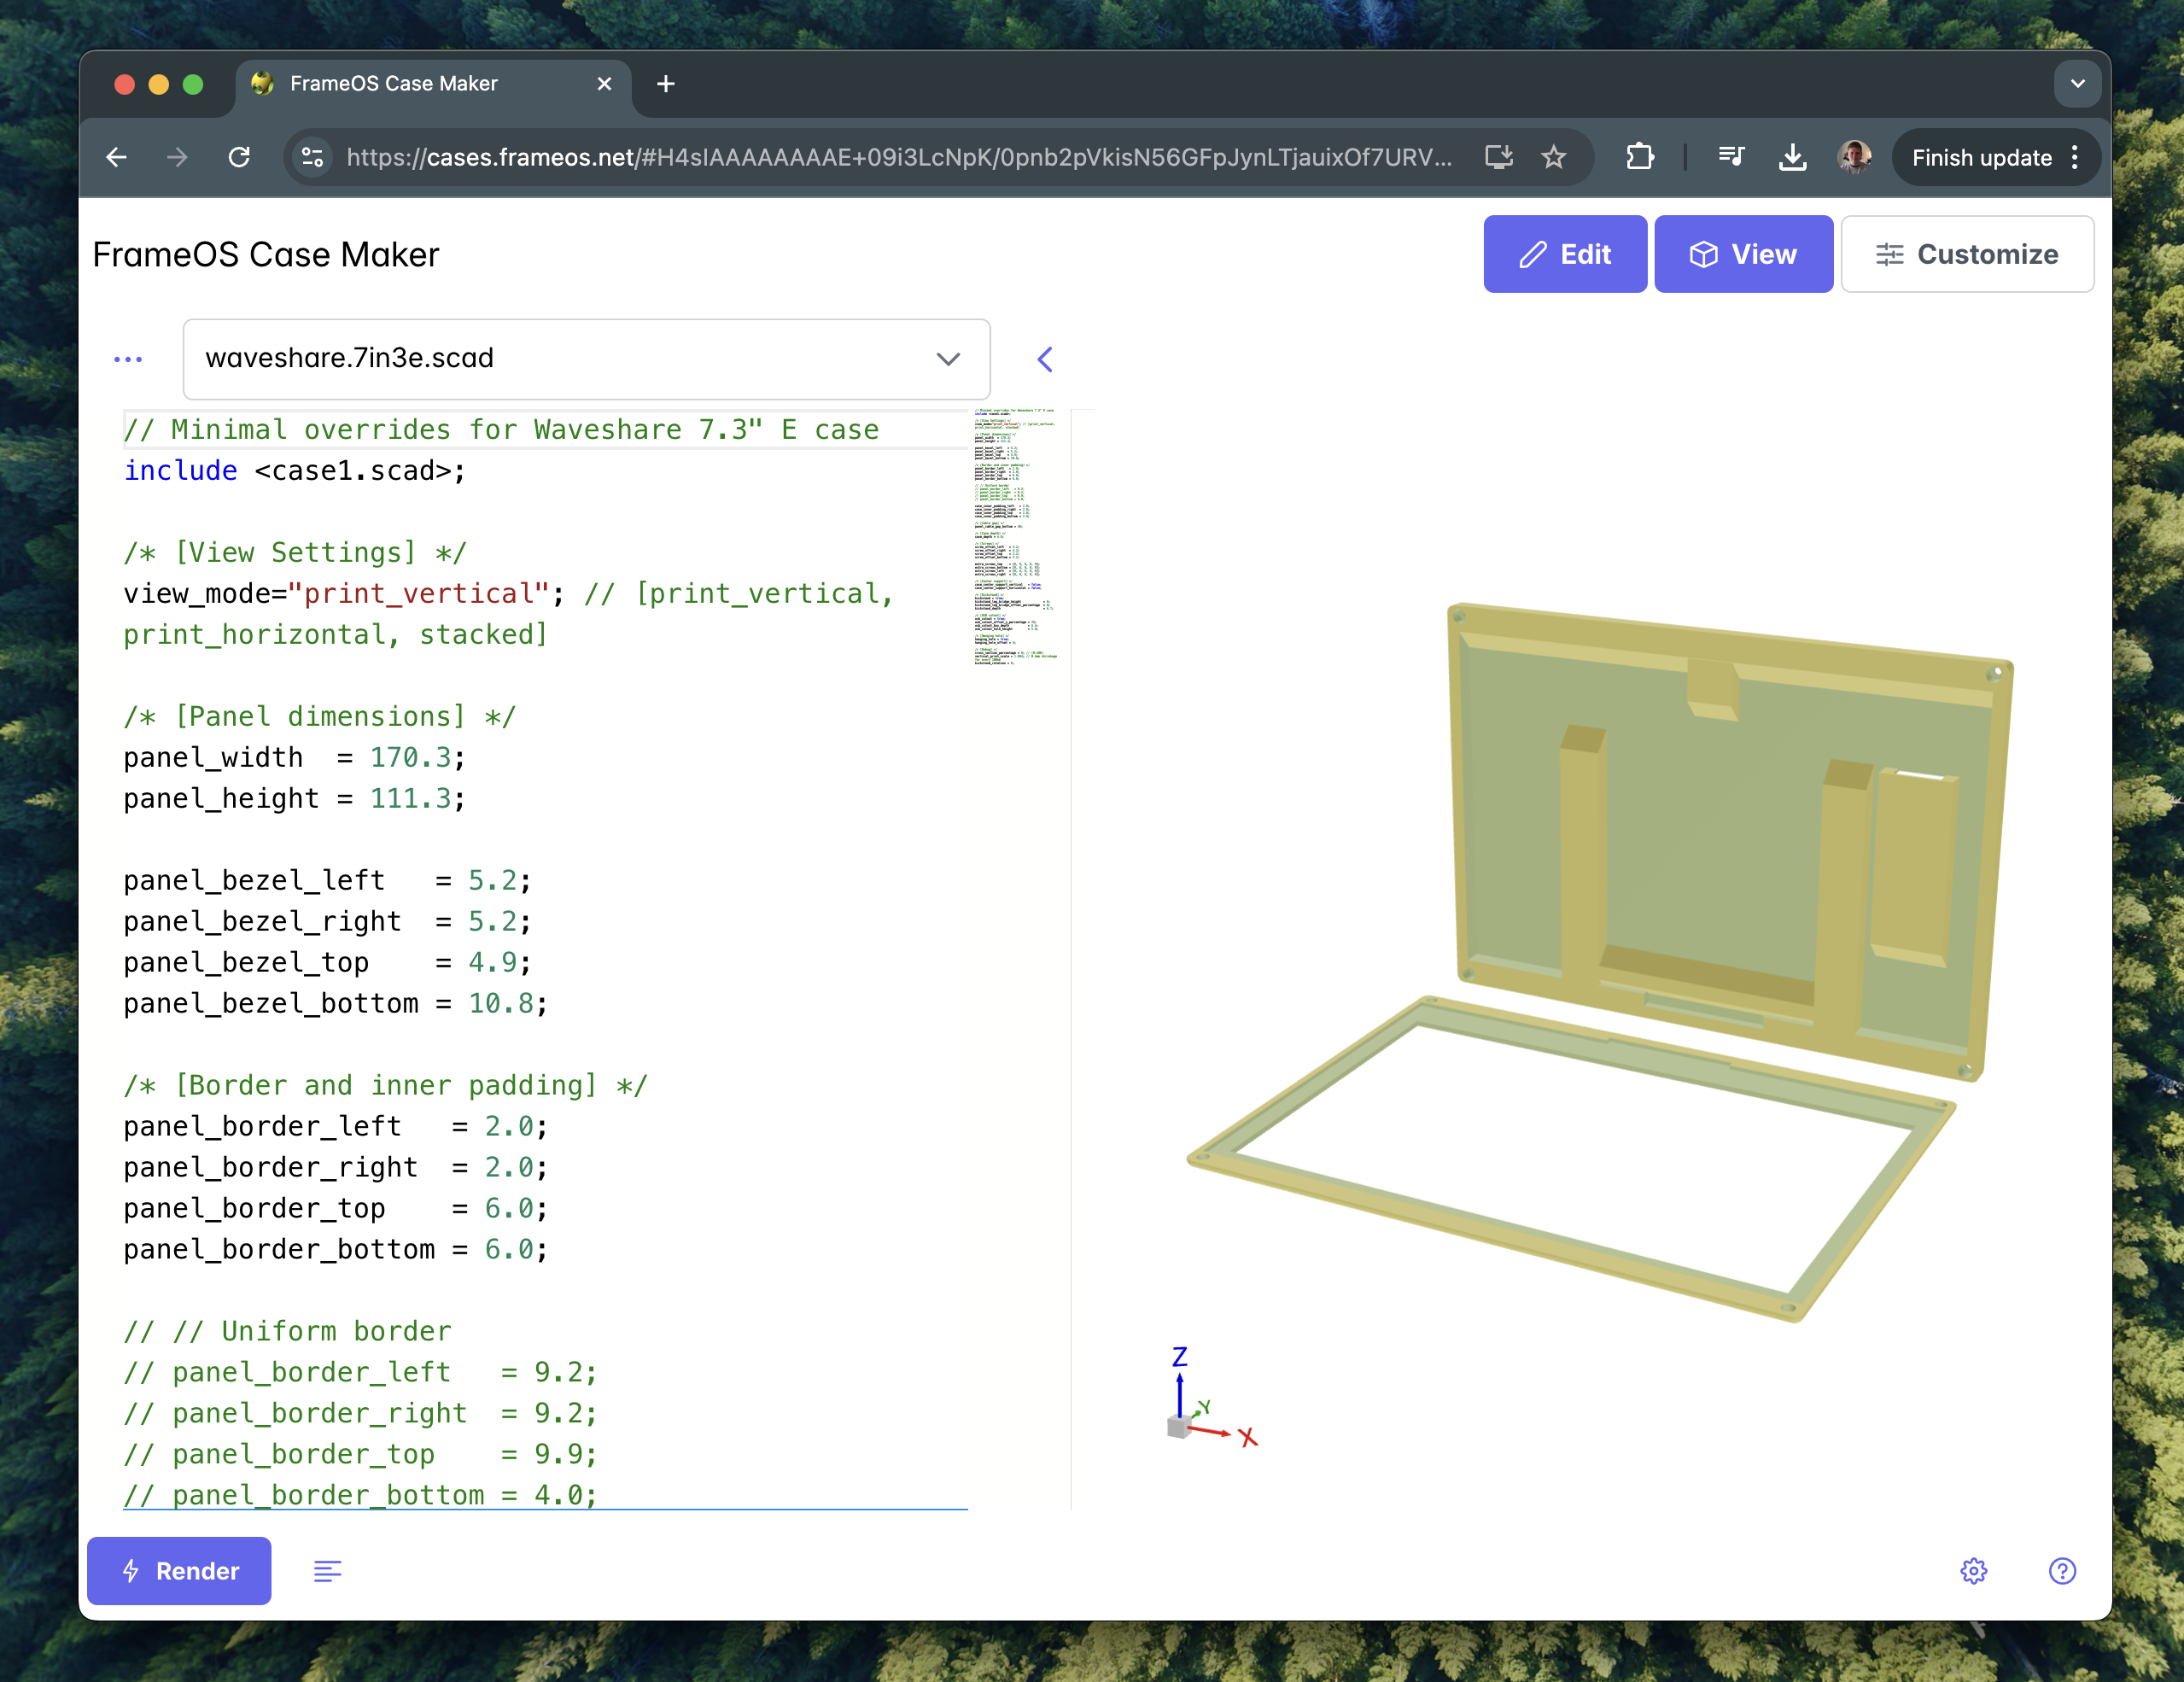
Case Maker
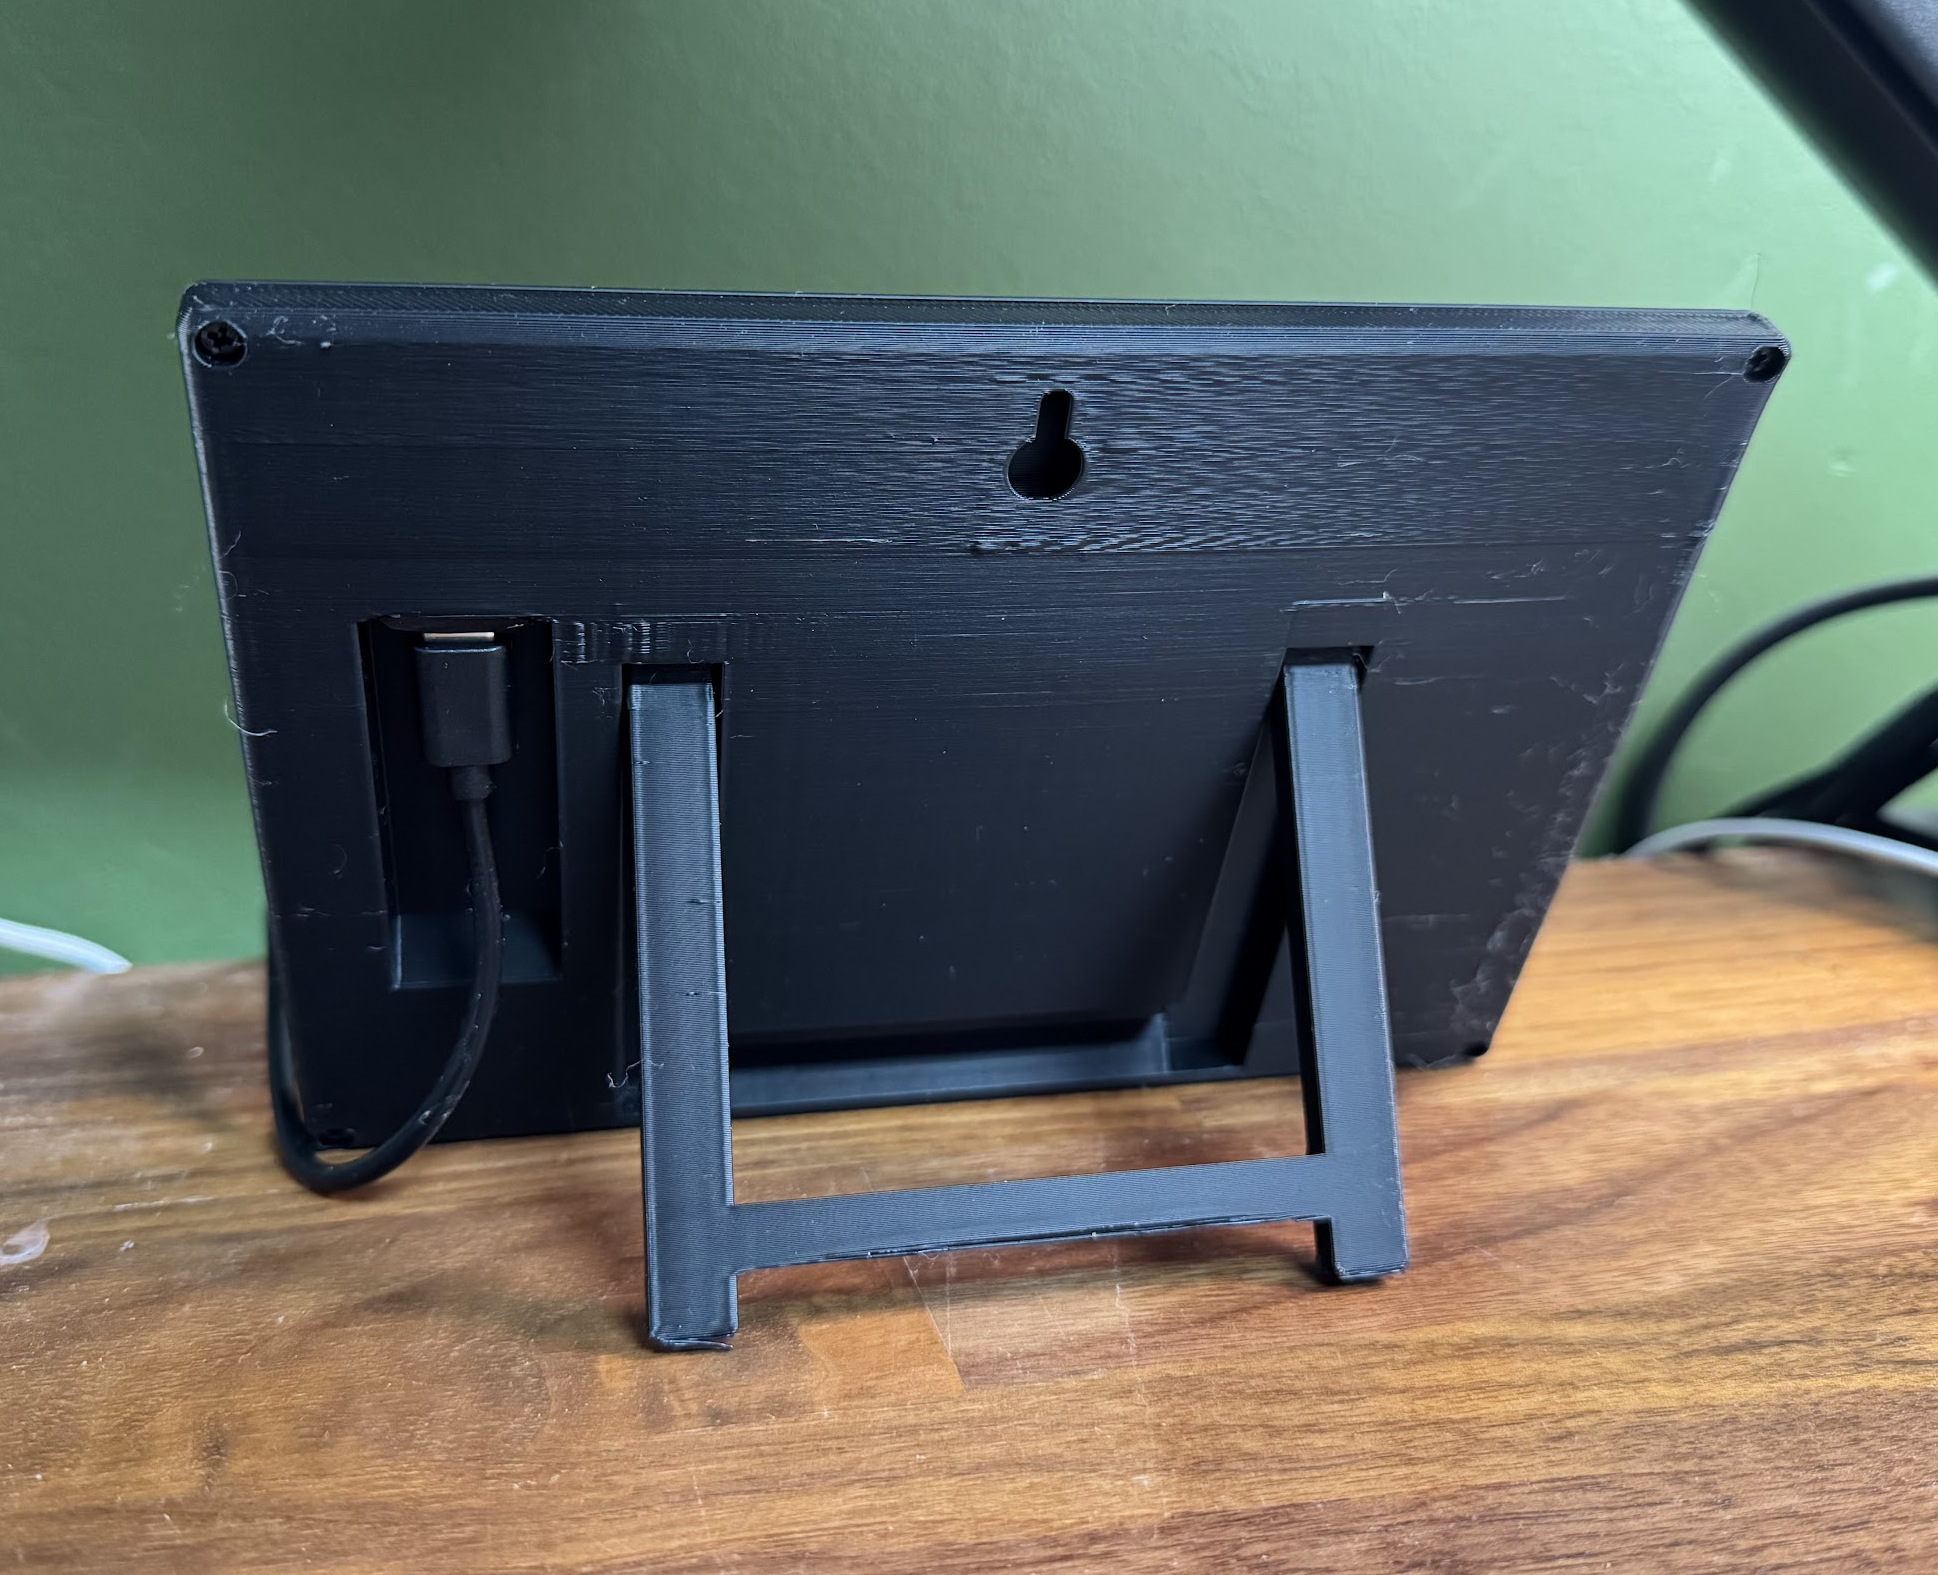
Design a printable case around your exact frame
The FrameOS Case Maker generates parametric, 3D-printable enclosures for supported panels and Raspberry Pi layouts. Pick a template, tune the depth and bezel, add wall mounts, kickstands, USB-C cutouts and screw posts, then download the STL.
It is built for the same hardware database as the docs, so common Waveshare and Pimoroni builds start from sane dimensions instead of a blank CAD file.
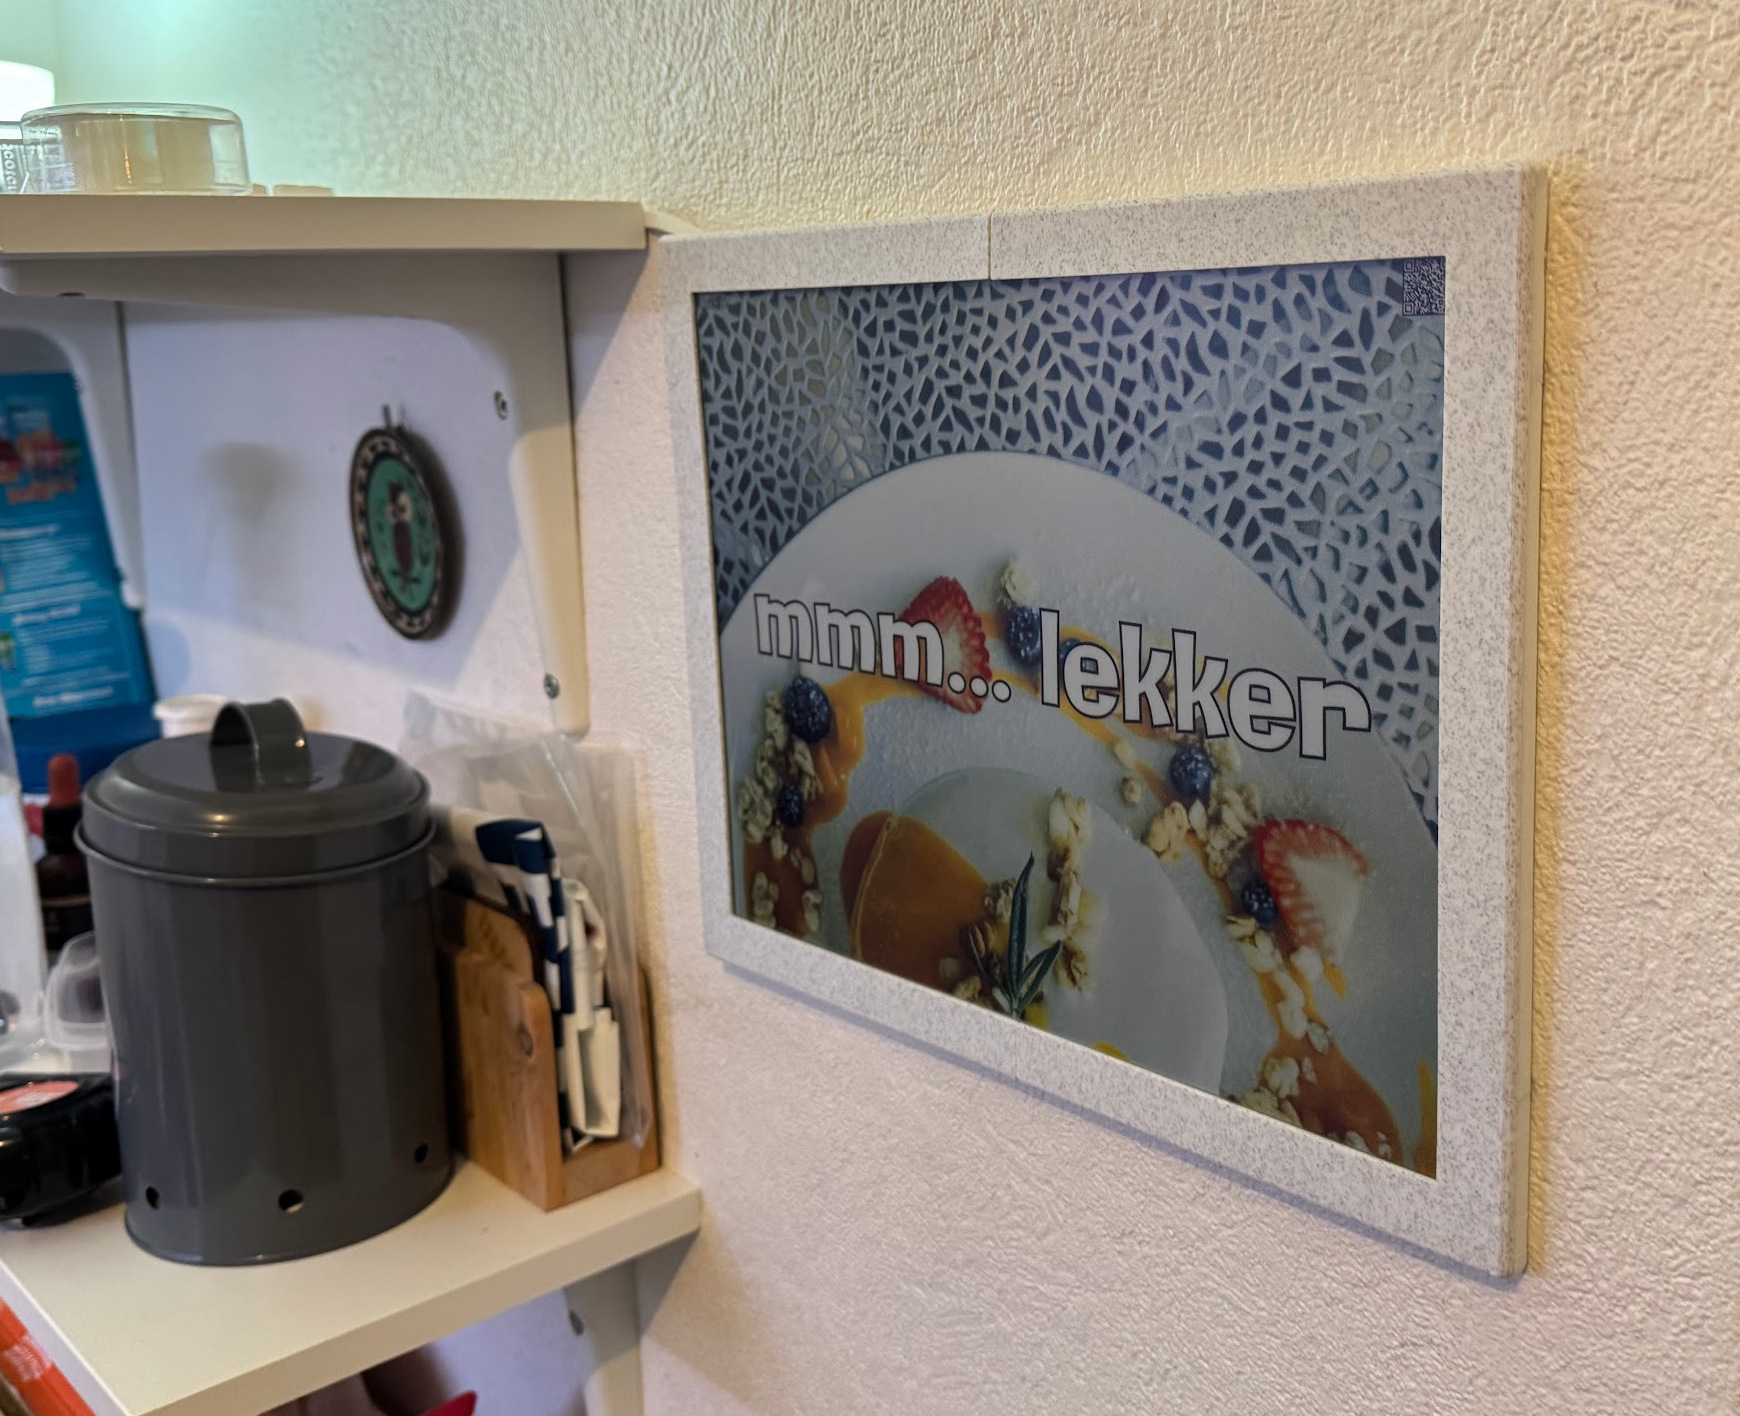
Batteries included
Deploy a scene in your first five minutes
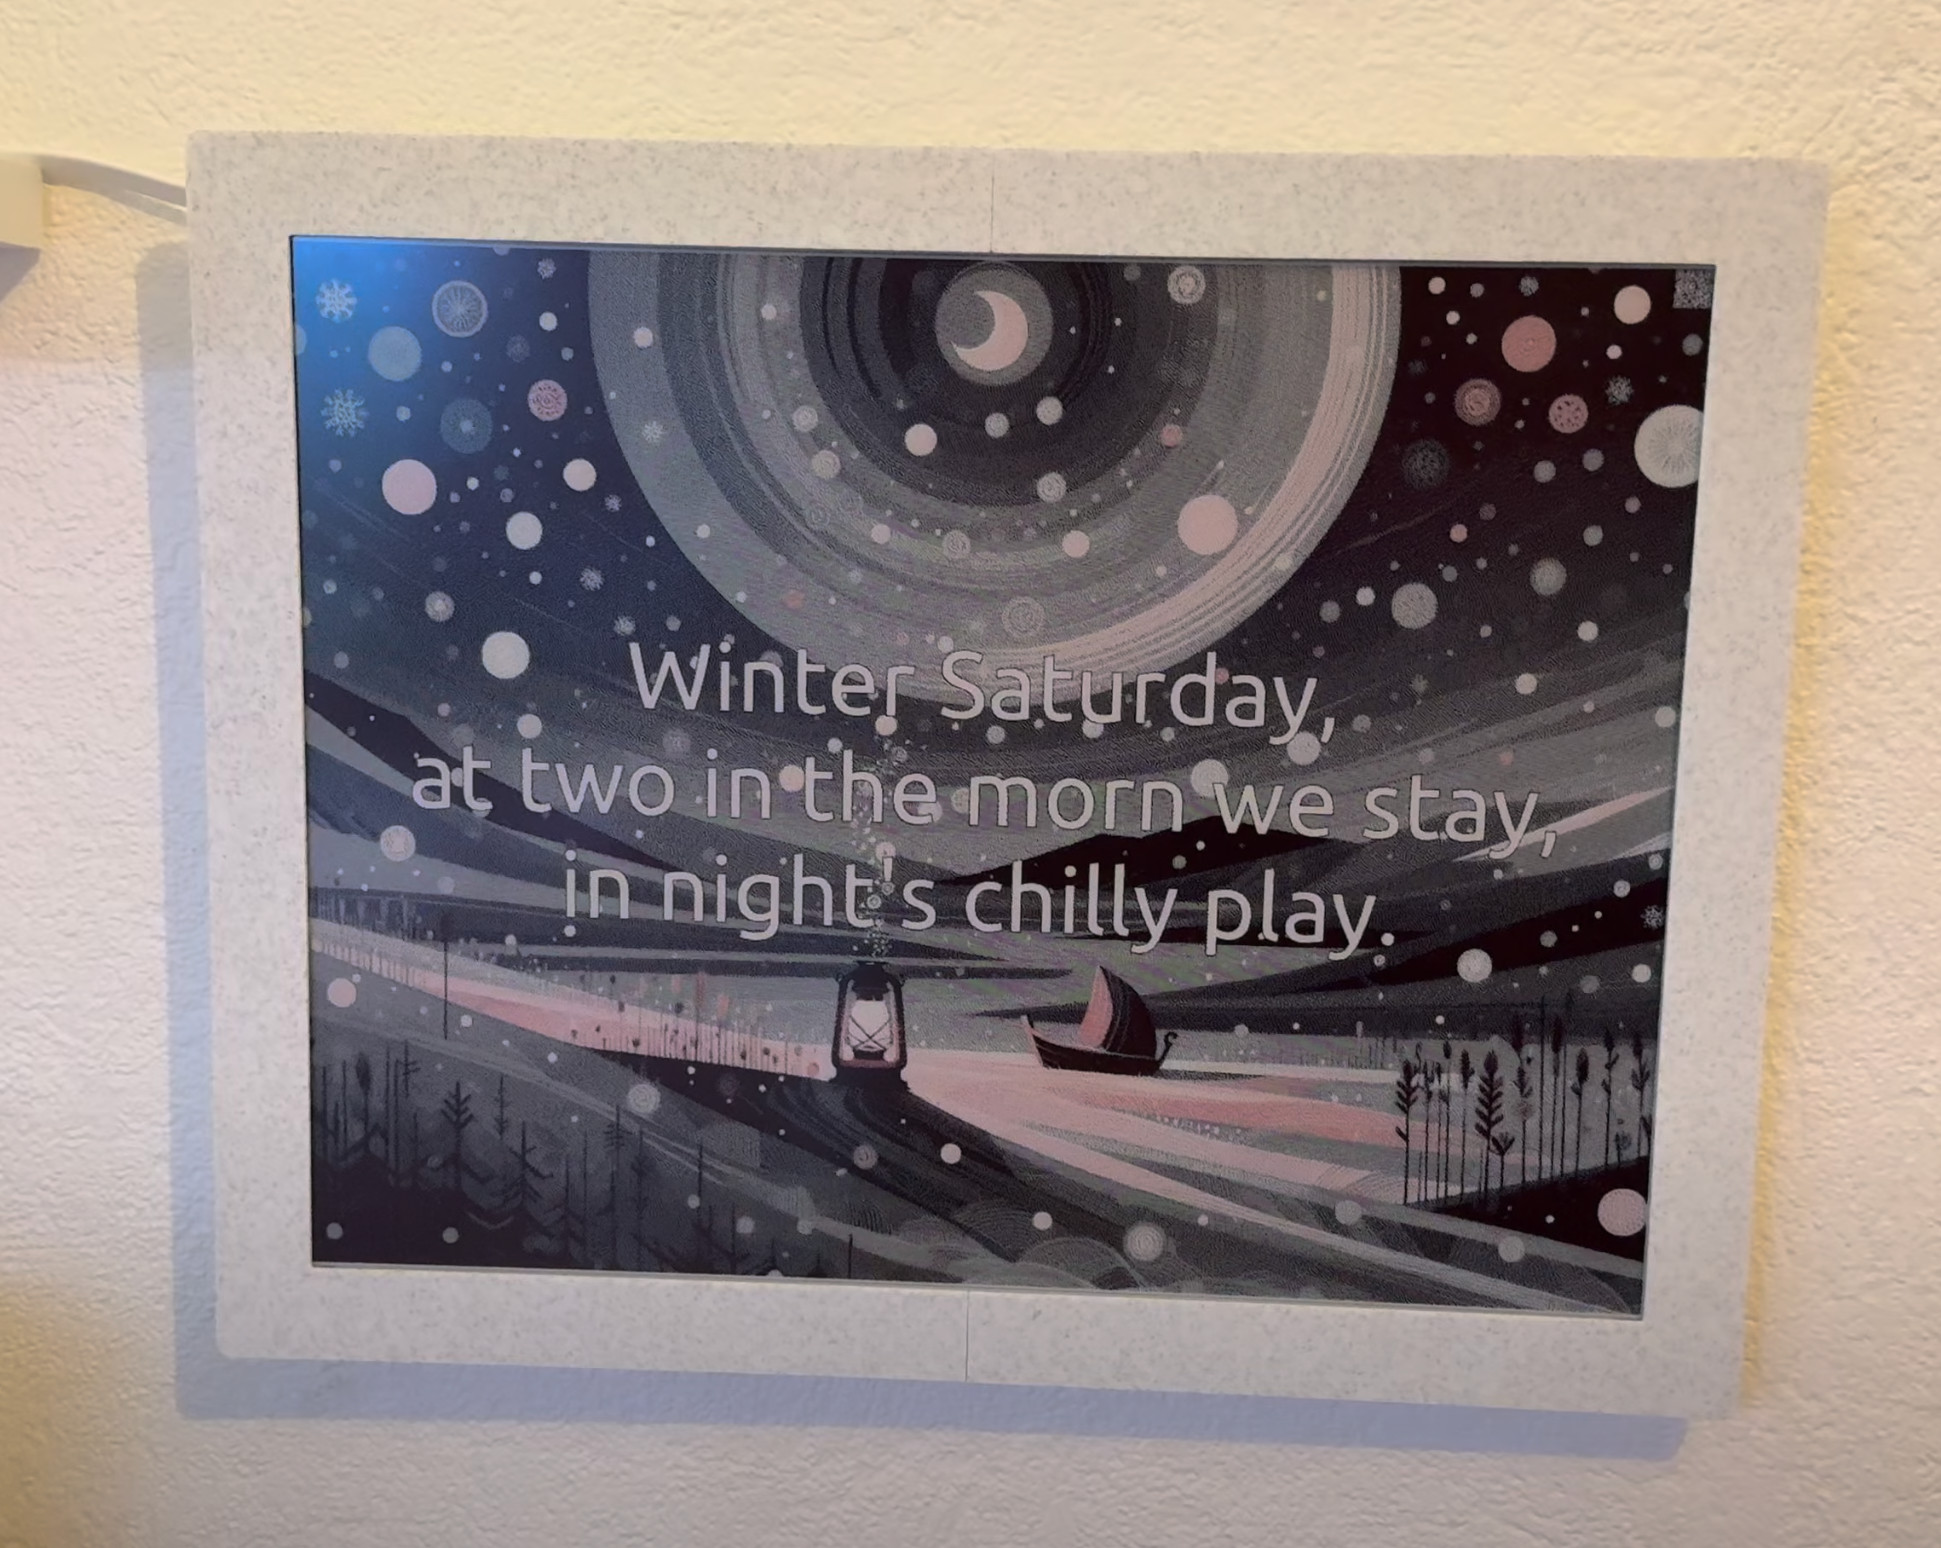
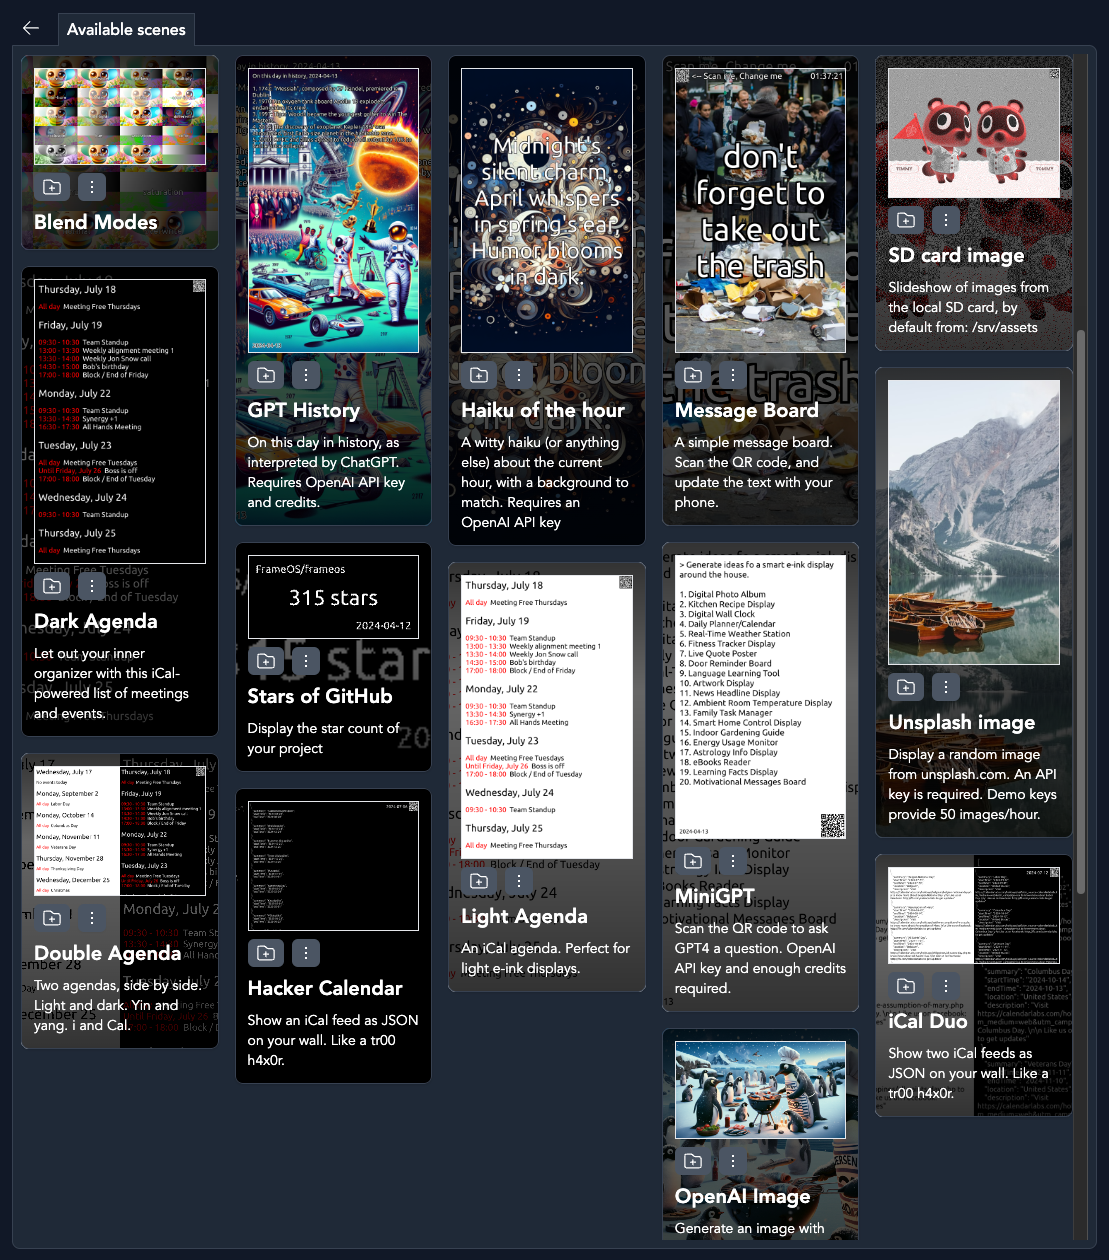
Curated galleries, calendars, agendas, message boards, weather, webcams, AI art - installable with one click, editable down to the source.


Watch a full build
From bare panel to finished frame
Waveshare vs Pimoroni Spectra 6 panels, 3D-printed slim cases, USB-C power, and the FrameOS software setup - in one video.
Build your first frame this weekend
The guide walks through both paths: a backend webapp for managing frames, or a standalone Pi Zero 2 W image for direct setup.