Raspberry Setup
Be sure to look at the device-specific instructions for any changes to these steps.
What to choose?
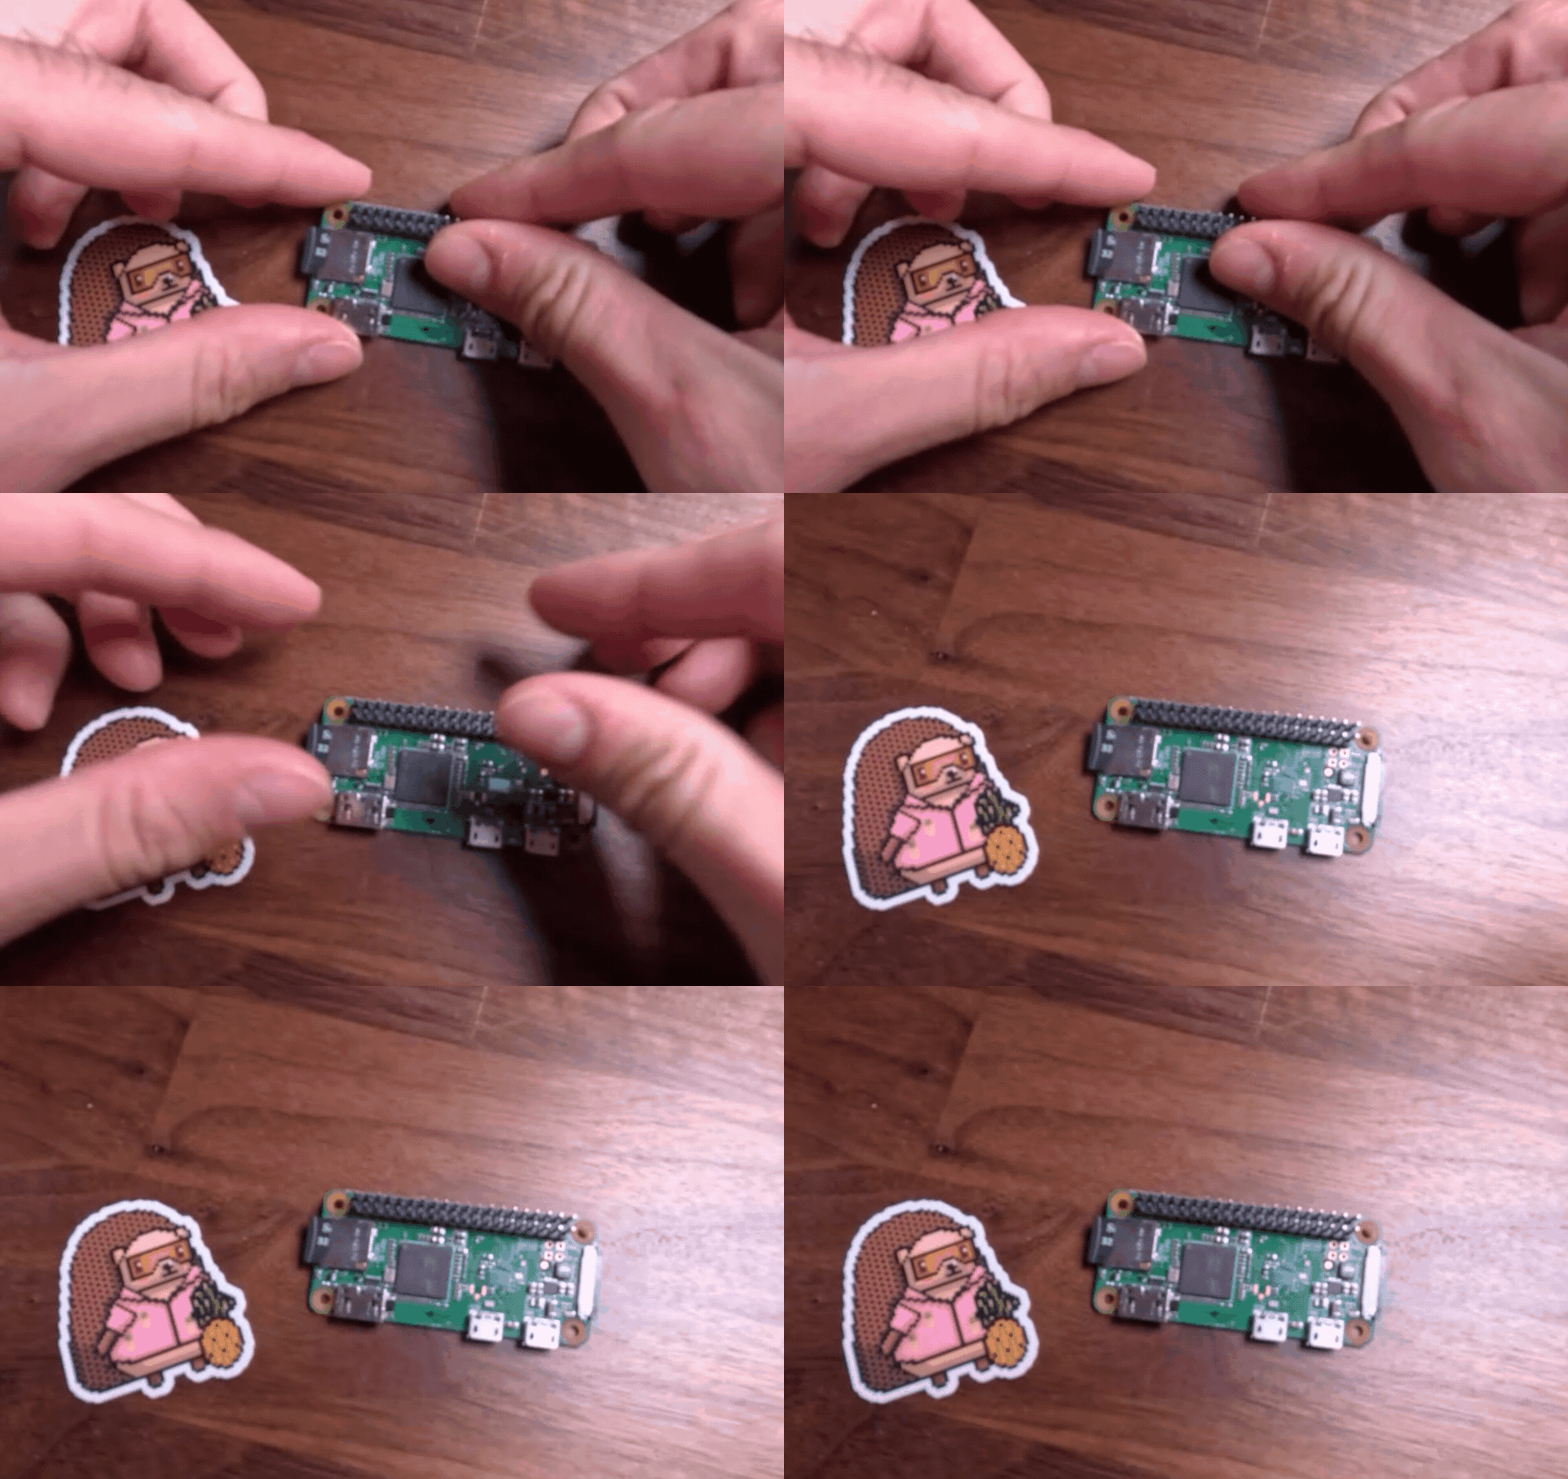
Typically, you'll want to buy a Raspberry Pi Zero 2 W. It offers the best compromise in terms of performance, power draw, and size. It can usually be had for around 20 units of currency. Check rpilocator.
The first Pi Zero W works as well. It's cheaper, and draws a tiny bit less power. However instead of four 64-bit cores, it has just one 32-bit core. This makes it a lot slower, and unable to run a browser on device for taking screenshots, if you're into that.
Note: please check if your device has any specific requirements that override the steps below.
Installation
Download the Raspberry Pi Imager and install the Lite version of the latest Raspberry Pi OS, called "Bookworm".
If you have a Raspberry Pi 1, 2, or Zero W, select "Raspberry PI OS Lite (32-bit)". If you have any newer model (e.g. 3, 4, Zero 2 W, 5, etc), select "Raspberry Pi OS Lite (64-bit)".

Choose your SD card and write.
When prompted, edit your settings and make sure you have set the correct hostname and WiFi credentials.
Either set it to use user/pass authentication, or (better) generate a new keypar under settings and copy the public key here.

It'll take a while.
When done, place the card into the raspberry.

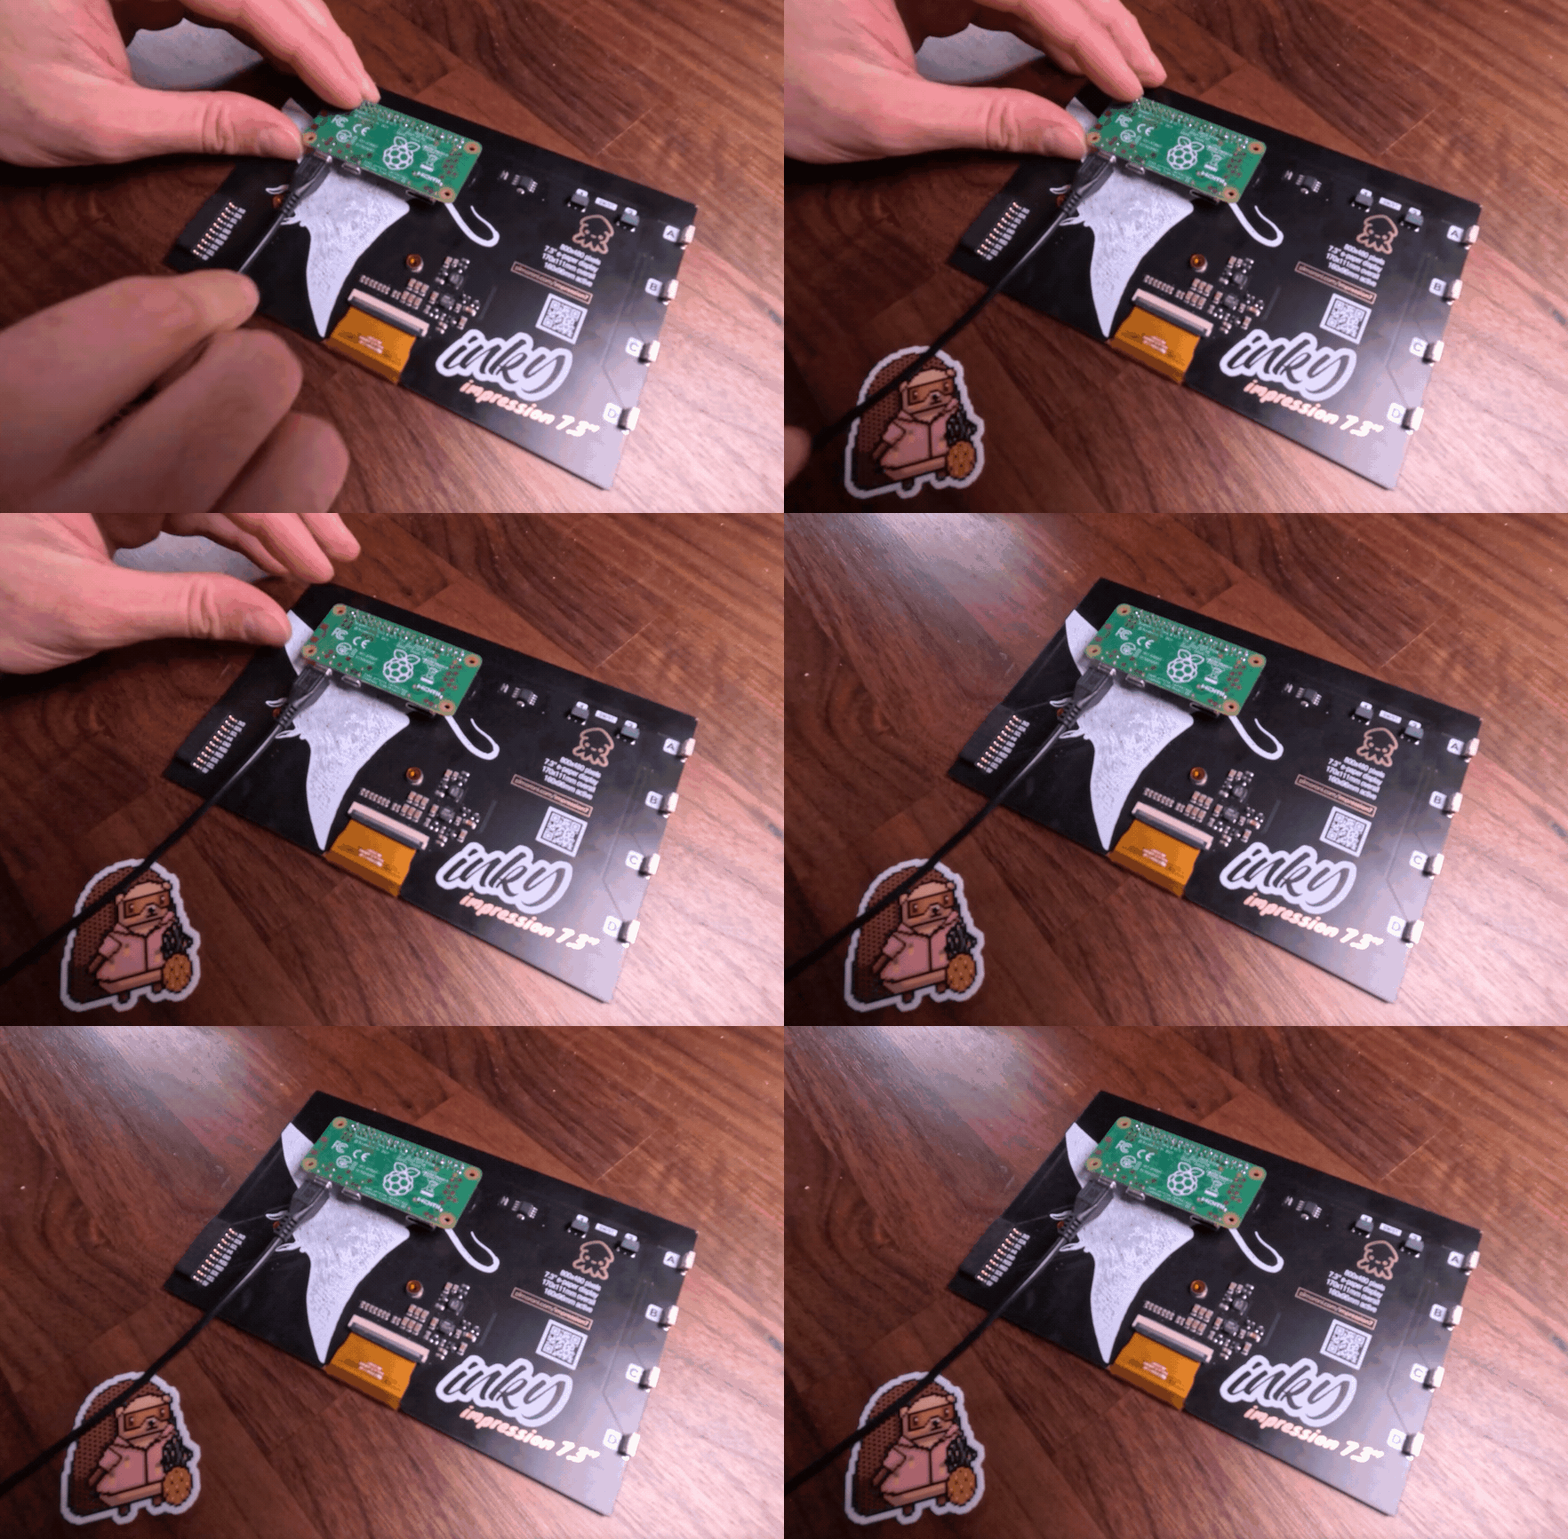
Connect the raspberry and the frame.

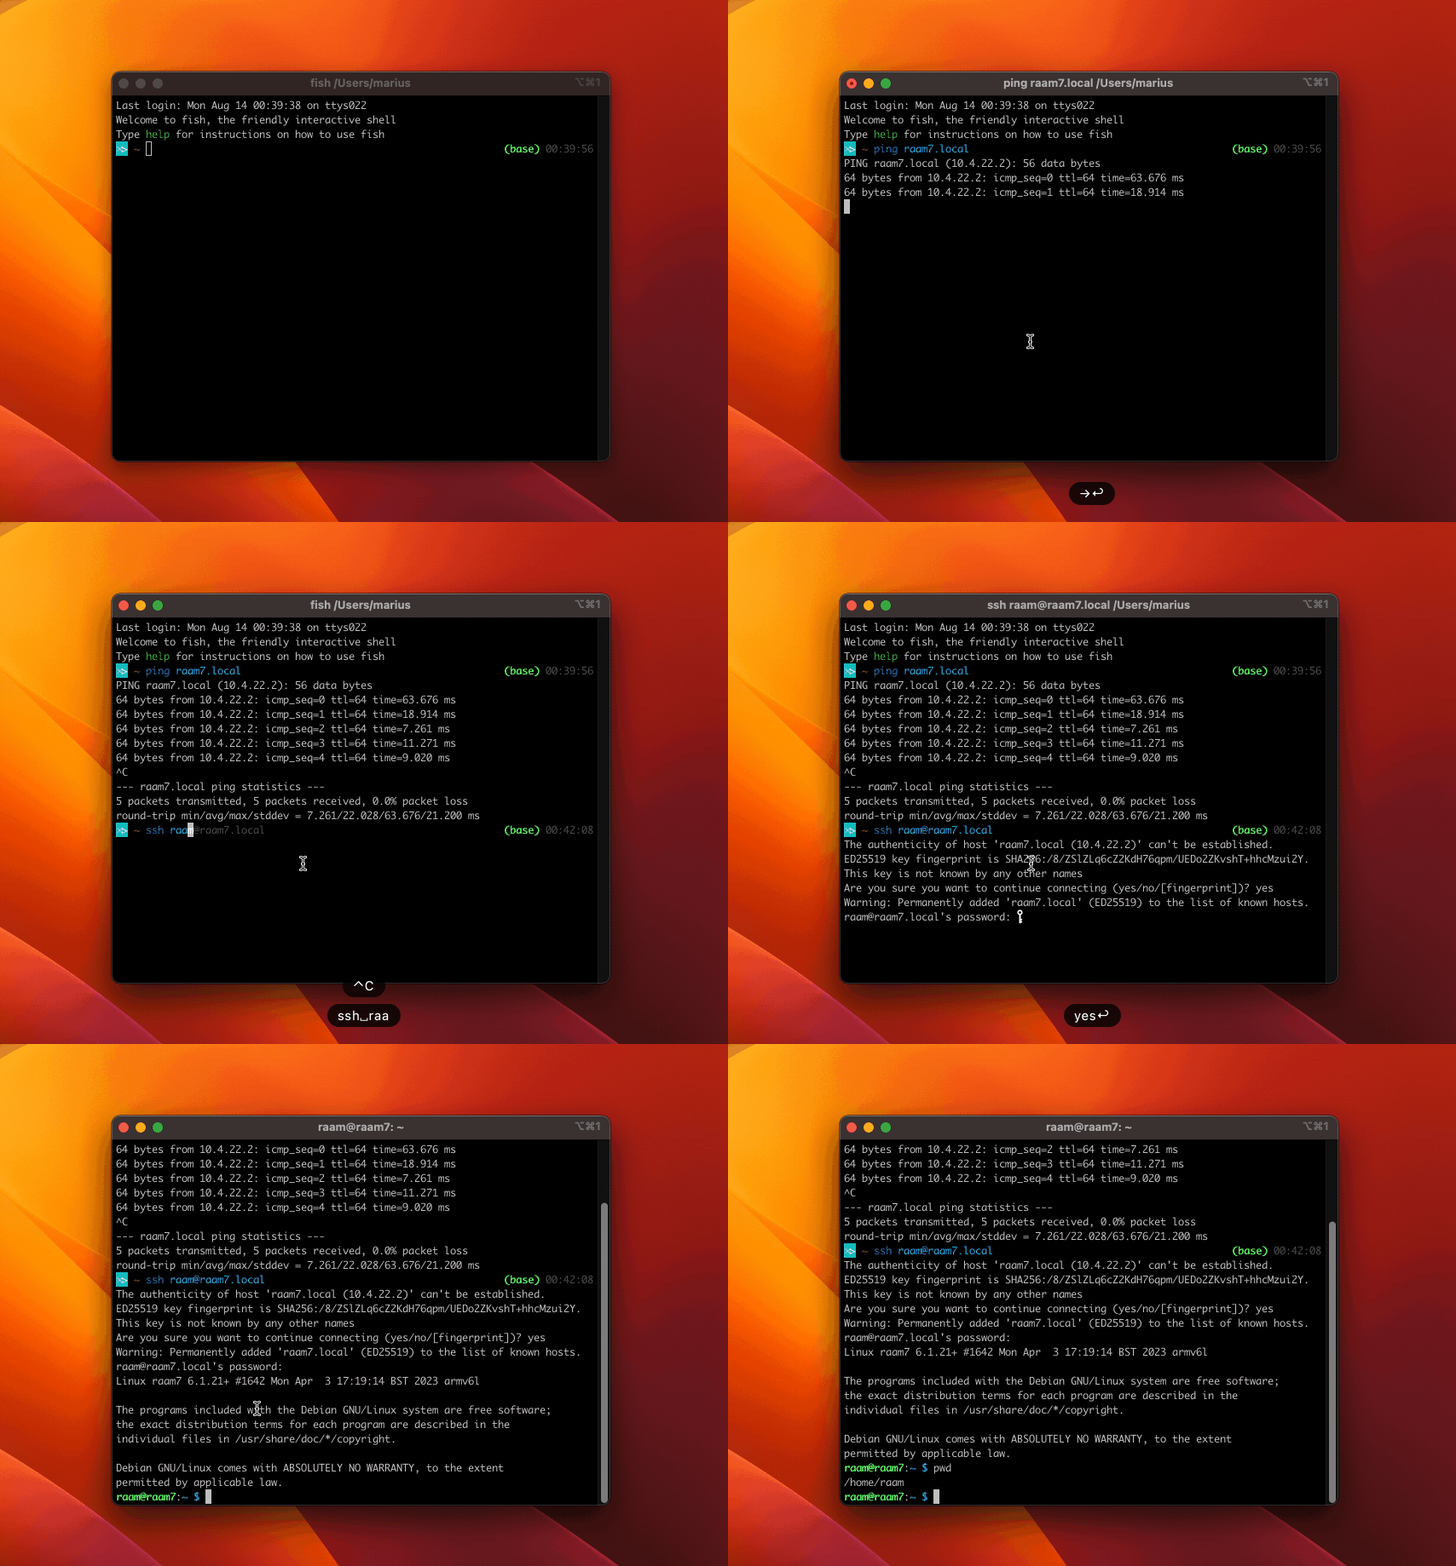
And wait until it shows up with ping and ssh. Use the provided hostname or check your router's connected clients list for the IP.

Once connected run the following to make sure your OS is up to date:
sudo apt update -y && sudo apt upgrade -y
Next steps
That's all you need. Given a SSH connection, the FrameOS controller will do the rest.