
 FrameOS
The backend
Install the self-hosted FrameOS backend with one command, via Docker, or as a Home Assistant add-on.
The backend is the control panel for your frames. You use it to design scenes, deploy them over SSH, and manage them through FrameOS Remote when they connect back to the backend. It's a single self-hosted web app that runs on your own machine and needs no account. Don't want to host anything? FrameOS Cloud is the hosted alternative, and a standalone frame needs neither - the backend is the most capable of the three, and the one to pick for legacy compiled Nim apps, custom drivers, thin-client boards and a terminal on the frame.
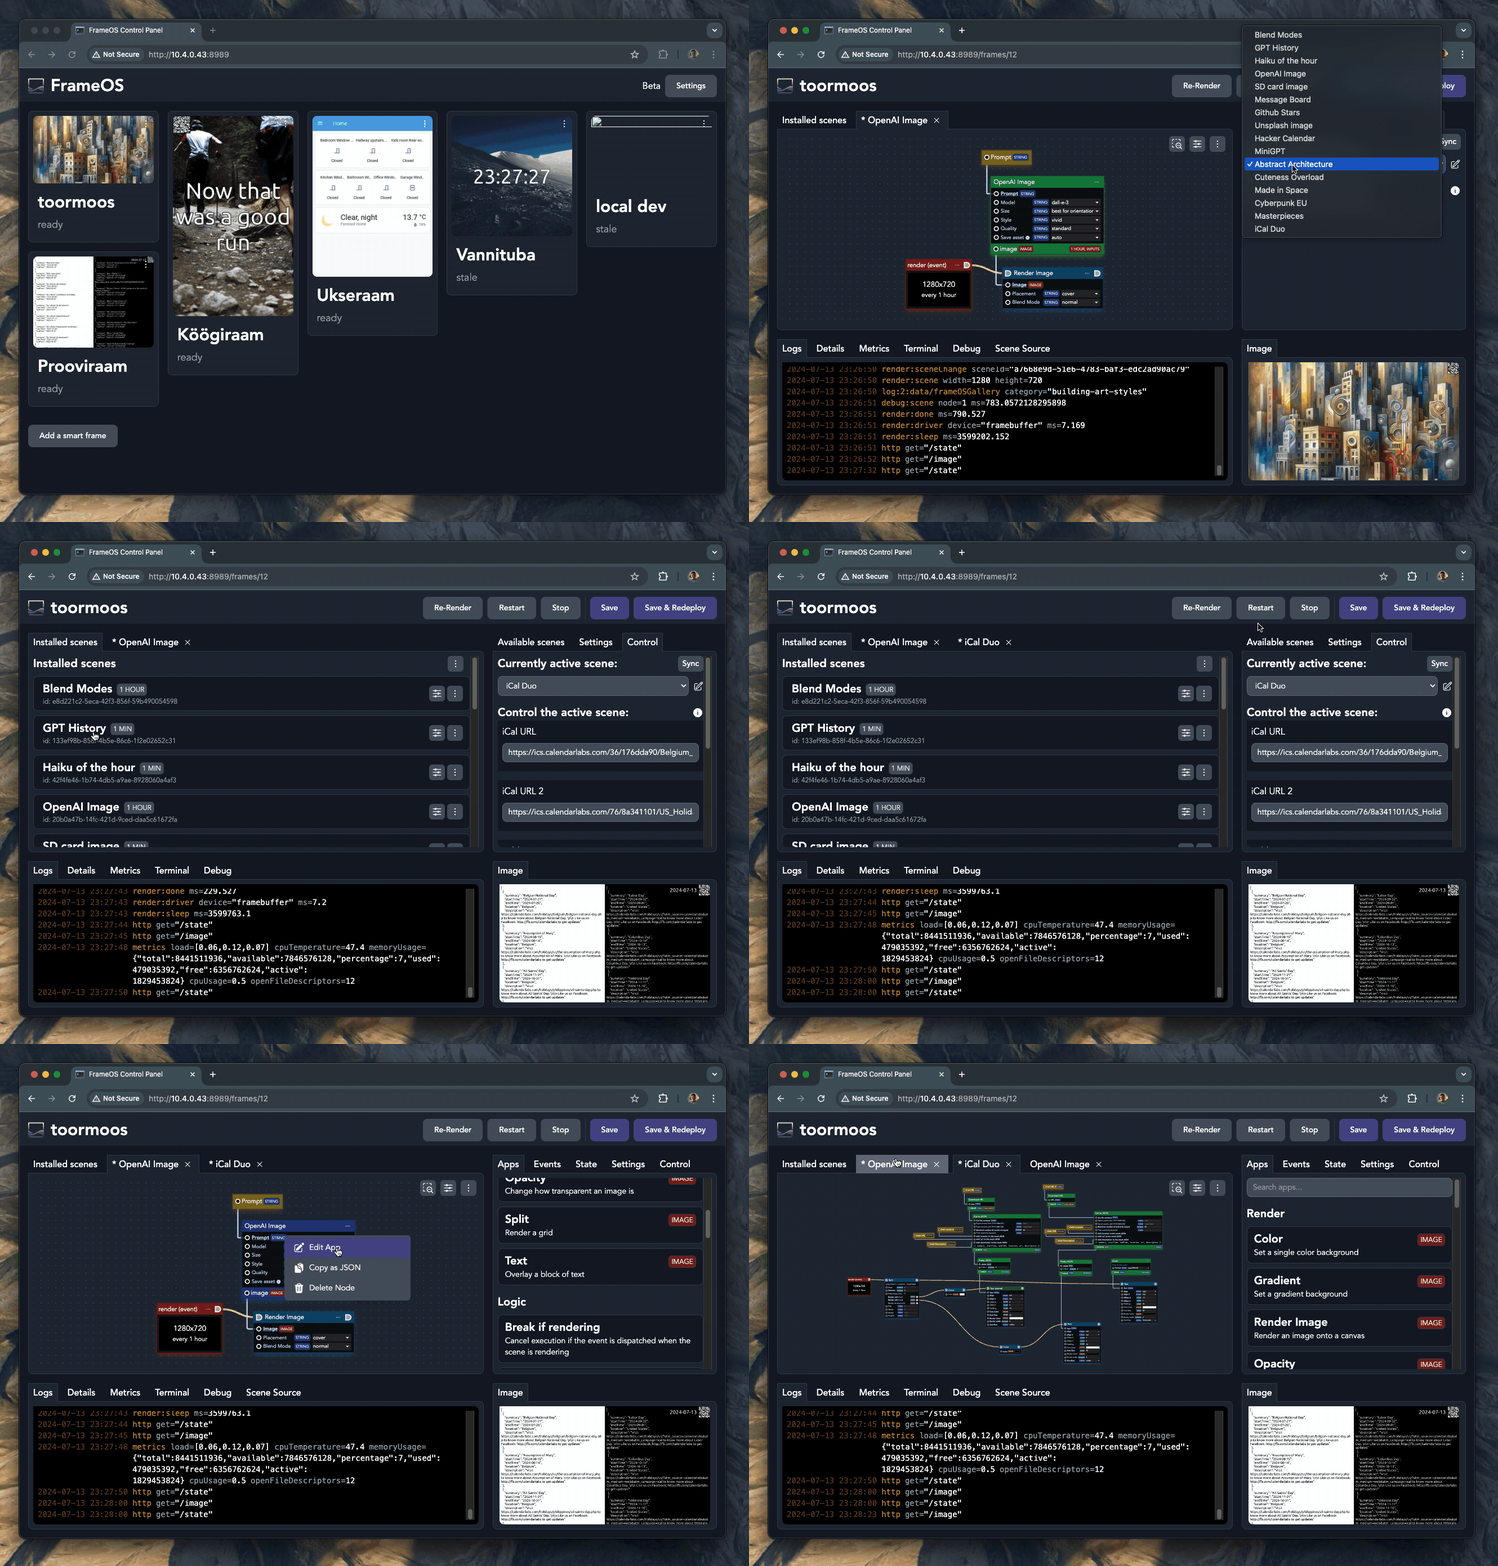
A few things worth knowing up front:
- The backend needs network access to your frames for first deploys and direct status checks (SSH and HTTP). After FrameOS Remote is installed, frames can also connect back to the backend over an outbound WebSocket.
- The backend does not need to stay running. Frames work fully standalone after a deploy. Keeping it running gets you log aggregation, metrics, and one-click redeploys.
Quick install
Run this on your computer, not on the frame's Raspberry Pi
The backend is the control panel that deploys to your frames - it is not the software that runs on the frame itself. Run the command below on the machine that will manage your frames: your laptop, a server, or a NAS. The frame's Raspberry Pi is set up separately in the next step, and never listens on port 8989.
The easiest way to install on a Mac or a Debian/Ubuntu Linux machine:
bash <(curl -fsSL https://frameos.net/install.sh)The script installs Docker if needed, then runs the frameos/frameos container on port 8989.
Once it's up, open http://localhost:8989 on that same machine (or http://<its-ip>:8989 from
another device) and create your local account.
Home Assistant add-on
If you run Home Assistant, FrameOS is one click away:
- Go to Settings → Add-ons → Add-on Store in Home Assistant.
- Click the ⋮ menu in the top right corner and select Repositories.
- Add
https://github.com/FrameOS/frameos-home-assistant-addon. - Find FrameOS in the add-on list, click Install, then Start.
- Optionally enable Start on boot and Watchdog.
- Click Open Web UI.
The add-on deploys precompiled release binaries; it has no Docker socket, so building FrameOS from
source needs a build host configured under
Settings → Builds. Browser flashing of ESP32 boards needs the add-on reached over https://
or localhost - behind plain-http:// ingress there is no Web Serial.
Running via Docker manually
This is what the install script does under the hood:
# generate a stable secret key
SECRET_KEY=$(openssl rand -base64 32)
mkdir -p db

# run the latest release
docker run -d --name frameos --restart always \
    -p 8989:8989 \
    -v ./db:/app/db \
    -e SECRET_KEY="$SECRET_KEY" \
    frameos/frameos:latest
Then open http://localhost:8989 and create your local account.
To keep the container automatically up to date, add watchtower:
docker run -d --name watchtower \
    -v /var/run/docker.sock:/var/run/docker.sock \
    containrrr/watchtower --interval 86400 frameos
Faster builds with Docker access
SD card image generation works in the default container without extra privileges. If you also want the backend to cross-compile FrameOS from source in local build containers (instead of using precompiled binaries or building on the device), give it access to Docker:
SECRET_KEY=$(openssl rand -base64 32)
mkdir -p db /tmp/frameos-cross

docker run -d --name frameos --restart always \
    -p 8989:8989 \
    -v ./db:/app/db \
    -v /tmp/frameos-cross:/tmp/frameos-cross \
    -v /var/run/docker.sock:/var/run/docker.sock \
    --privileged \
    -e TMPDIR=/tmp/frameos-cross \
    -e SECRET_KEY="$SECRET_KEY" \
    frameos/frameos:latest
This is optional, and rarely needed: FrameOS ships precompiled binaries, and only legacy compiled scenes and distros outside the release matrix build from source. Remote SSH build servers, or building on the frame itself, are under Settings → Advanced: legacy source builds.
ESP32 firmware needs no toolchain
Flashing an ESP32 compiles nothing on any install: the backend writes the signed release image for the board from your browser, then sets it up over USB.
Behind a reverse proxy, set FRAMEOS_PUBLIC_URL=https://frameos.example and list the proxy's
address in FRAMEOS_TRUSTED_PROXIES. The live logs and the Terminal use WebSockets, which are
refused unless the browser's origin matches the host the backend sees - so the proxy must pass
Host through (proxy_set_header Host $host in nginx) or send X-Forwarded-Host. Without the
trusted-proxy list the login rate limiter also sees every user as the proxy.
Local development with Flox
Use this path when you want to work on FrameOS itself instead of running the released Docker image. The repository ships a checked-in Flox environment that installs the Python, Node, pnpm, Nim and Redis tooling used by the backend and frontend.
git clone https://github.com/FrameOS/frameos.git
cd frameos
flox activate
pnpm dev
flox activate creates a repo-local .venv, installs backend/requirements.txt, runs
pnpm install --frozen-lockfile, and installs the Nim dependencies for both the frame runtime
and FrameOS Remote. The activation hook reruns only when the lockfiles or package definitions
change.
pnpm dev opens an mprocs dashboard with the local services:
- backend - FastAPI on
http://localhost:8989withDEBUG=1. - worker - the ARQ background worker used for deploys and builds.
- vite - the live frontend on
http://localhost:8616, proxying/apiand/wsto the backend. - kea - frontend type generation in watch mode.
- redis - local Redis for jobs, logs, websockets and Remote connections.
Open http://localhost:8616 once the backend and Vite panes are ready. In development mode the
backend runs database migrations before startup and creates a local .env with a development
SECRET_KEY if you do not already have one.
If you prefer to run processes manually, start Redis with either the redis pane in pnpm dev
or Flox services:
flox services start redis
pnpm run dev:backend
pnpm run dev:worker
pnpm --dir frontend run dev
Link the backend to FrameOS Cloud
A self-hosted backend can optionally be linked to a FrameOS Cloud account. Open Settings → FrameOS Cloud and click Connect to cloud.frameos.net: the backend shows a short code, you approve it on cloud.frameos.net/device, and the link is made. What it adds, each an Enabled feature you can switch individually:
- Save and share scenes via the cloud (always on): the scene store is in every frame's Add scene drawer (your private cloud scenes join it under Private scenes), and a Save to cloud (private) menu item pushes your own scenes to your account, where they stay private until you publish them.
- Cloud backups: after every successful deploy the backend uploads the frame's settings and
scenes, plus your scene library, end-to-end encrypted with a key the cloud never sees. Keep
the recovery key (
FRBK1-…, shown under the switch) in your password manager; after reinstalling the backend, link it again, paste the key, and Restore what you had. There is also a plain Download a local backup (.tar.gz) button that never leaves your machine. - Cloud login: sign in to this backend with Continue with FrameOS Cloud. You can then turn local password login off; if the link ever goes away, the password comes back by itself, so you can't lock yourself out.
Linking changes nothing about how frames are managed: the backend still deploys over SSH and FrameOS Remote, the cloud never gets a shell or your credentials, and Disconnect (here, or under Account → Backends in the cloud) undoes it at any time. The cloud only learns the backend's version and which features are on.
Next step
Time to prepare your Raspberry Pi: set up the Raspberry.
A standalone frame
Run a single frame with nothing else - flash a generic FrameOS image to a Raspberry Pi, set it up from your phone, and manage it from the frame's own admin page.
FrameOS Cloud
Manage frames from cloud.frameos.net without running a backend - enroll a Pi or ESP32 in minutes, assign scenes from the store, see logs and previews. Free while in beta.