What is FrameOS?
An operating system for single-function smart frames. Runs on a Raspberry Pi or ESP32, renders on e-ink, HDMI and LCD displays. No cloud required.
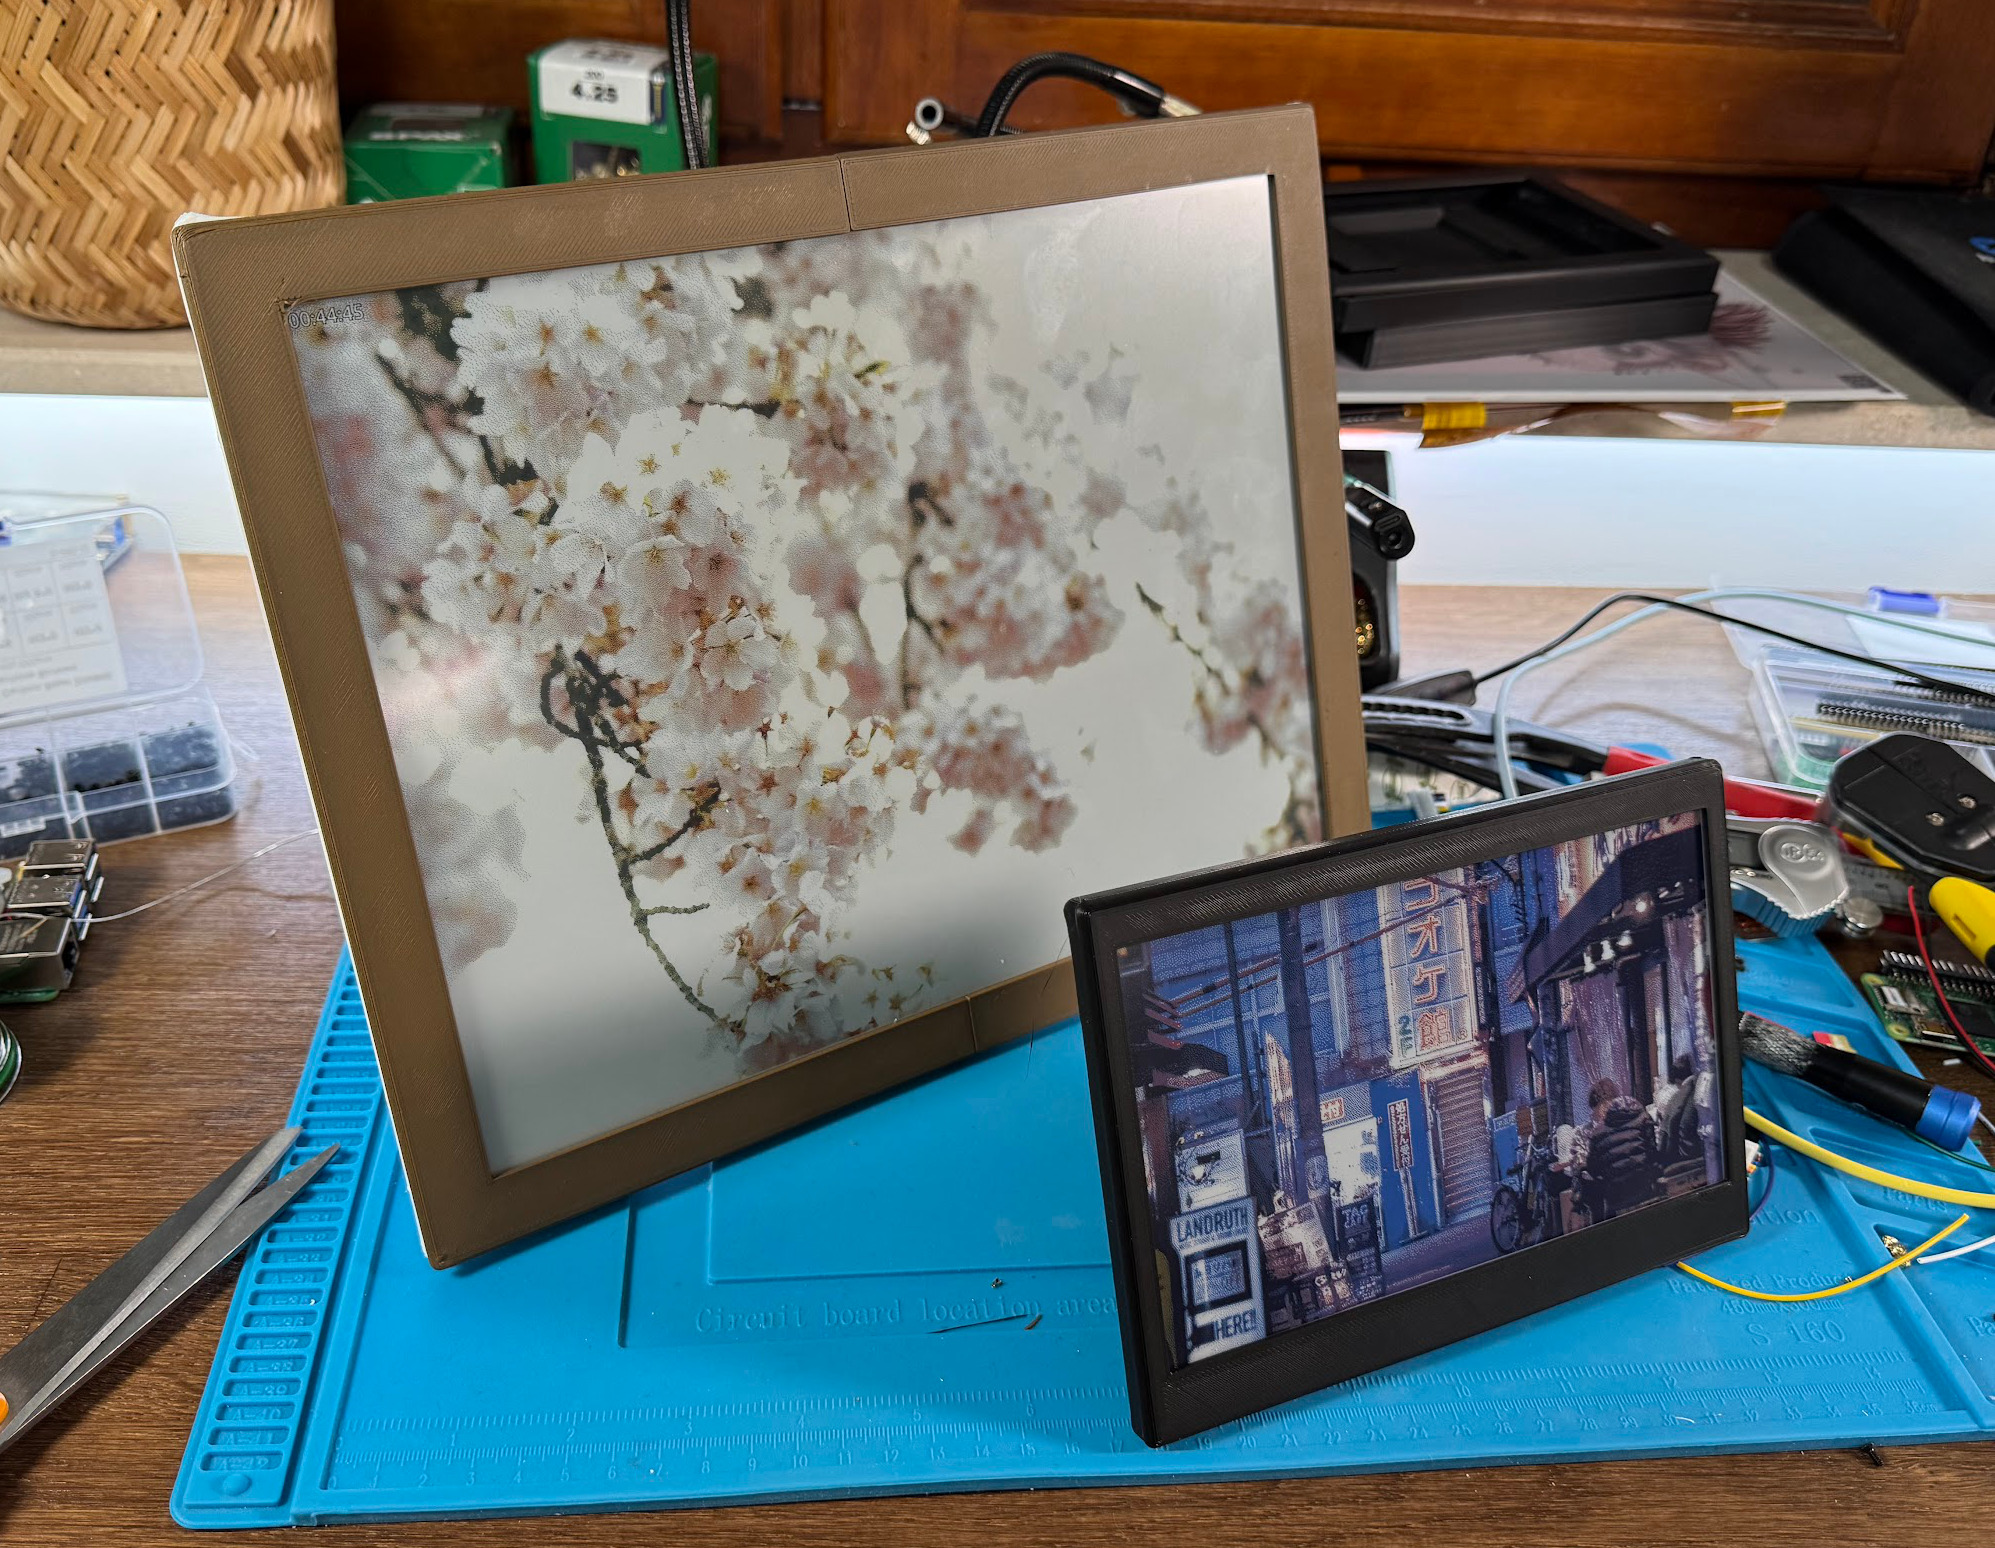
FrameOS turns a Raspberry Pi (or an ESP32) and a display into a single-function smart frame: a kitchen calendar, a hallway dashboard, a daily art frame, a meeting room display, a thermostat - anything that should show one thing, reliably, for years.
It works with screens that update 60 times per second (HDMI, LCD) and with screens that update once every 60 seconds or slower (e-ink). Over a hundred display drivers are built in, covering most Waveshare and Pimoroni e-ink panels, plus anything you can plug into HDMI.
How it works
FrameOS has two parts:
-
The frame runs a single compiled binary (written in Nim) on a Raspberry Pi - or as firmware on an ESP32-S3. It renders scenes, drives the display, and serves a small web app + HTTP API so you can view and control it from your phone or any browser. Everything runs on the device - there is no cloud, no subscription, and nothing stops working when your internet goes down.
-
The backend is a self-hosted control panel (a Docker container, or a Home Assistant add-on) where you design scenes in a visual editor and deploy them to frames over SSH or FrameOS Remote. It can run on a server, a NAS, or just your laptop - and once your frames are deployed, you can turn it off. The frames keep running on their own.
ESP32 support
FrameOS primarily targets the Raspberry Pi (from the $15 Zero 2 W up) - a full Linux system gives you SSH deploys, real fonts and image processing, a local web server, and room to run real apps. It also runs on the ESP32-S3 microcontroller, rendering scenes on-device and updating over the air for supported Waveshare SPI e-paper panels. See the ESP32 guide.
What you need
- A Raspberry Pi. A Zero 2 W is perfect for e-ink frames. Use a Pi 4/5 for fast HDMI output (up to 60 FPS). Or go smaller with an ESP32-S3 for supported panels.
- A display. Any supported e-ink panel from Waveshare or Pimoroni, an HDMI screen, or no display at all ("web only" and "http push" modes). ESP32 builds currently target Waveshare SPI e-paper panels or headless mode.
- Somewhere to run the backend, at least while deploying: your computer, a server, or Home Assistant.
Getting started
- Install the backend - one command:
bash <(curl -fsSL https://frameos.net/install.sh) - Set up the Raspberry Pi - flash a prebuilt FrameOS SD image, or use stock Raspberry Pi OS Lite. (Or flash an ESP32 instead.)
- Deploy your first scene - pick from the built-in gallery and sample scenes, then make your own in the scene editor.
- For a professional finish, 3D print a custom case.
Project status
FrameOS is open source (AGPL-3.0) and under
very active development, with versioned releases on
GitHub and Docker Hub (frameos/frameos). It's
stable enough that frames run for months unattended - but expect the occasional rough edge, and
report it when you find one.
- Join the FrameOS Discord
- Subscribe to the newsletter
- Star us on GitHub