First deploy
Add a frame to the backend, install a few scenes, and deploy them to the device.
This assumes you have the backend running and a Raspberry Pi reachable over SSH (or booted from a FrameOS SD image). Using an ESP32 instead? Flash it first - the scenes and deploy flow below work the same way.
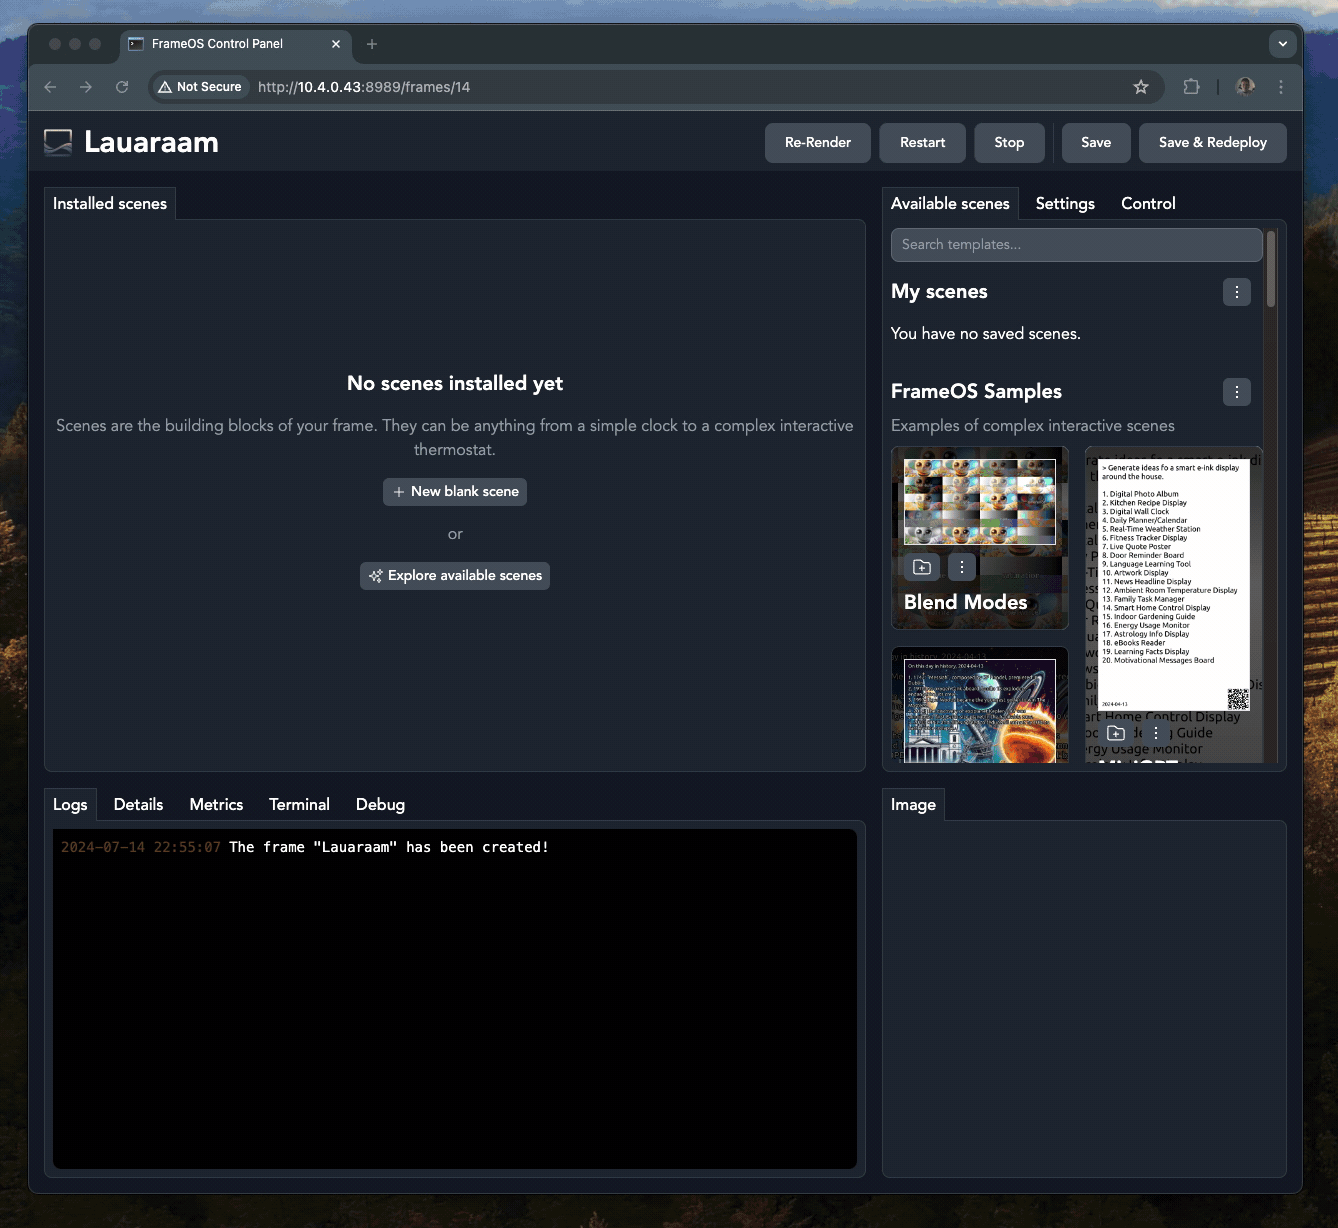
Add the frame
Click "New frame" in the backend. Give the frame a name and select the right display driver for your panel - there are over 120 to choose from, organised by vendor. For Raspberry Pi frames, enter the frame's IP address or hostname and SSH credentials for the first deploy. Pick "Web only" if you just want to try FrameOS without any display hardware.

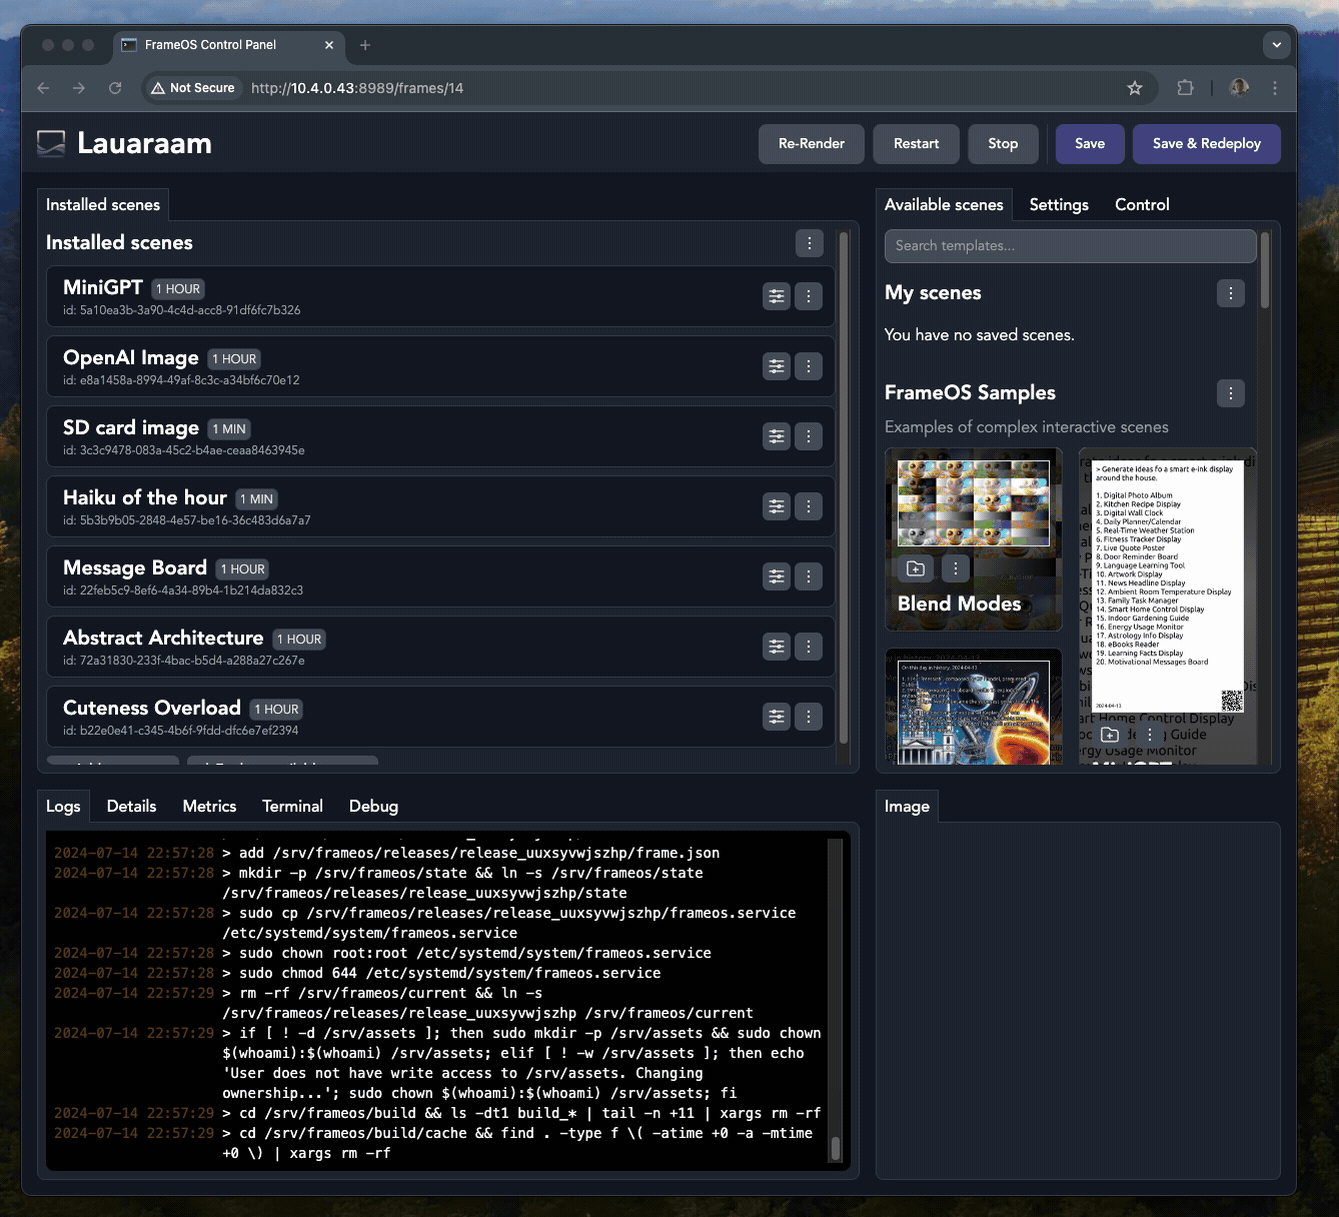
Install some scenes
Install a few scenes onto the frame. Good first picks:
- Gallery scenes like Made in Space or Masterpieces - curated art that needs no configuration.
- Sample scenes like Calendar, Message board, or Unsplash image - some need API keys, which you can add under the backend's Settings page.
Deploy
Press Deploy. The backend shows a deploy plan - what gets uploaded, what gets installed - and streams the progress log. The first deploy takes the longest (it installs dependencies and uploads the FrameOS binary); subsequent deploys are fast and only ship what changed.
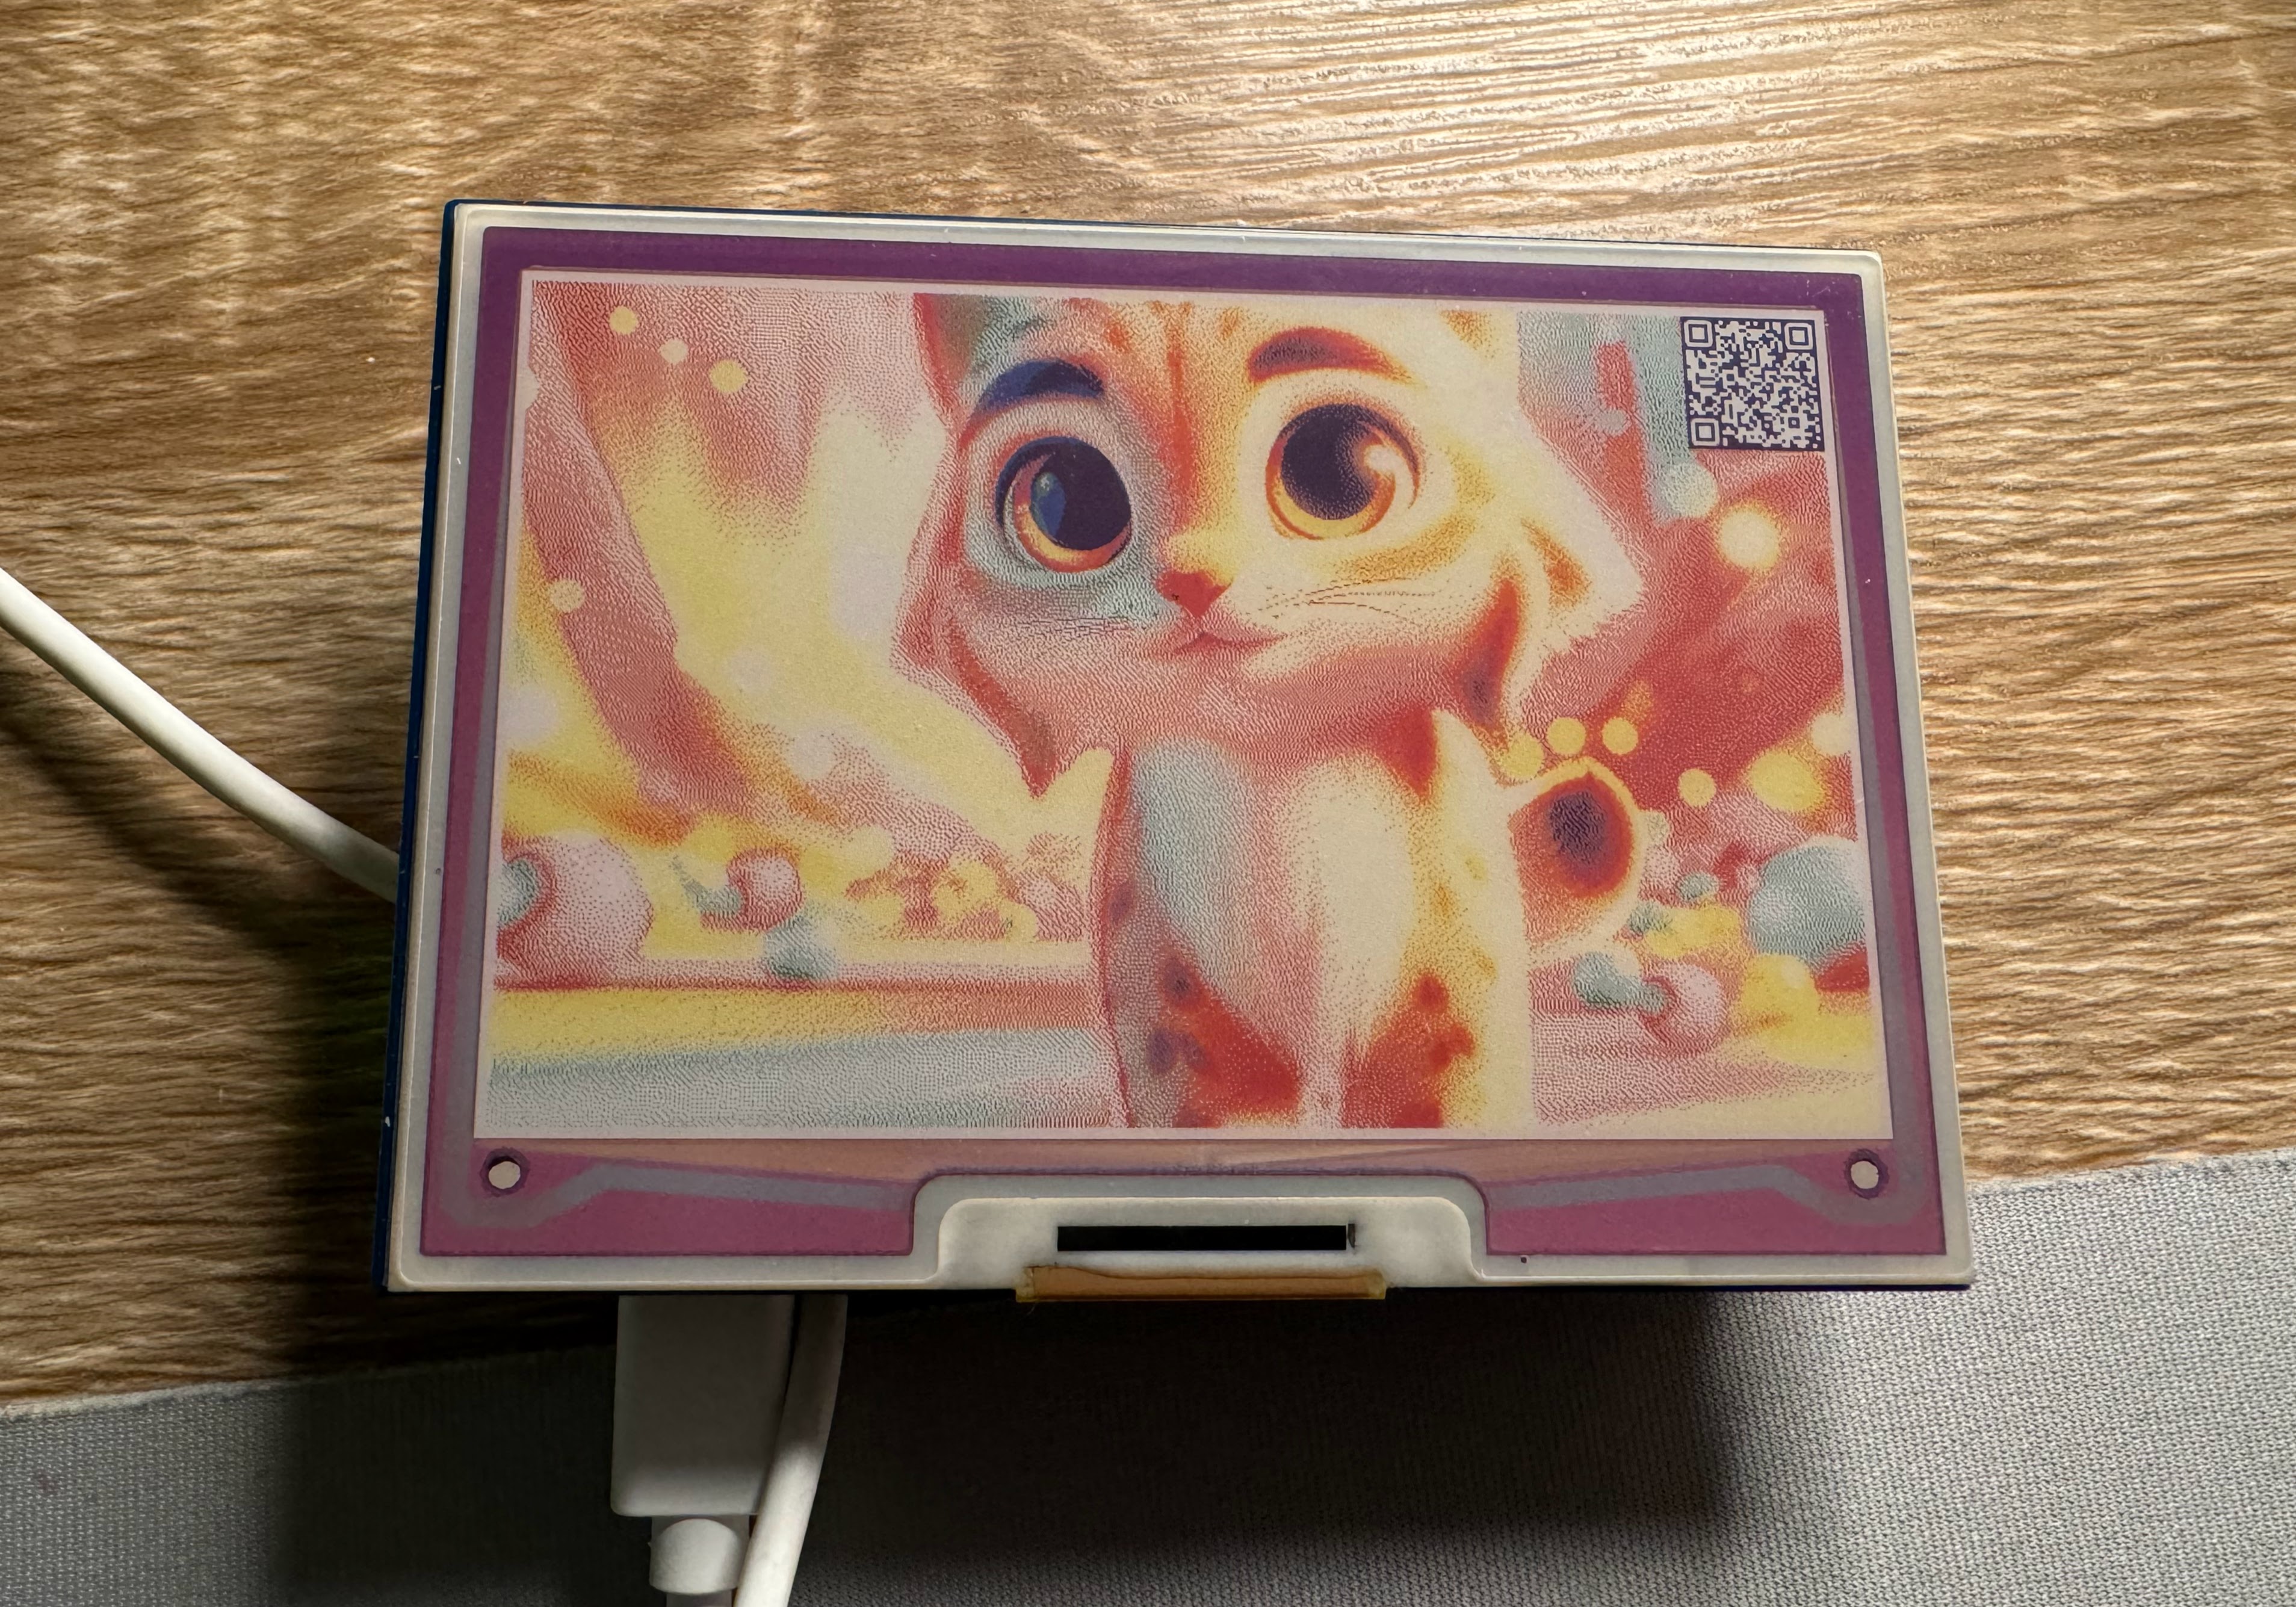
When it finishes, a preview image appears in the backend, followed by the same image on the frame itself.
Control the frame
Scenes expose controls - a calendar URL, a message to display, a color. Change them from the frame's dashboard in the backend, or directly on the frame itself:
- Open the Control URL (shown under the frame's settings) from any browser on your network.
- Or scan the QR code shown on the frame.
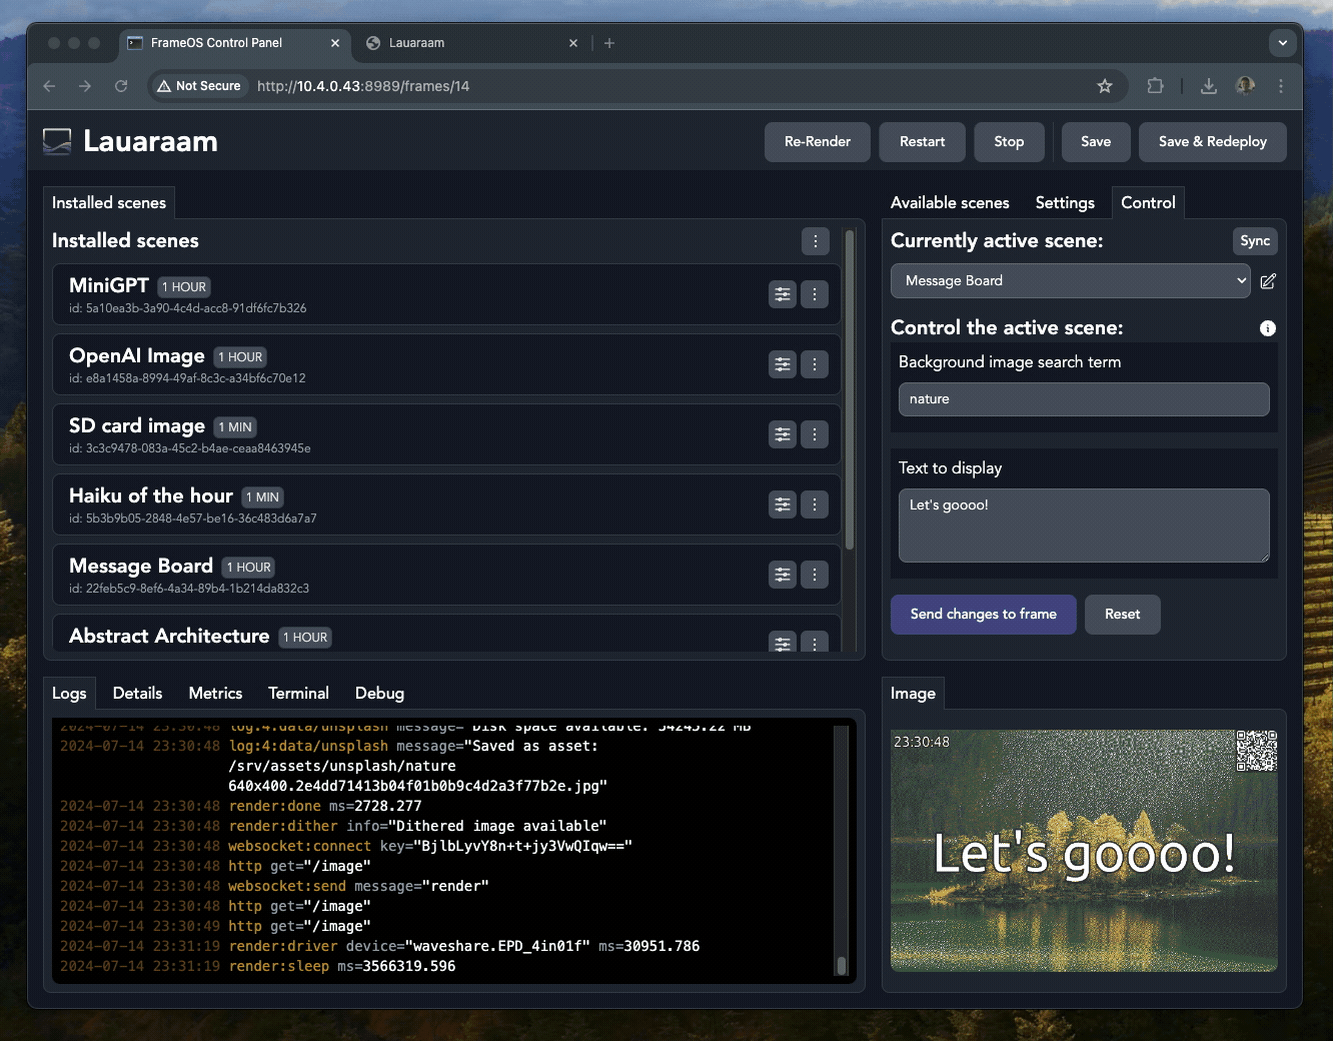
The frame serves this control page itself, on port 8787. The backend doesn't need to be
running - see Controlling the frame for the full local HTTP API.
Next step
Build your own scene in the scene editor.