Controlling the frame
Every frame serves its own web app and HTTP API on port 8787. No backend, no cloud - control it from anything that speaks HTTP.
Every frame runs its own web server on port 8787. This is the heart of FrameOS's cloud-free
design: viewing, controlling, and even administering a frame works directly against the device,
from any browser or script on your network. The backend can be off. The internet can be down.
The frame's web app
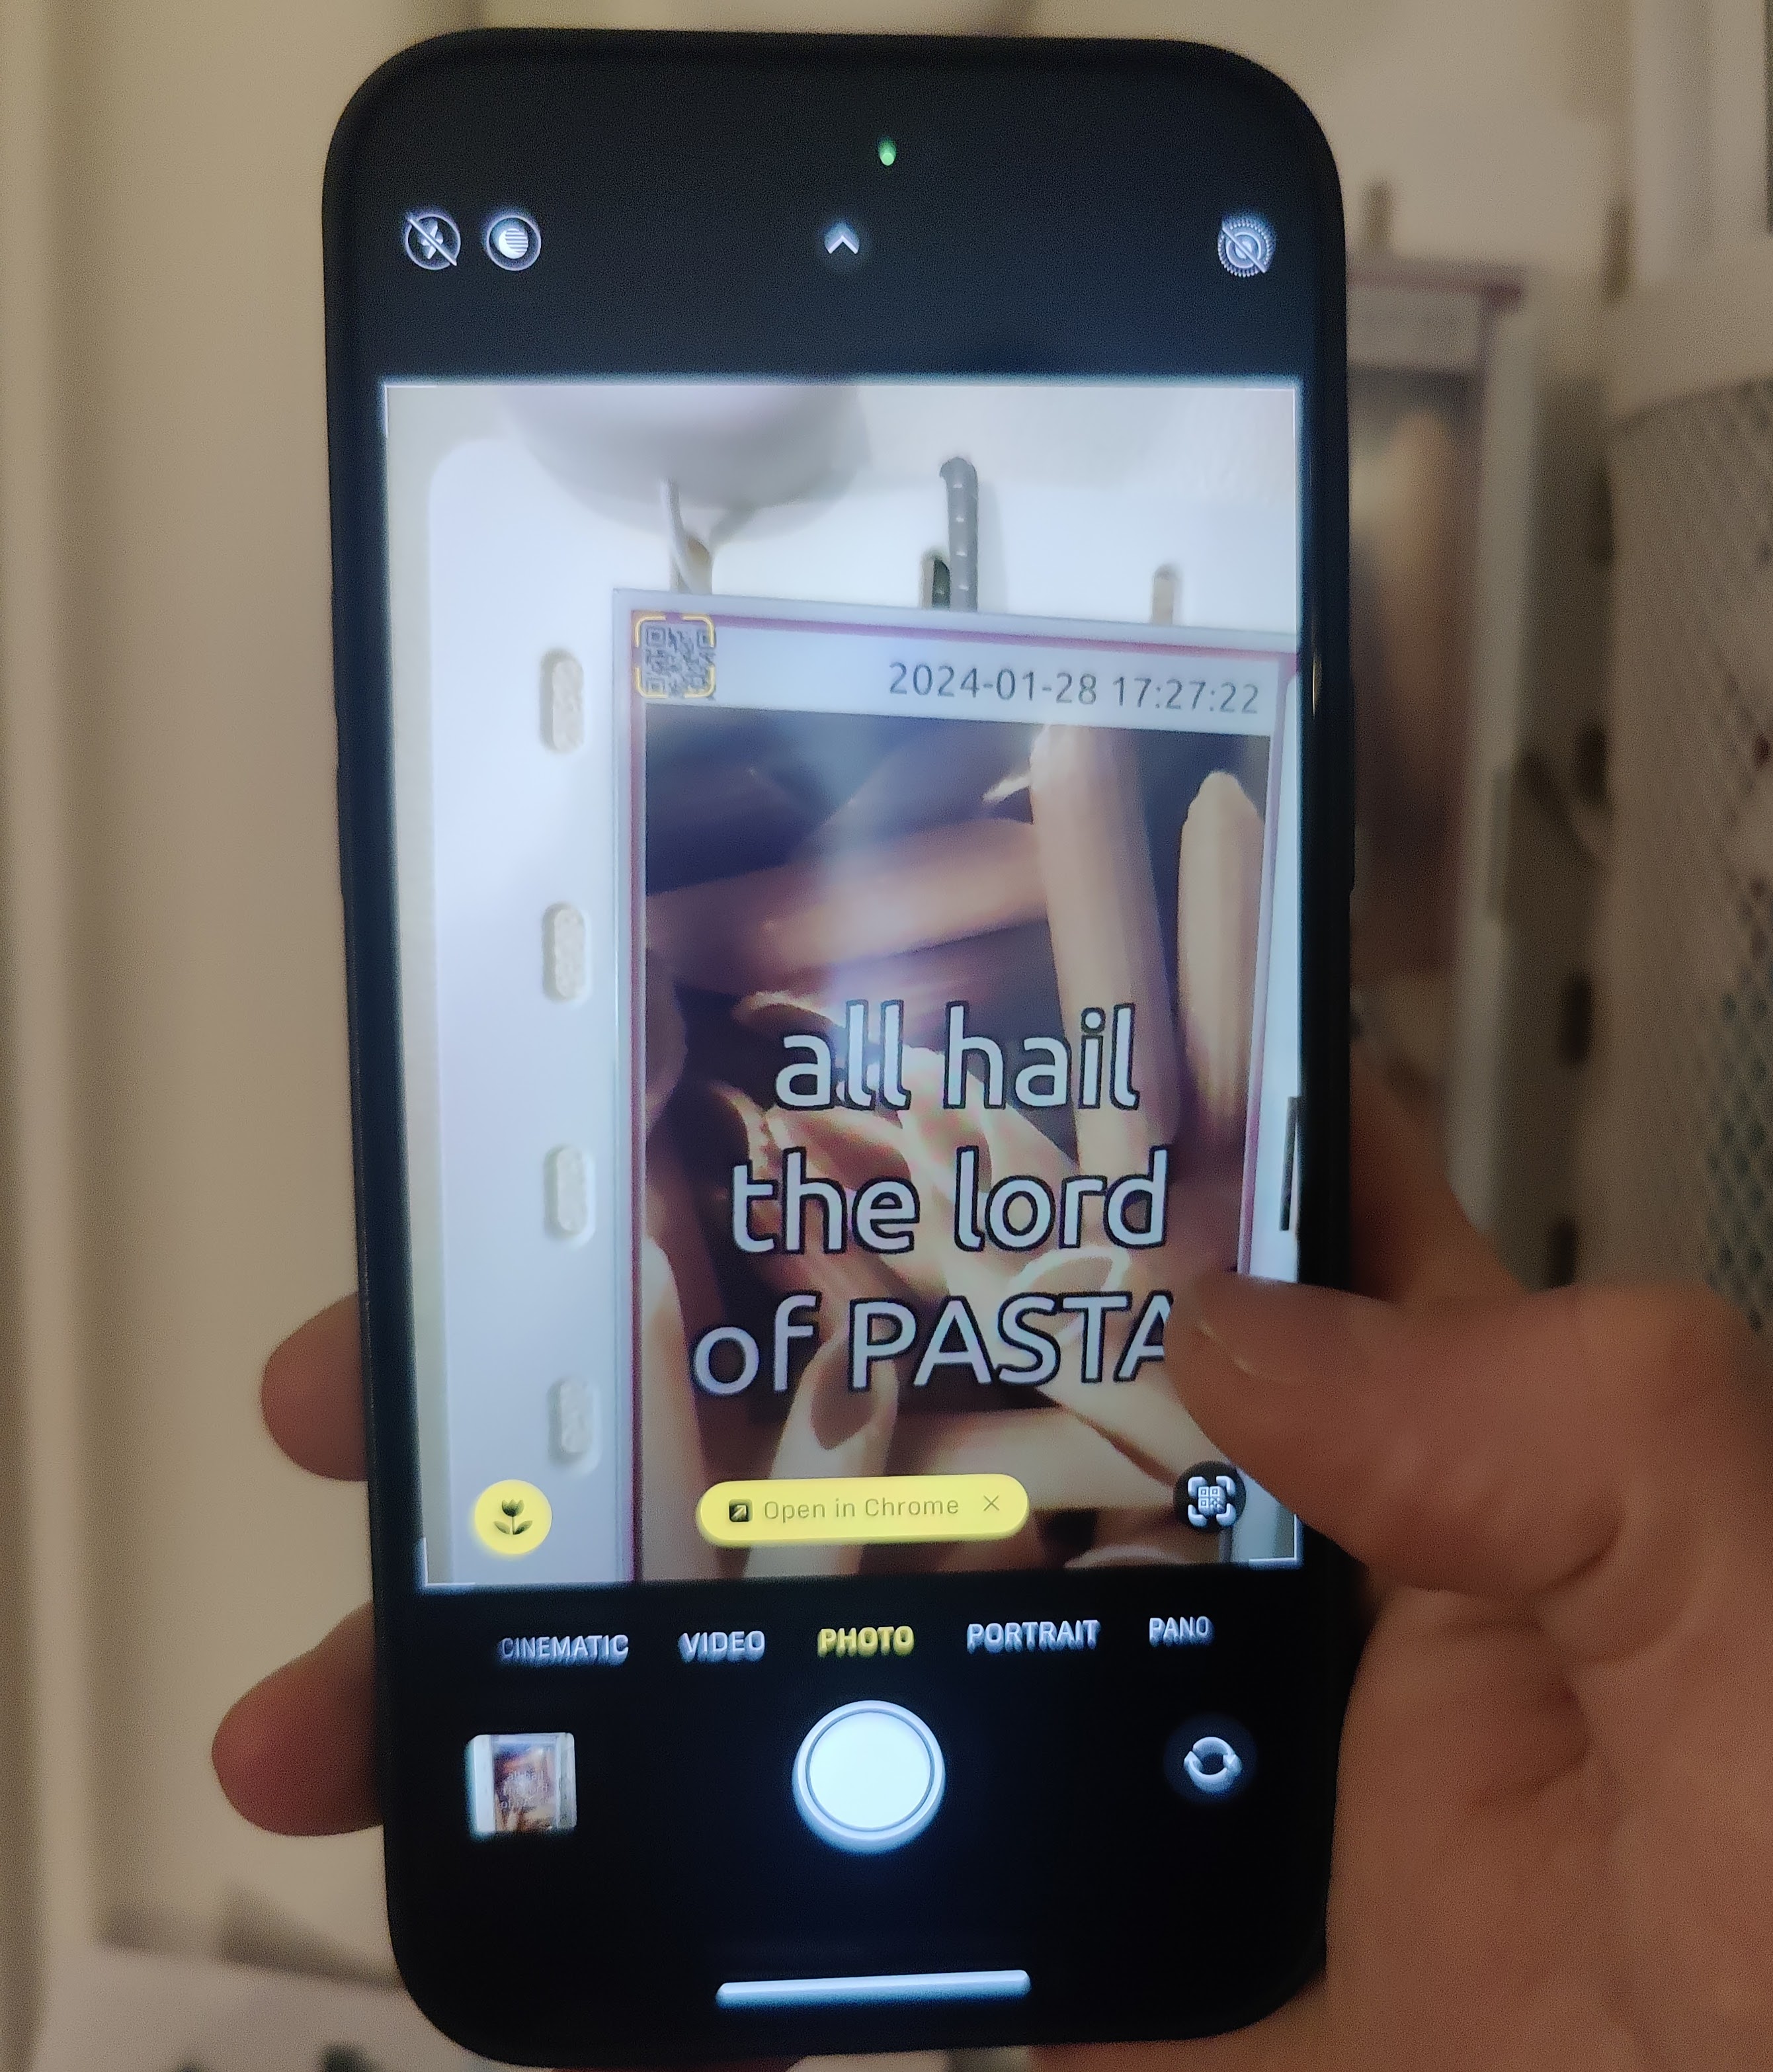
Open http://<frame-ip>:8787/ for the frame's own web UI:
/- view the current image, live (updates over a WebSocket)./c- the control page: switch scenes and edit the active scene's state fields (the yellow nodes you added in the scene editor)./admin- the on-device admin panel: settings, logs, metrics, assets, scene management. This is a full management UI served by the frame itself.
By default the frame also renders its control URL as a QR code on the display, so anyone standing in front of the frame can scan and control it.
Access modes
Under the frame's settings you choose who can do what without a key:
- Private (default) - a key is required to view and to control.
- Protected - anyone on the network can view the image; the key is required to change anything.
- Public - no key needed for anything. Makes for the smallest QR codes.
The access key travels as a ?k=... query parameter (or a cookie after the first visit).
Traffic is plain HTTP on your local network. If you need real security - frames on a shared network, remote access - put the frames on a Tailscale tailnet or enable the HTTPS options in the frame's settings.
The HTTP API
Everything the control page does is a plain HTTP call. With KEY being your access key:
# the current image as PNG
curl "http://frame:8787/image?k=KEY" -o now.png

# the active scene and its state
curl "http://frame:8787/state?k=KEY"

# all scenes and their states
curl "http://frame:8787/states?k=KEY"

# change state fields on the active scene and re-render
curl -X POST "http://frame:8787/event/setSceneState?k=KEY" \
  -H "Content-Type: application/json" \
  -d '{"render": true, "state": {"message": "Dinner at 7!"}}'

# switch to another scene
curl -X POST "http://frame:8787/event/setCurrentScene?k=KEY" \
  -H "Content-Type: application/json" \
  -d '{"sceneId": "<scene-uuid>"}'

# trigger a render right now
curl -X POST "http://frame:8787/event/render?k=KEY" -d '{}'
POST /event/<name> dispatches any event into the running scene graph - the same mechanism
buttons, schedules, and apps use internally. This makes integrations trivial: a Home Assistant
automation, a cron job, a shell script, or a doorbell webhook can all drive your frame.
There's also a full admin REST API (config, logs, metrics, restart, reboot) under
http://frame:8787/api/ behind the admin login, and a WebSocket at /ws that streams renders.
Scheduling
Frames have their own on-device scheduler: render intervals per scene, plus cron-like schedules (minute/hour/weekday) that can switch scenes or fire events - for example, a calendar during the day and art in the evening. Configure it under the frame's Schedule tab. The schedule runs on the frame, so it keeps working with the backend off.