
 FrameOS
ESP32-C3 0.42" OLED board
The thumb-sized ESP32-C3 dev board with a 72×40 SSD1306 OLED, running FrameOS as a thin client.
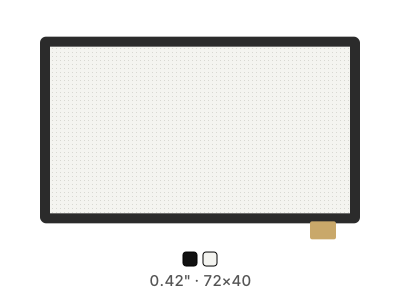
Illustration
Generic ESP32-C3 0.42" OLED dev board
- Vendor
- Generic
- Model
- ESP32-C3 0.42" OLED dev board
- Technology
- OLED
- Colors
- Black/White
- Resolution
- 72×40 px
- Size
- 0.42″ diagonal
- Interface
- ESP32-C3 board (I2C)
- Platforms
- ESP32-C3
- Status
- 🟢 Confirmed working
- Buttons
- 1 (usable in scenes)
- FrameOS driver
oled.ssd1306_72x40
Part of the FrameOS device database. Spotted an error, or tested this panel? Edit this page on GitHub - it's a markdown file.
The ESP32-C3 0.42" OLED board - sold as HW-675, by 01Space, and under a dozen no-name labels - is a thumb-sized ESP32-C3 with a 72×40 monochrome SSD1306 OLED soldered on. It is the smallest display FrameOS drives, and the cheapest way to try a microcontroller frame.
The C3 has no PSRAM, which is not enough for an on-device renderer - so FrameOS runs it as a thin client: your backend renders the scene and the device draws the finished bitmap. The backend has to be reachable when the frame renders, and FrameOS Cloud can't manage it. Everything else - scenes, apps, schedules, state fields - works the same way as on an ESP32-S3 frame.
Needs FrameOS 2026.9.10 or newer.
Setup
- In the FrameOS backend, create a frame with Flash embedded device.
- Choose ESP32-C3, select the ESP32-C3 0.42" OLED dev board preset, and enter your WiFi details.
- Flash it over USB from the browser - the backend writes the release image for the board and sets it up as this frame.
- Install scenes as usual. At 72×40 a clock, a number or a short line of text is about what fits.
The board has 4 MB of flash, so it uses the single-slot layout with no OTA partition: firmware updates go over USB.
Pin map
| Signal | GPIO |
|---|---|
| SDA | 5 |
| SCL | 6 |
| BOOT button | 9 |
The BOOT button is registered as a GPIO button and can trigger events in your scenes.
Status
🟢 Confirmed working - a thin-client render at 72×40 was verified end to end on the board.